Staff User Registration
This article provides information about the process for staff to create a user account and receive appropriate permissions to support their role.
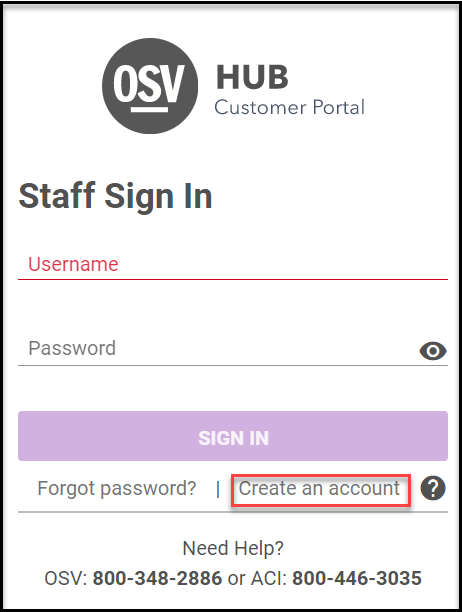
Staff who have never accessed the Hub begin the process of creating an account by clicking on Create an Account at the Staff Sign In page.
One large driver of staff members creating new user registrations is the paperless envelope renewal process, which requires staff members to access the Hub to renew their orders. If the organization does not have Church Manager, Online List Manager (OLM), or Online Giving (OLG), the staff member gets limited Administrator permissions, which only allows them to renew or acknowledge or request envelope orders. If the organization does have those products, the permissions are given manually by someone with authority to do so.
If there is an account owner, they are notified and can either approve the account and provide permissions for the staff role, or they can deny the request if it turns out to be inappropriate. (If there is no account owner, OSV support is notified and handles it.)
Here is the process for a new user to create a staff account and for an owner to grant permissions:
1. From the Staff Sign In page, the staff member clicks on Create an Account.
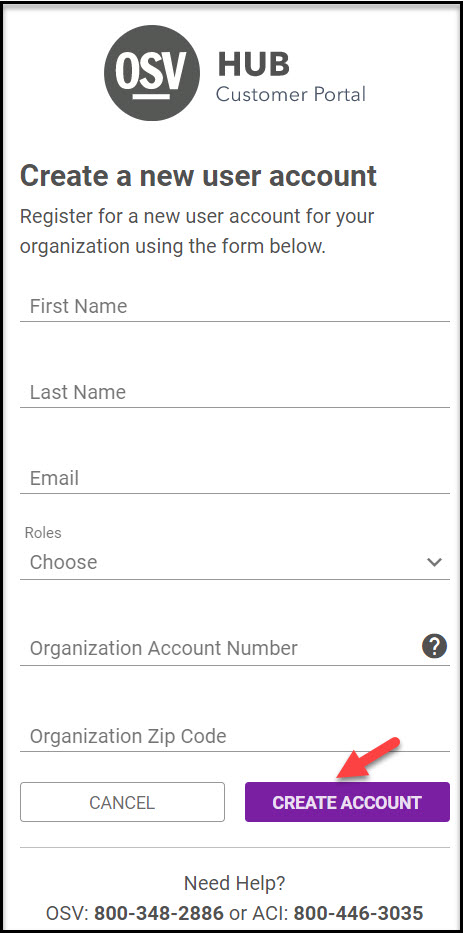
2. The staff member enters information into the form. (First Name, Last Name, Email, Roles, Organization Account Number, Organization Zip Code.)
3. The staff member clicks on Create Account to receive an invitation to accept via email.
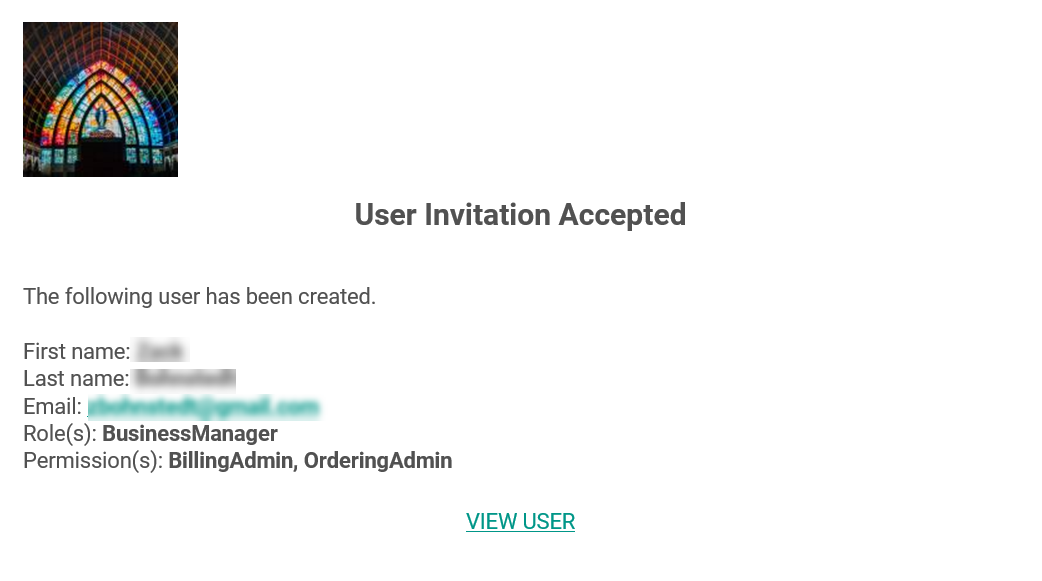
4. Owners (or support) receive a notification via email when the staff member accepts the received invitation. It includes the information the staff member entered. This notification lets owners know a new user has access to the Hub.
5a. If there are no permissions listed, the owner (or support) is notified on the Hub Dashboard and requested to view and grant permissions to the Hub.

5b. If the account is created without permissions, the next time the user signs into their account, it takes them to the profile page and they receive a banner that says their profile is incomplete. If the account is created with permissions, at sign in, the new user lands at the Hub Dashboard ready to go.

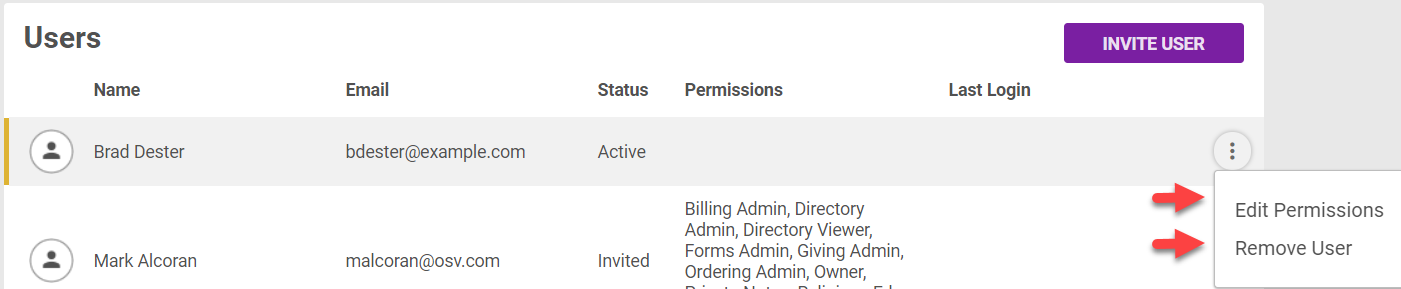
6. To view and edit permissions, the owner clicks the ellipses (3 vertical dots) to view the drop down menu and selects either Edit Permissions or Remove User as appropriate.