


Add a New User and Assign Permission Levels
This article provides steps to add a new user to the Mission Pathways application and how to assign permission levels for the user.
An administrator can edit or remove user accounts at any time.
There are prerequisites when adding a new user to the application with specific permissions.
- A profile for the user must be completed first.
- Only users with specific permissions can add other users. Contact the system administrator for help with permissions, if necessary.
- A valid email address is required to assign user permissions.
Here are the steps to add a user and grant specific permissions:
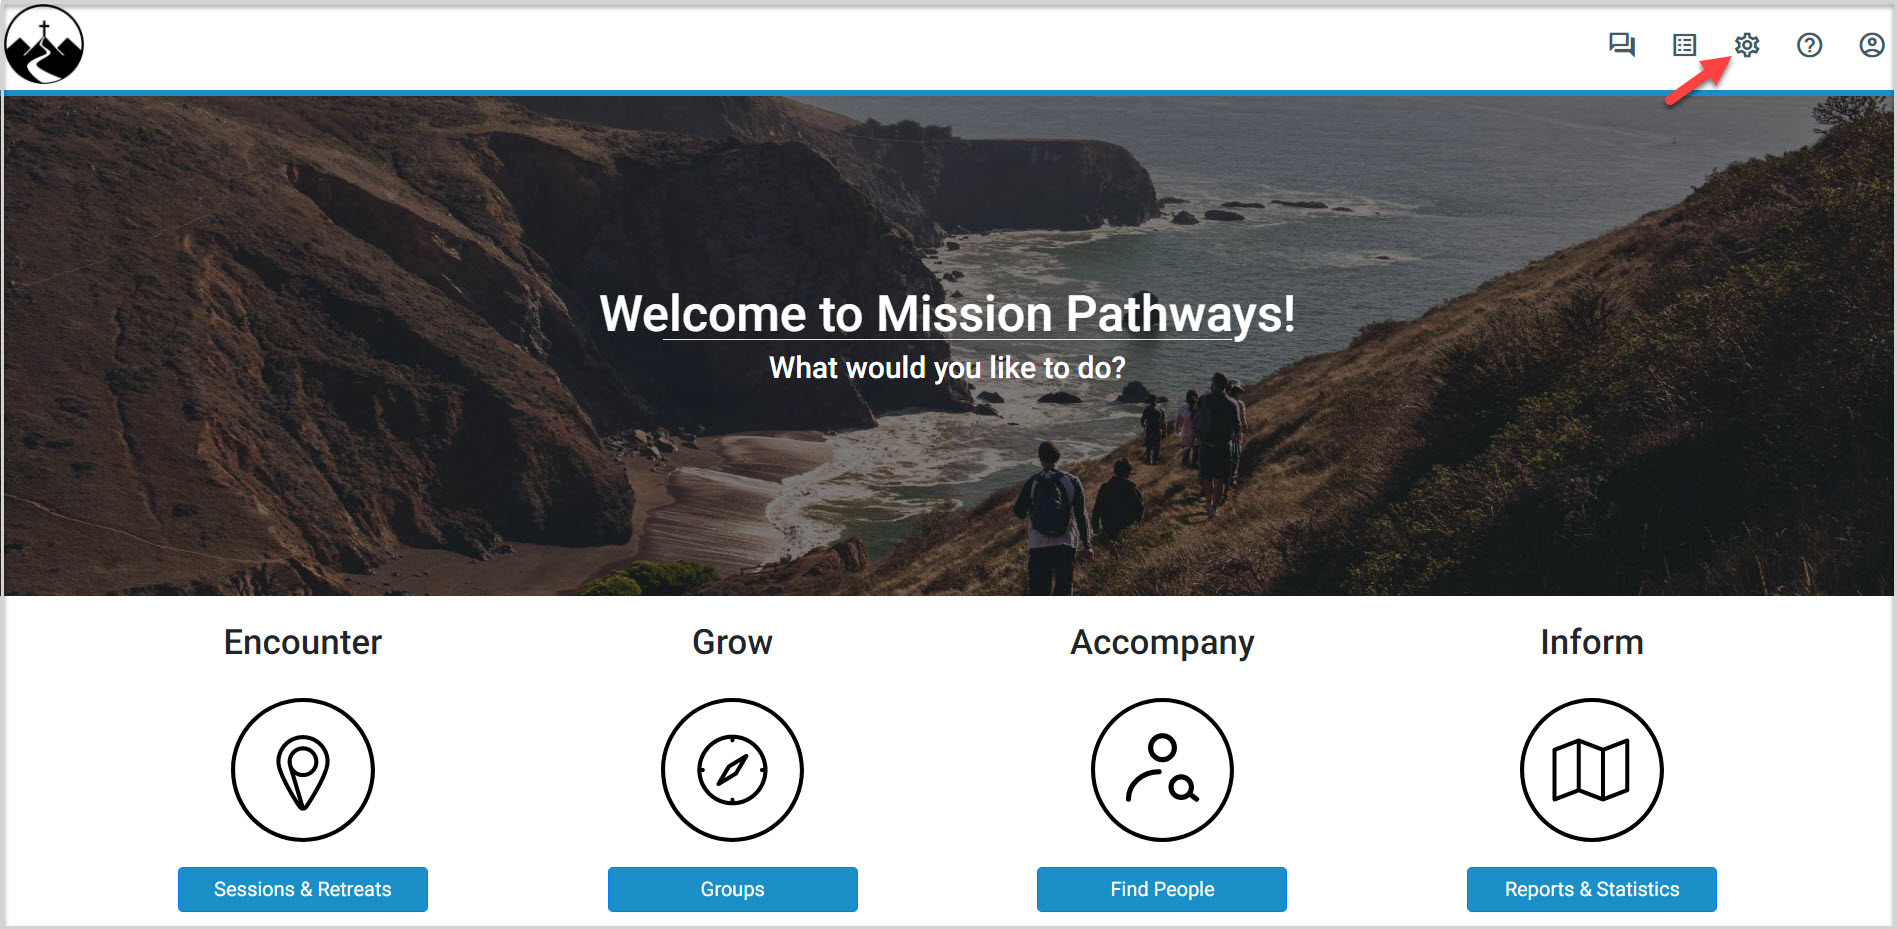
1. Login to the Mission Pathways application and select Settings (the gear icon) to open Mission Suite.
2. On the Mission Suite main menu, select Manage Users.

3. Select the Add User Account icon on the User Accounts screen.
![]()
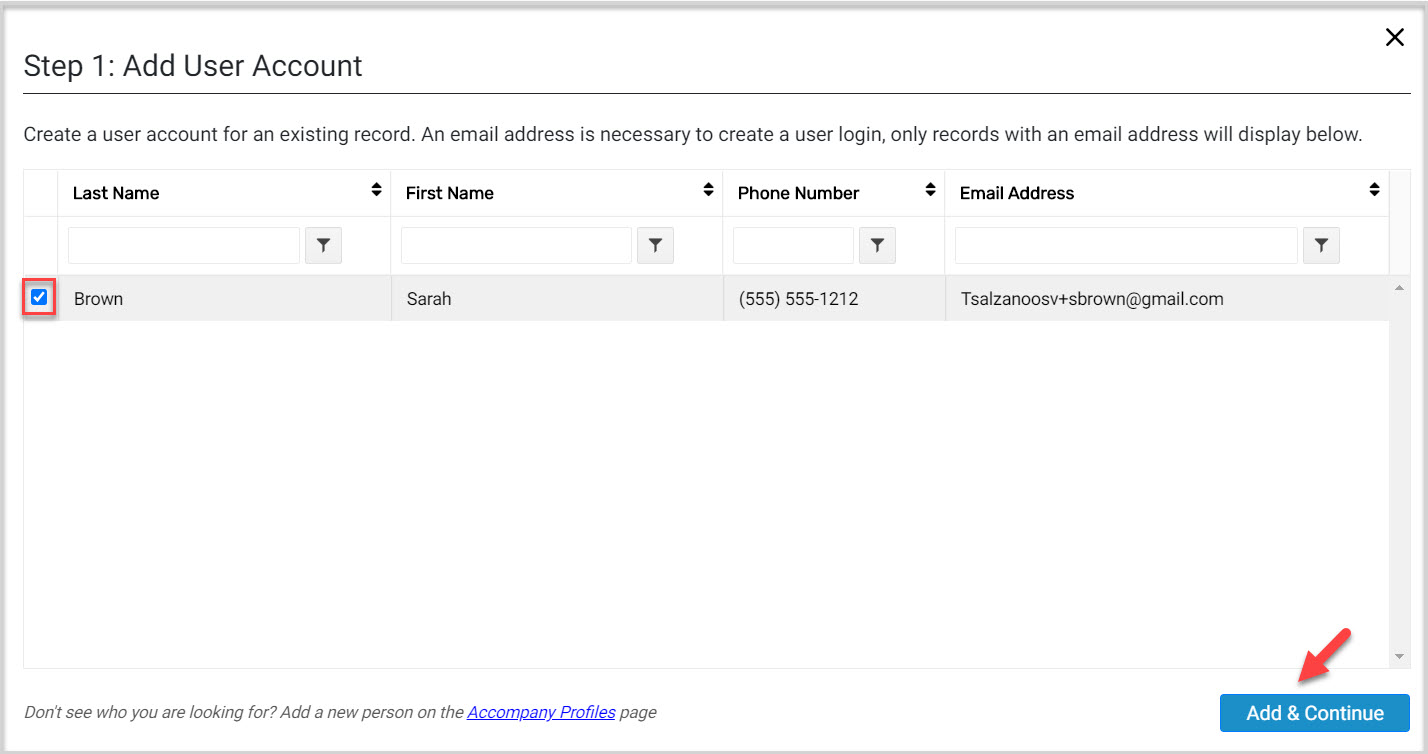
4. Locate the desired user.
Records with an email address can be viewed on the Add User Account screen. If the user does not appear, they are not in the system and must be added by creating a new profile first.
To assign permissions to a user already in the application, search for the user by typing in the Last Name or in any of the three other fields (First Name, Phone Number, Email Address). The application displays matching records as each character is typed.
5. Place a checkmark in the box of the desired user on the Add User Account screen.
6. Click on the Add & Continue button.
Assign Access to select the appropriate permissions for the user for both the Encounter Module Access Level and the Grow Module Access Level.
7. Place a checkmark in the box if the user is an Administrator. This permission automatically selects the Advanced access level for both Encounter and Grow. Leave the box unchecked if the user is not an Administrator.
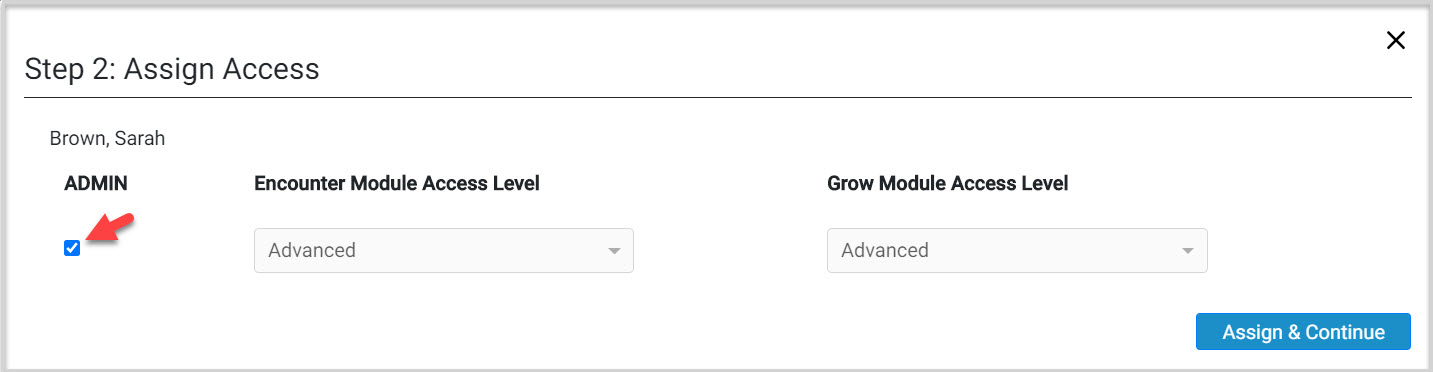
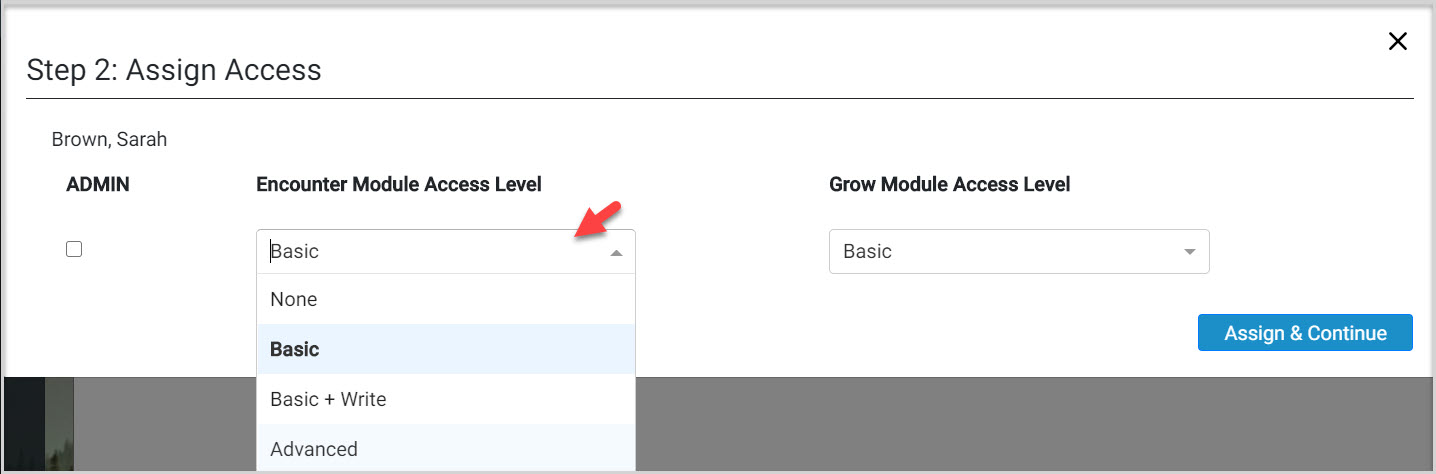
8. If the user is not an Administrator, select the appropriate access level for the Encounter Module from the drop down menu.
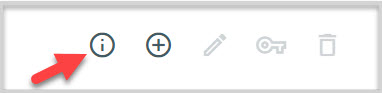
Note* The Information icon at the top of the page provides information for Level Definitions of each user permission role.
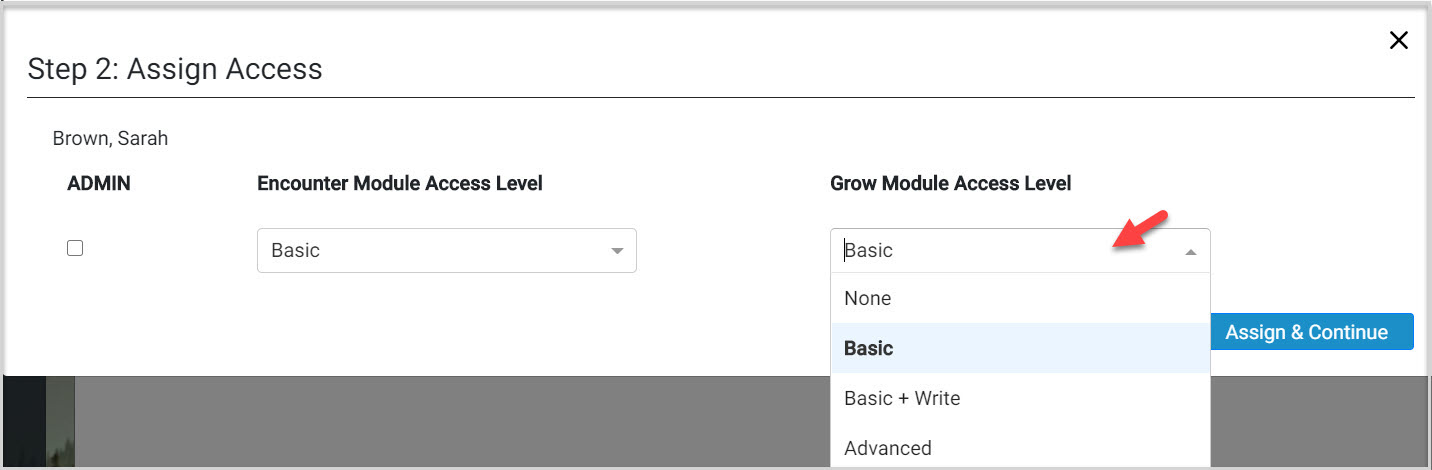
9. If the user is not an Administrator, select the appropriate access level for the Grow Module from the drop down menu.
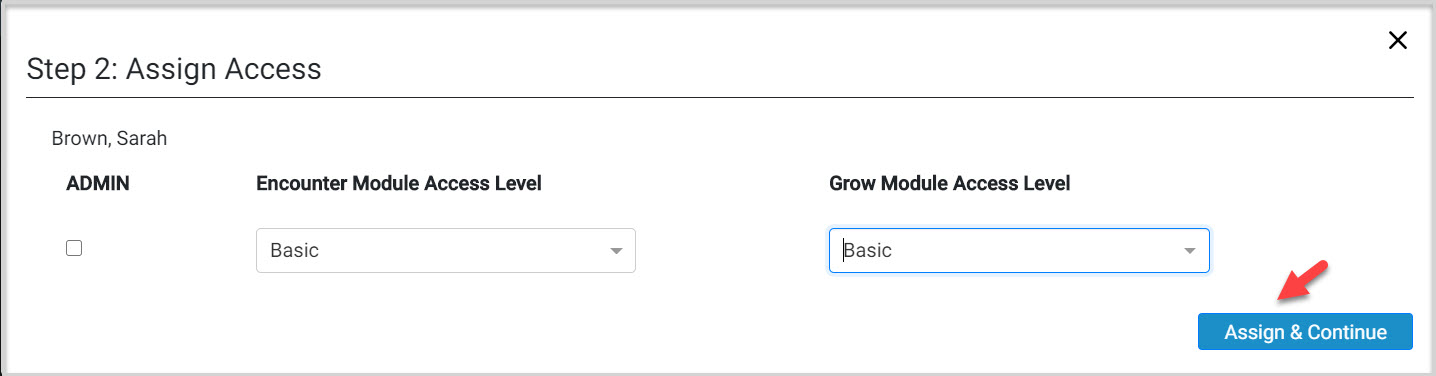
10. Click on the Assign and Continue button.
11. Click on the Confirm button on the Account Confirmation page, to confirm that you would like to create an account and grant access to this user.
Note* If the access levels are not correct, click on the "X" to exit and go back to correct the access levels.

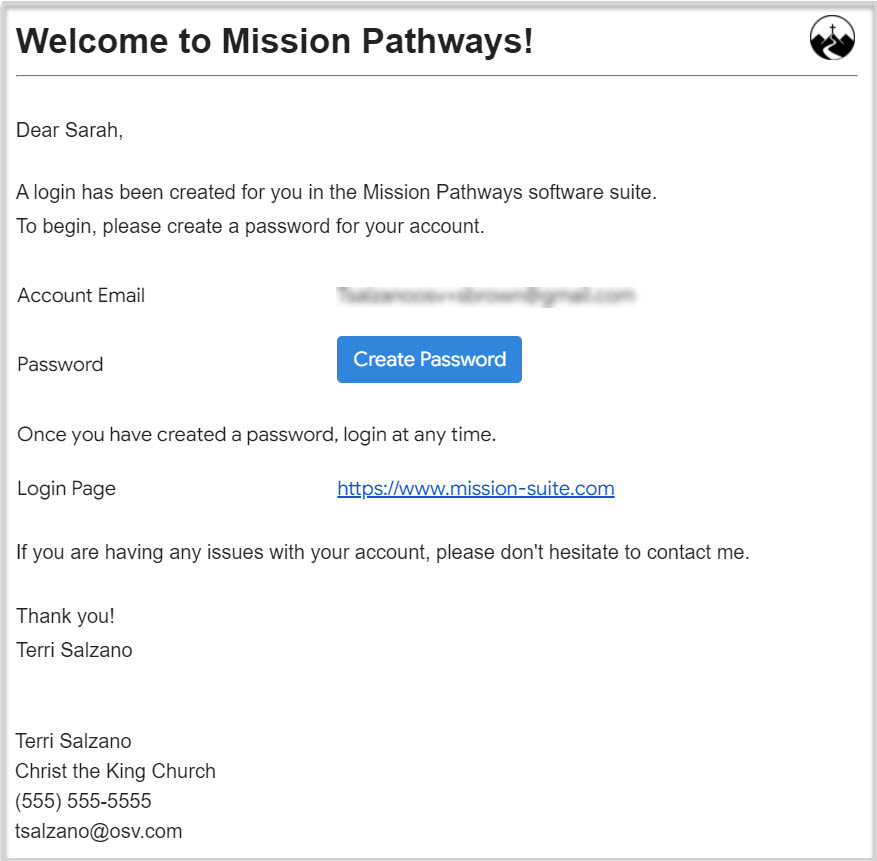
Note* The new user is sent login credentials to the provided email address to create their password and complete creating their account.
Note* Video is best viewed at full screen. Press Esc on your keyboard when finished viewing.