


Customize the Volunteer Registration Form
This article provides steps for customizing the Mission Pathways Volunteer Registration Form.
The volunteer registration form allows volunteers to register for your Encounter session and share important information, including volunteer role preferences. A default volunteer registration form is automatically created whenever you Create a Mission Pathways Session. A wide variety of form customization options are available for the volunteer form.
Complete the following steps to customize a volunteer registration form:
Locating the Form
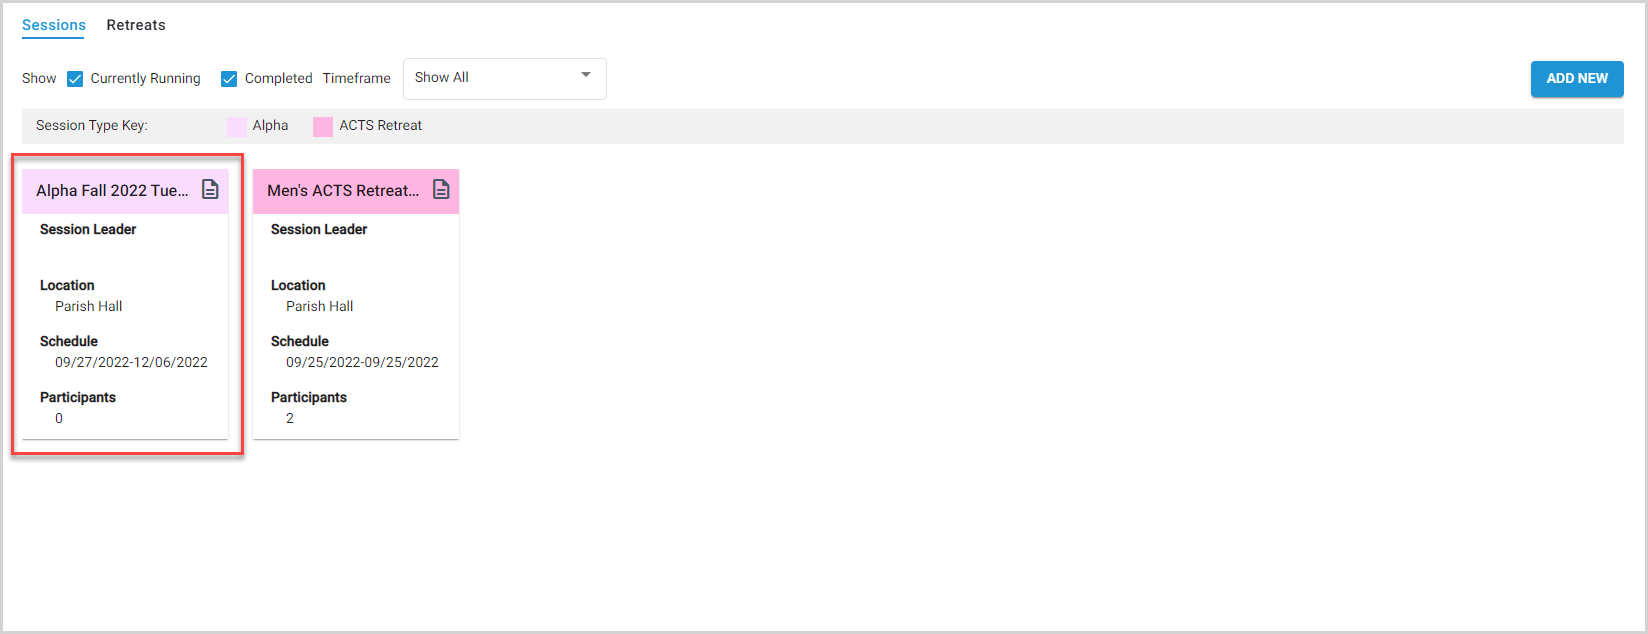
The volunteer registration form can be found in the Encounter session:
- Click the Encounter icon or the Sessions & Retreats button.

- Click on the session for which you want to modify the form.
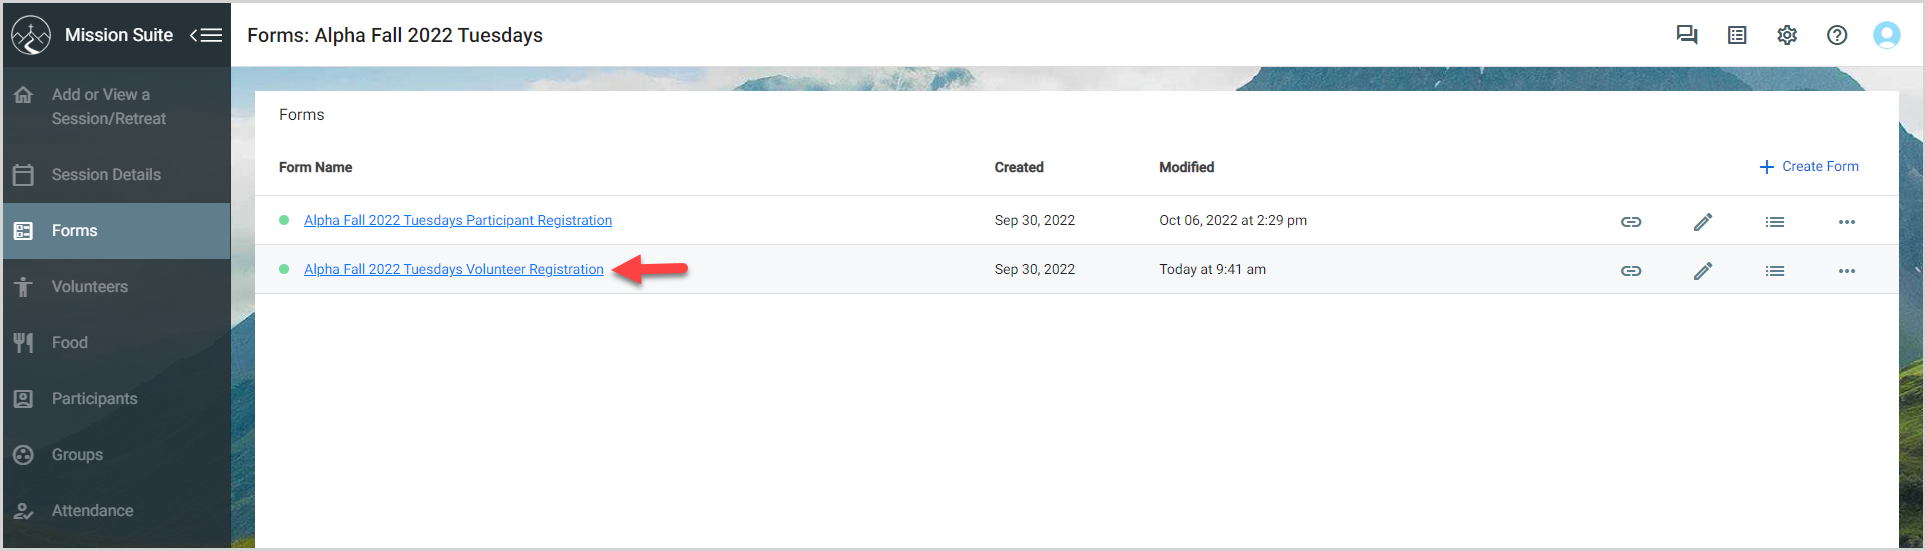
- In the main menu, click Forms. The default Participant Registration and Volunteer Registration forms are displayed, along with any other forms you have created for the session. Forms with an active online link are indicated by a green dot.
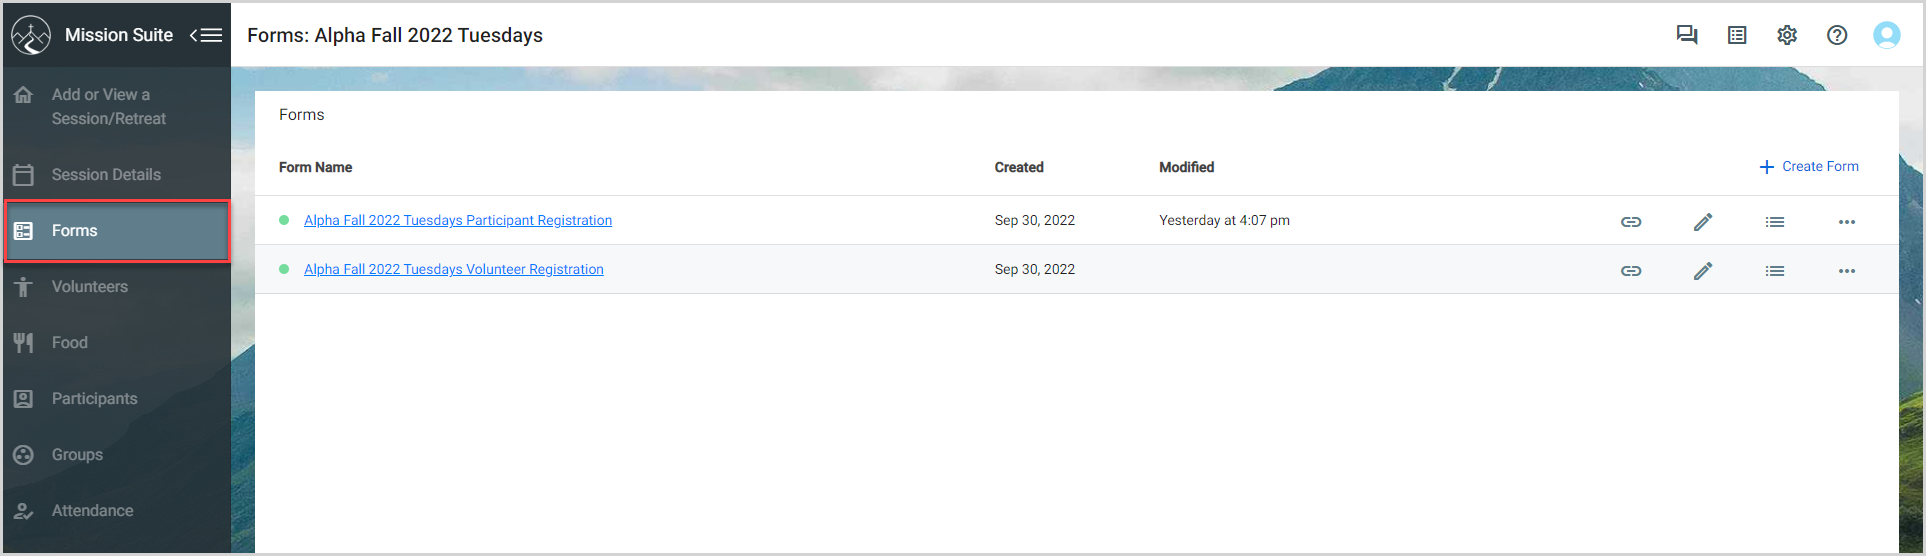
- To access and customize the form, click the Form Title.
Customizing the Form
In the form Designer tab, commonly used volunteer form items are available for you to include. 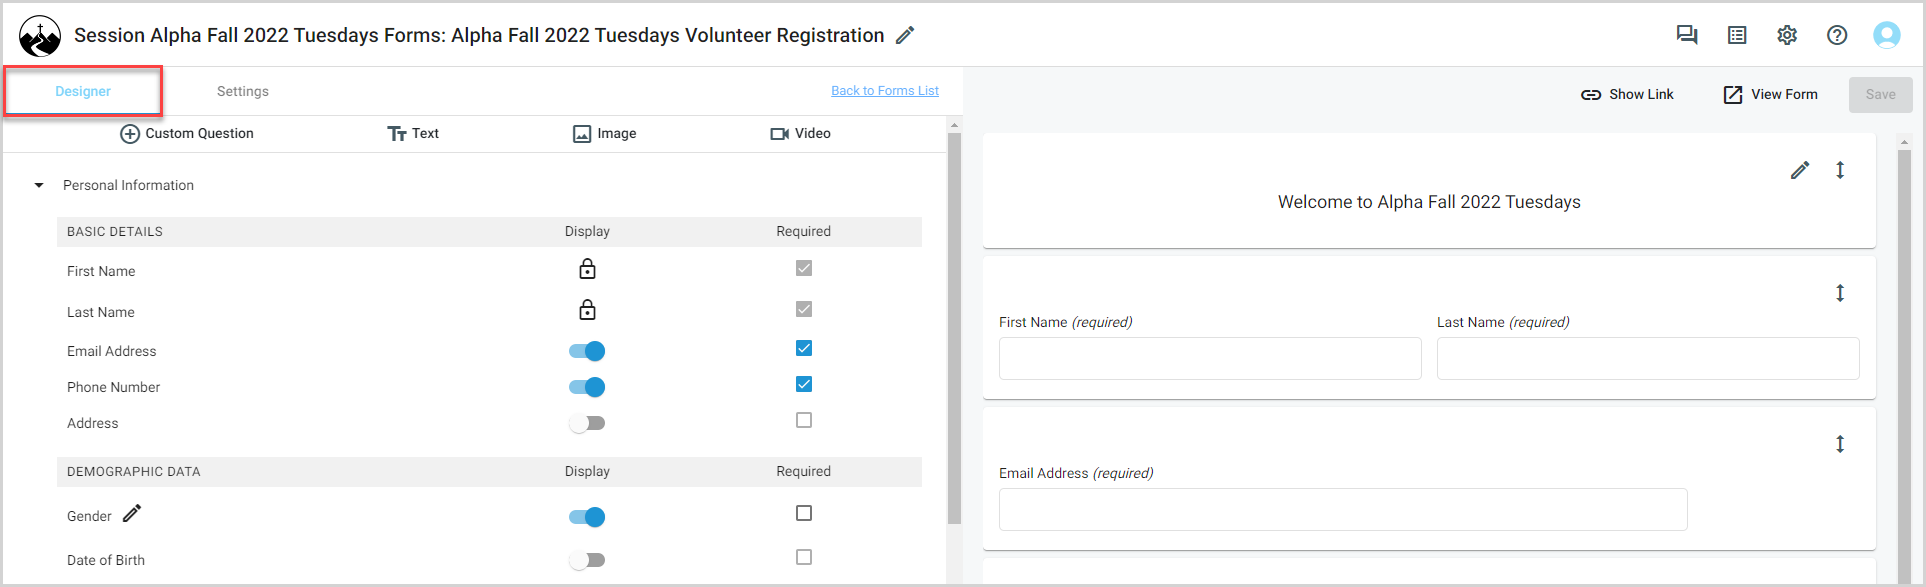
A basic list of form items is automatically applied to each volunteer form:
- First Name
- Last Name
- Email Address
- Phone Number
- Gender
You also have the option to add custom items to the form. Once you have added an item, it can be moved to any position within the form: click and hold the item you want to move, and then drag and drop it in the new location. 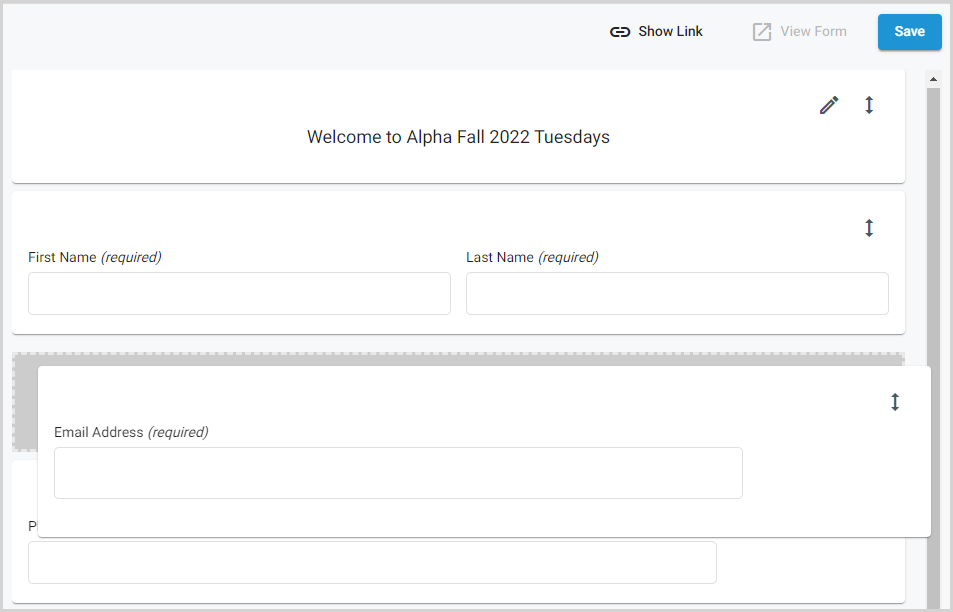
Click the edit pencil icon to modify the item. Any item on the form with the edit pencil icon can be modified.
Adding Preferred Volunteer Roles
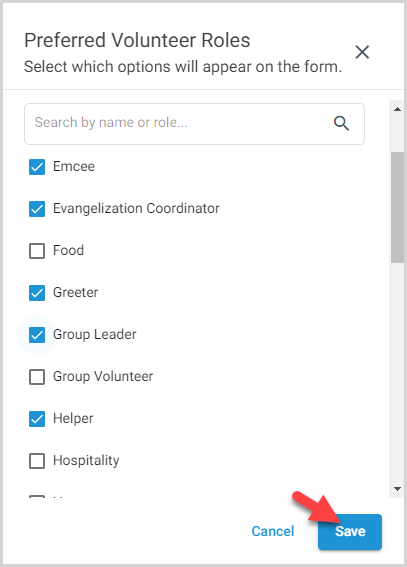
The Preferred Volunteer Roles item allows your volunteers to share their preferred role from a list that you set. You will still assign their role(s) for the session in the session volunteer tab. Complete the following steps to add the Preferred Volunteer Roles item:
- Click the Display toggle to add Preferred Volunteer Roles to the form.

- Click the edit pencil to view the roles list.

- Scroll (or search) the list and select the roles you want to include.
- Click the Save button.
Updating Default items
- To add a default item to the form, click the Display toggle. The item appears in the form.

- To remove a default item from the form, click an activated Display toggle. The item is removed from the form.

- To require volunteers to answer a form item, click the Required check box for the item.

There are 4 categories and 9 sub-categories of commonly used form items available in the designer tab:
Personal Information
-
Basic Details: First Name (always required), Last Name (always required), Email Address, Phone number, Address
Note* at least one communication method (email address or phone number) must be included and required on the form. - Demographic Data: Gender, Date of Birth
- About Me: Skills, Interests, Strengths, Spiritual Gifts
Youth-Specific Information
- Education: Grade, Graduation Year, School
- Family/Household: Parent/Guardian Information, Parental Permission checkbox
- General: Allergies
Faith Section
- Religious & Church Affiliation: Religious Affiliation, Church/Parish Membership
- Spirituality & Beliefs: Beliefs Regarding Christian Faith
Preferences
- Preferences: Dietary Restrictions, Child Care Request, Preferred Contact Method, Preferred Volunteer Roles
Adding Custom Items
You can also add custom items to tailor the look of your form and to gather or share specific information with your volunteers. To add a custom item, click the item type in the ribbon at the top of the designer tab: Custom Question, Text, Image, or Video. 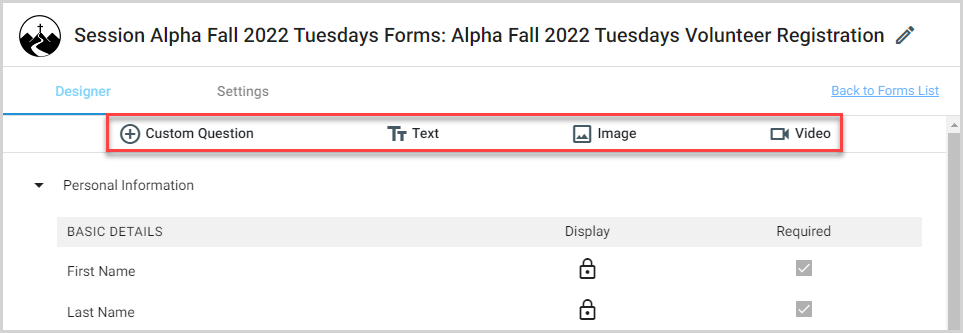
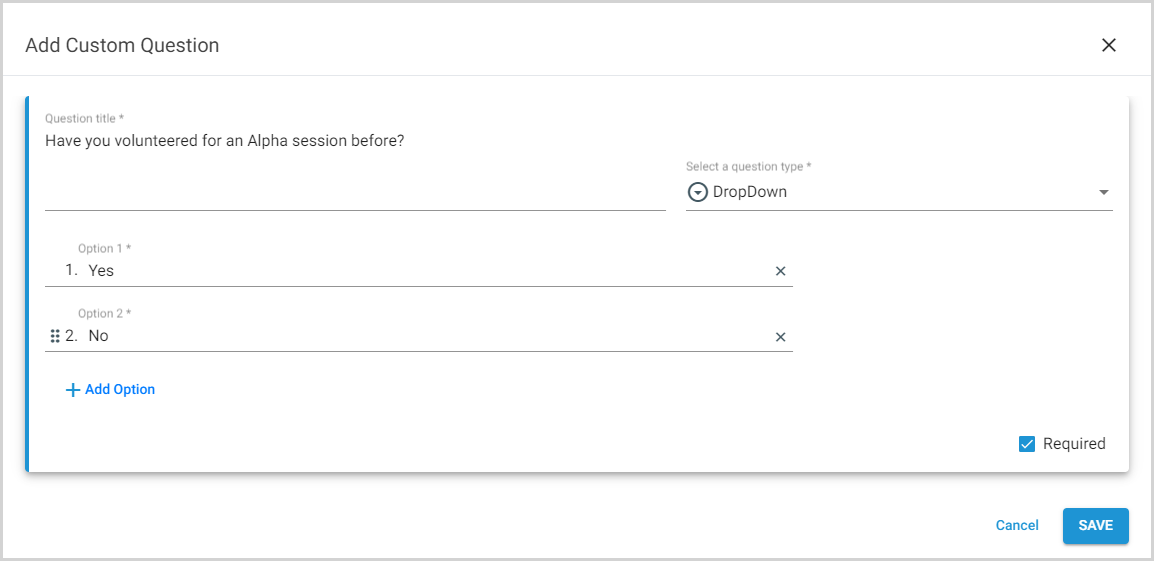
Custom Question
- Click Custom Question, and then enter the Question title.
- Select a Question Type: DropDown, Checkboxes, Short answer, or Paragraph.
- If you are using a dropdown or check boxes, enter Options to answer the question, clicking Add Option as necessary.
- Click the Required checkbox to require volunteers to answer the question.
- Click Save to add the question to the form.
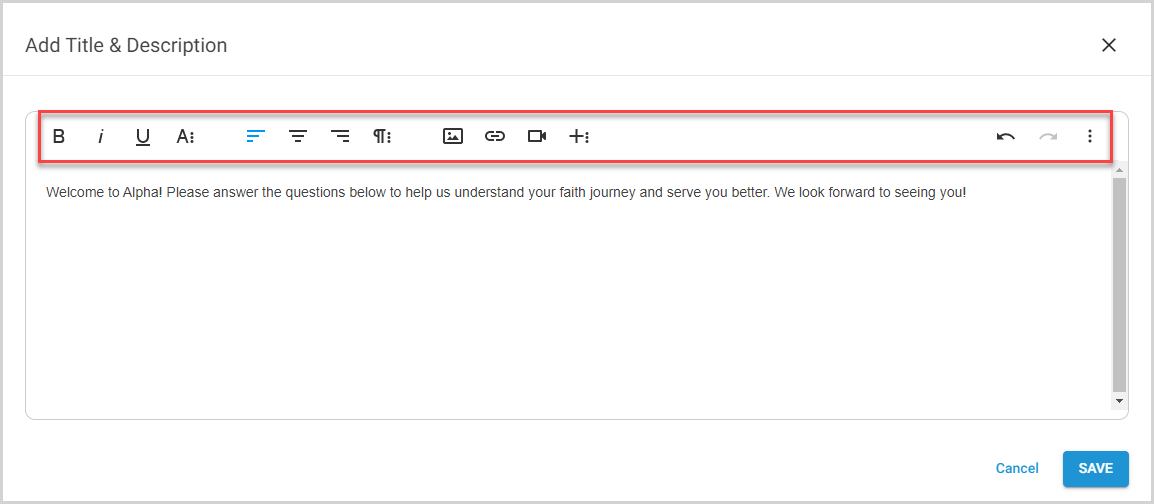
Text
- Click Text, and then enter the text you want to include in the form. Extensive formatting options are available in the ribbon above the text box.
- Click Save to add the text to the form.
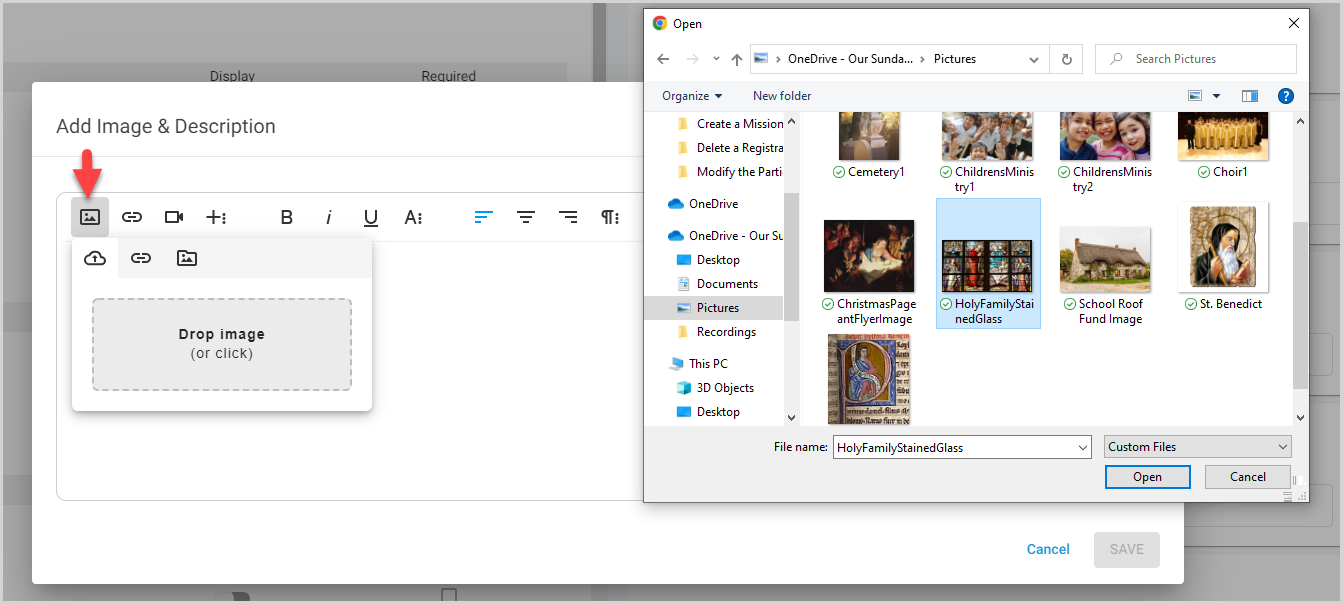
Image
- Click Image, and then click the Photo icon.
-
Drag and Drop and image into the image box. If you prefer, click the image box, navigate to your saved image, and then click Open.
- You can also add and format a text description around the image. Click Save to add the image to the form.
Video
- click Video, and then click the Video icon.
-
Add a link, embed the code, or upload the video from your computer.
- You can also add and format a text description around the video. Click Save to add the video to the form.

To remove any custom form item, click the trash can icon on the item. 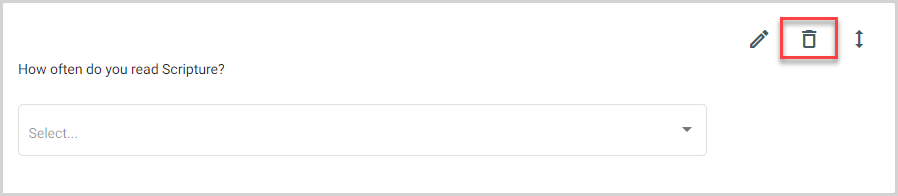
Modifying Form Settings
Form Settings allow you to customize payment, communication, and scheduling related to the form/registration. Click the Settings tab to access and update the form settings:
- Payments
- Form Automations
- Schedule Form Activity
- Notifications
- Confirmation Messages
- Language Translations

For complete information on Form Settings, please see Customizing Form Settings.
Saving and Viewing the Form
To save all your changes to the form, click the Save button at the top of the form. Your updates are applied to the form online. 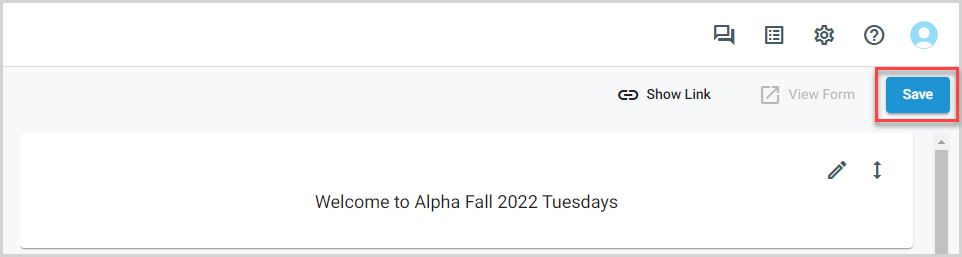
You can view your updated form online by clicking the View Form button. 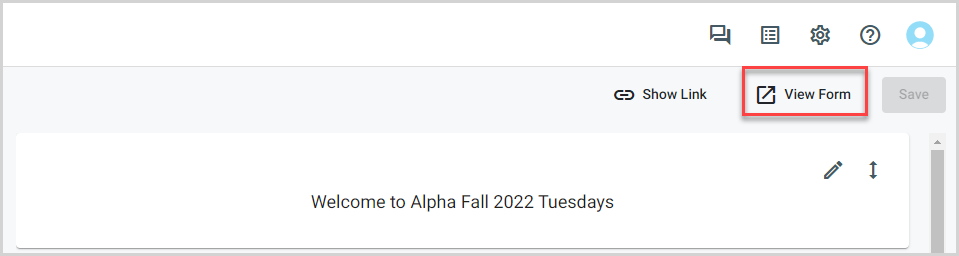
Note* The video is best viewed at full screen. Press Esc on your keyboard when you are finished viewing.