


Add, Edit, or Delete Clergy Name
This article provides the steps to Edit the Clergy Name in Settings.
You can add, edit, or delete a clergy member name in the Directory settings. Clergy members added in Settings appear in a prepopulated list of Presiding Clergy to select from when you Add a Sacrament to a member, saving you time when you record the sacraments your members receive.
Complete the following steps to edit a clergy member's name:
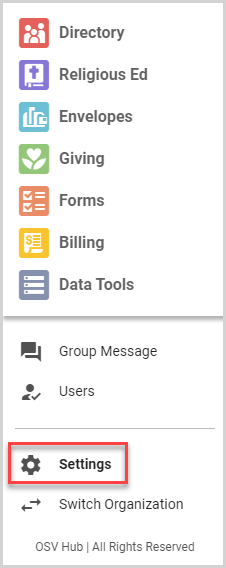
1. In the main menu, select Settings.
2. On the Directory Settings card, click the ellipsis to view the drop-down menu.
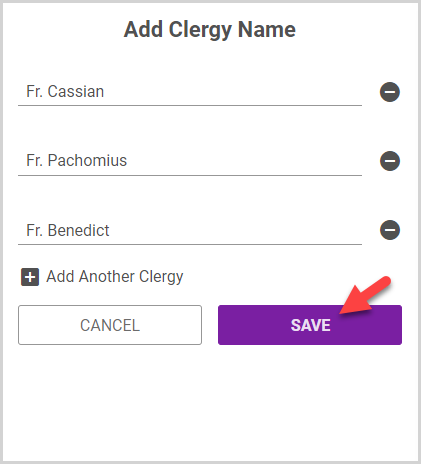
3. In the drop-down menu, select Add Clergy Name (if there is already a clergy member added, select Edit Clergy Name).

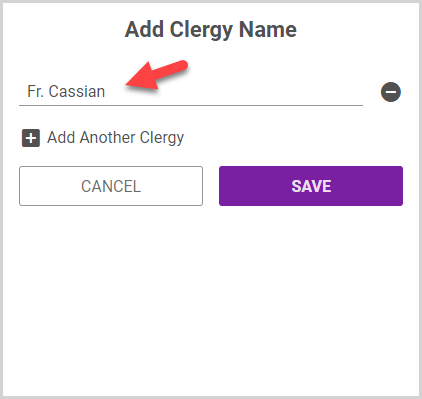
4. Enter/update the name of the clergy member.
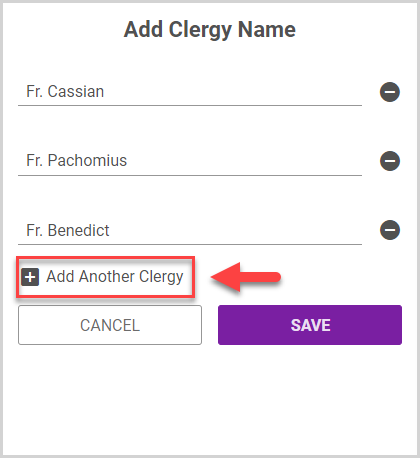
To add another clergy member, click the plus sign icon.
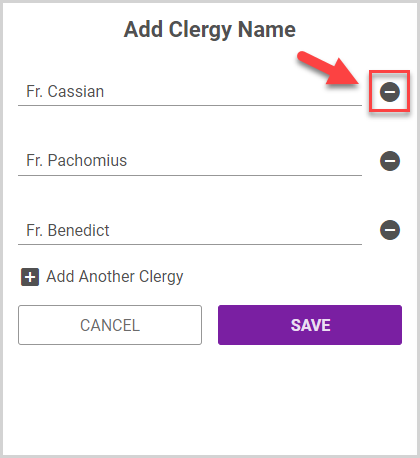
To remove a clergy member from the list, click the minus sign icon next to the name.
5. Click Save.
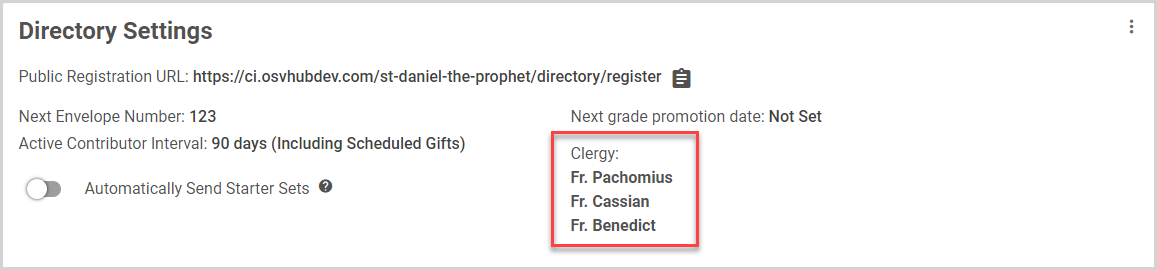
The clergy member(s) now appear on the Directory Settings card:
For further information on available settings, please see Getting Started with Settings.
Note* The video is best viewed at full screen. Press Esc on your keyboard when you are finished viewing.