


Apply or Remove a Credit from a Religious Education Registration
This article provides steps to apply or remove a credit from a Religious Education registration.
An administrator may want to add or remove a credit from a registration so they can modify how much is owed along with a reason for the change.
Credits effect the balance of the registration and flow through reporting within the system as well. The payment report that reflects registrations and their current statuses will reflect the impact of credits on the registration.
Complete the following steps to apply a credit to a registration:
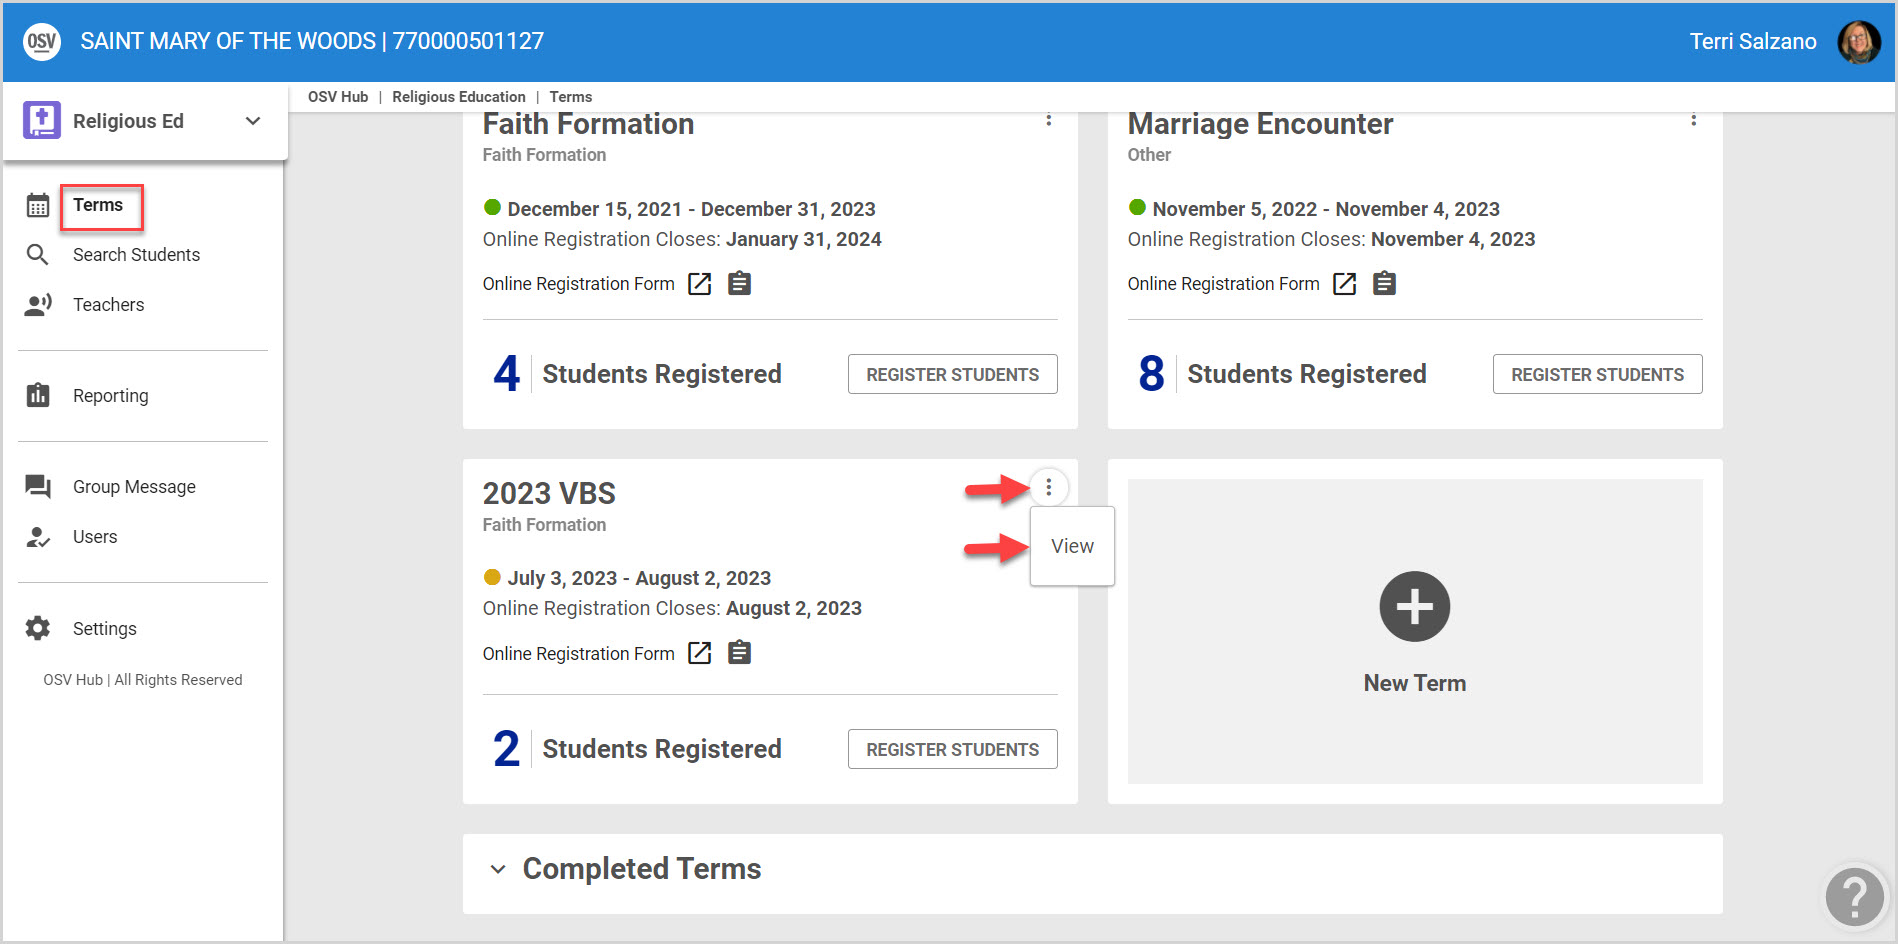
1. From Religious Education go to Terms.
2. Select the desired Term.
3. Click on the ellipsis to view the drop-down menu.
4. Select View.
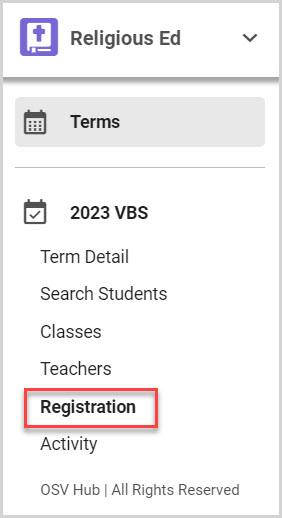
3. Go to Registration in the main menu.
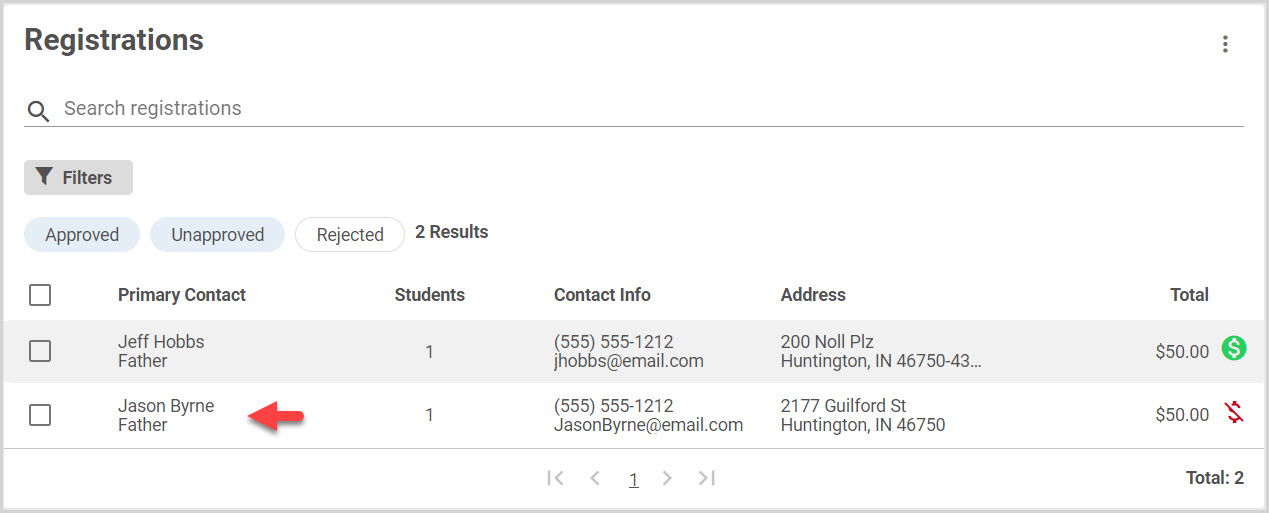
4. Locate and click on the desired registration on the Registrations card.
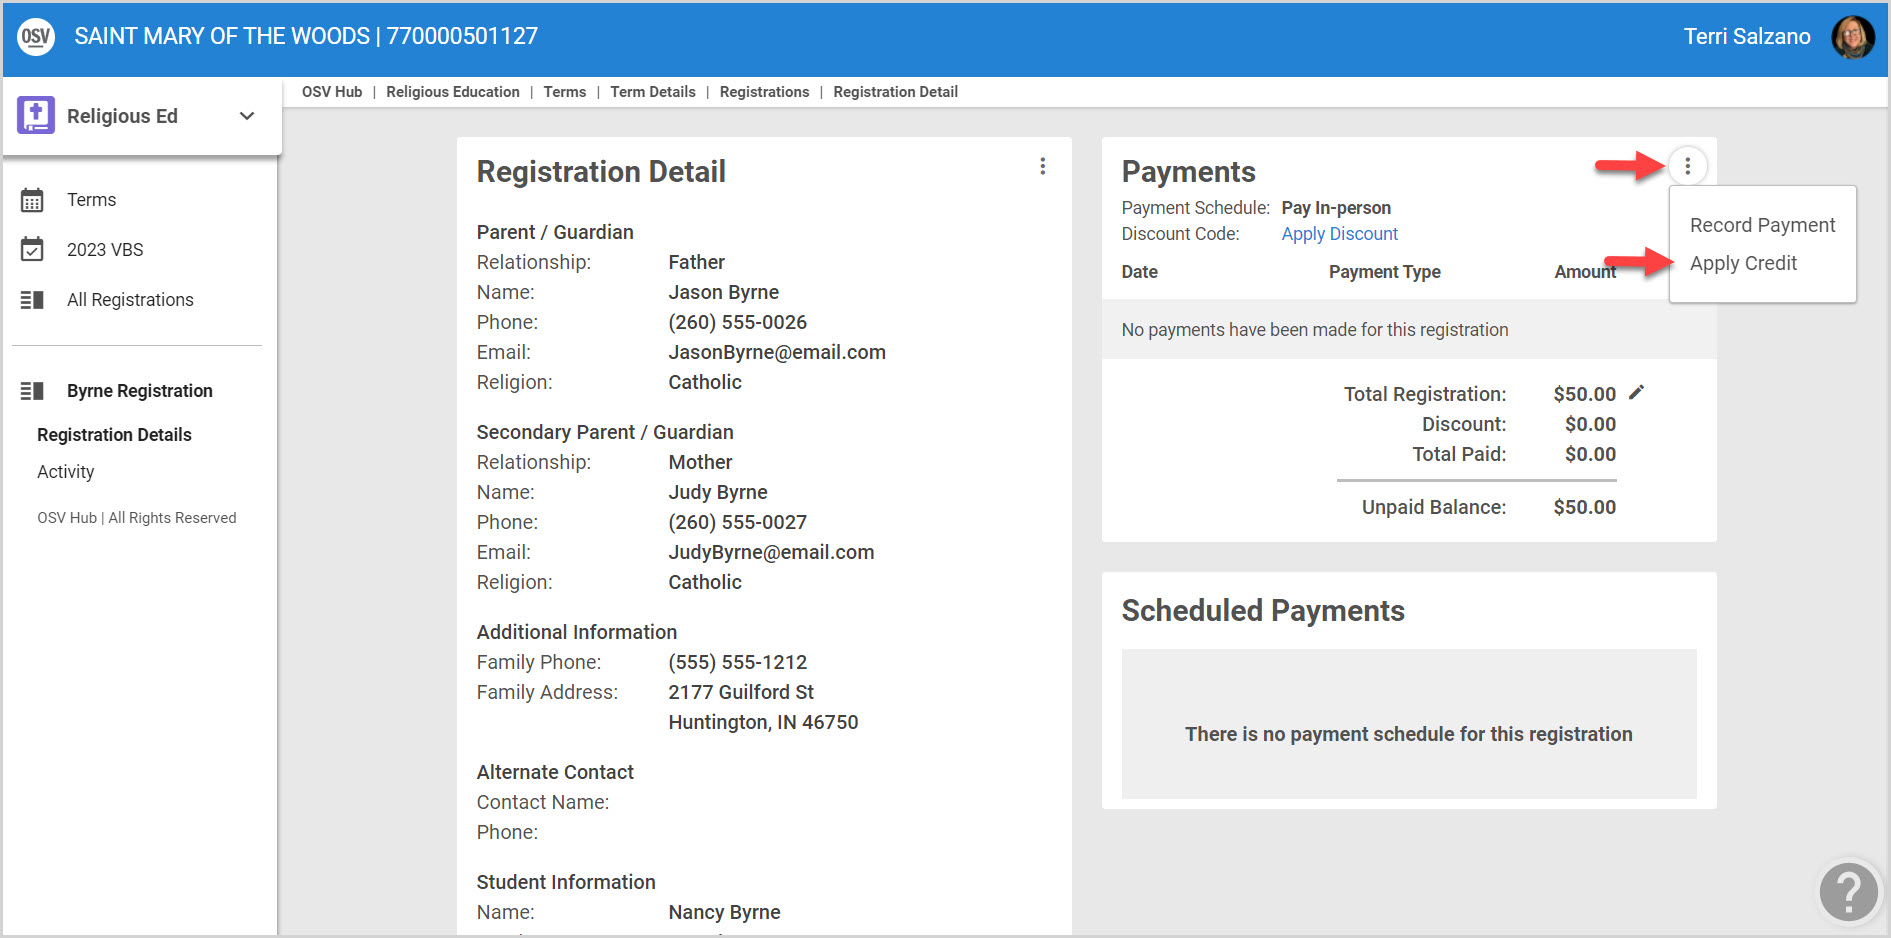
5. Click on the ellipsis to view the drop-down menu.
6. From the menu select Apply Credit.
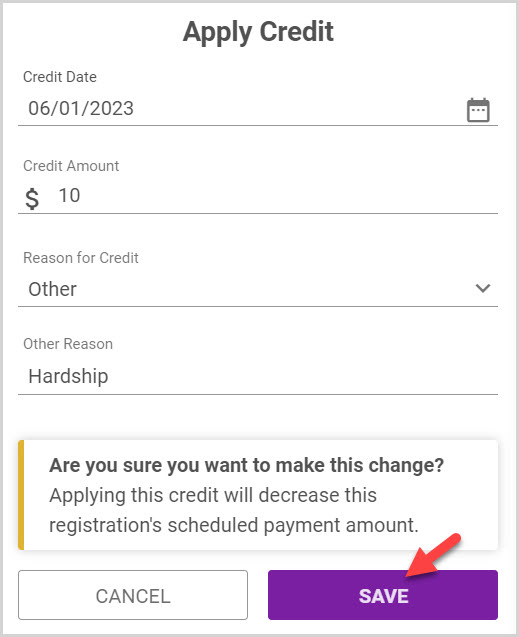
7. From the side sheet, specify the date of the credit, the credit amount and select a reason. (Credit, Death, Duplicate, Overpayment, Wrong Amount, or Other. Choosing “other” from the Reason menu will open up a space to enter a custom reason, such as hardship.)
There is no limit to the number of times a credit can be added to a registration but, the system will alert if the attempted credit exceeds the amount of the unpaid balance.
8. Click on Save to process.
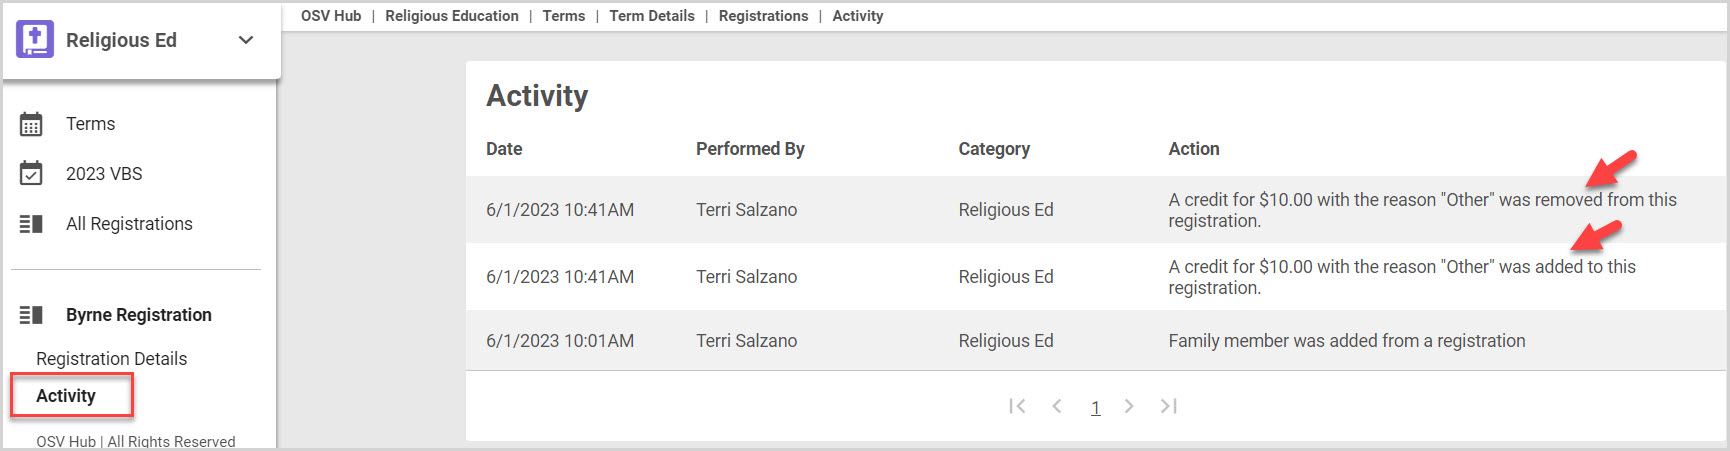
Note* The applied credit adds a new line item. An audit history is maintained on the Activity page.
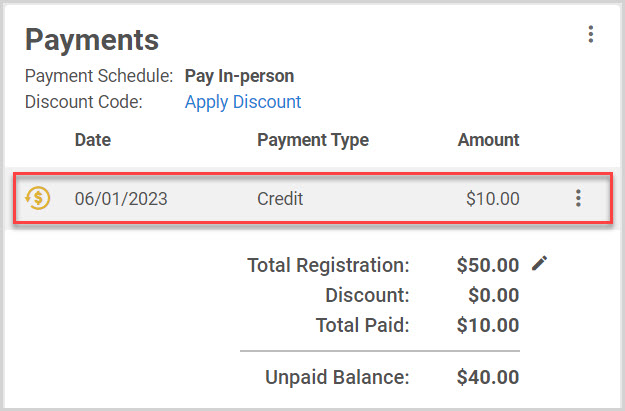
Hovering over the gold icon reveals the custom reason for the credit.
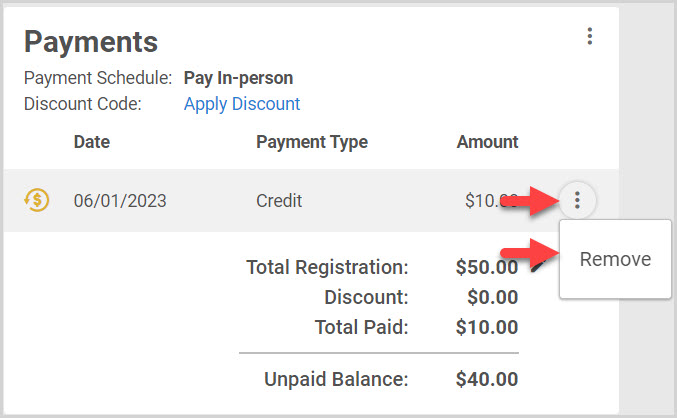
Complete the following steps to remove the credit:
1. From the line item with the credit click on the ellipsis to view the drop-down menu.
2. Select Remove.
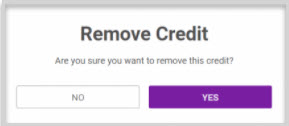
3. When asked “Are you sure you want to remove this credit?” select Yes.
The credit is removed and that activity can be viewed on the Activity page.
Note* Visual steps are best viewed at full screen. Click Esc on your keyboard when you are finished viewing.