


Set Auto-Increment Envelope Number
This article provides the steps to set the auto-increment number.
Setting the auto-increment envelope number allows you to automatically assign an envelope number to a family when they are added to Directory. When auto-increment is enabled, newly added families are automatically assigned next available envelope number in ascending order, beginning with the envelope number you set.
Complete the following steps to set the auto-increment envelope number:
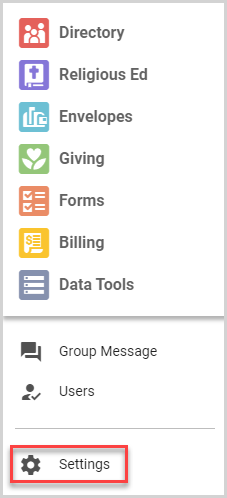
1. Select Settings in the main menu.
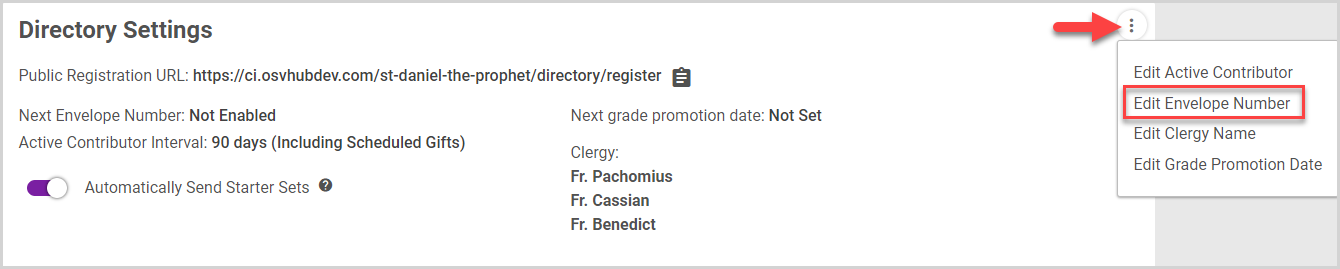
2. On the Directory Settings card, click the ellipsis to view the drop-down menu.
3. In the drop-down menu, select Edit Envelope Number.
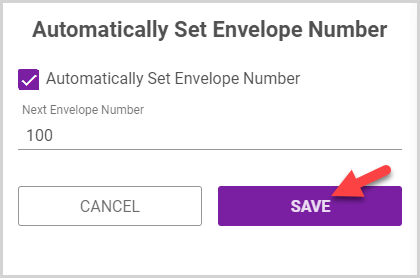
4. Select the Automatically Set Envelope Number checkbox.
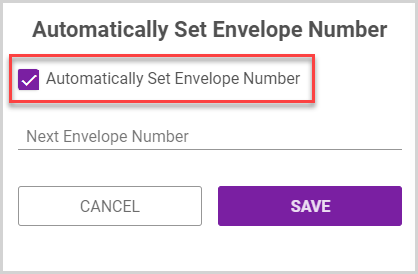
5. Enter the Next Envelope Number.
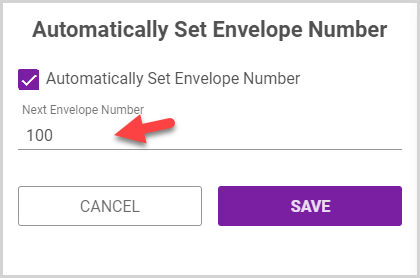
Note* Only whole numeric values can be entered for the Next Envelope Number; letters are not allowed. To help you avoid duplicates, the system does not allow you to set any numbers already in use. Even when auto-increment envelope numbers are used, you can still override the automatically assigned envelope and Change the Envelope Number for any family.
6. Click the Save button.
To avoid duplicates, the system skips any envelope numbers already in use as it automatically assigns envelope numbers to added families. For example, if you have manually assigned the envelope number 705 to a family, the system will assign envelope 706 after envelope 704, as envelope 705 is already in use.
Note* The video is best viewed at full screen. Press Esc on your keyboard when you are finished viewing.