


Donors can Disable Two-factor Authentication
This article provides steps for the Donor to disable Two-factor authentication.
A Donor can disable Two-factor authentication. Two-factor authentication does not need to be enabled, although it is highly recommend that it is, because it provides a double-layer of security when using the system.
Complete the following steps to disable Two-factor Authentication:
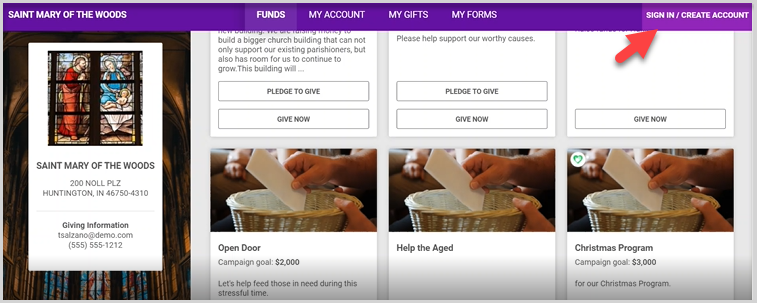
1. Click on Sign In / Create Account.
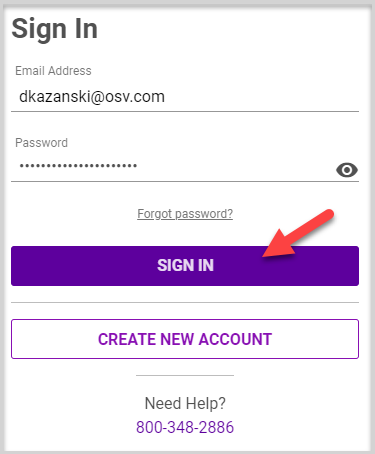
2. Enter User Name and Password at the Sign In screen.
3. Click on Sign In.
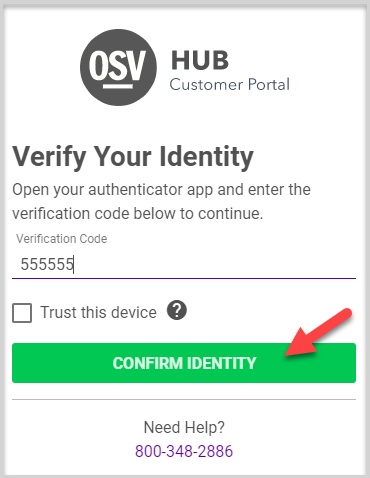
4. Enter the received verification code when prompted. It will be received via the user’s Smartphone depending on how Two-factor authentication was set up. The method to receive a code can be changed.
5. Click on Confirm Identity to process.
6. Click on My Account.
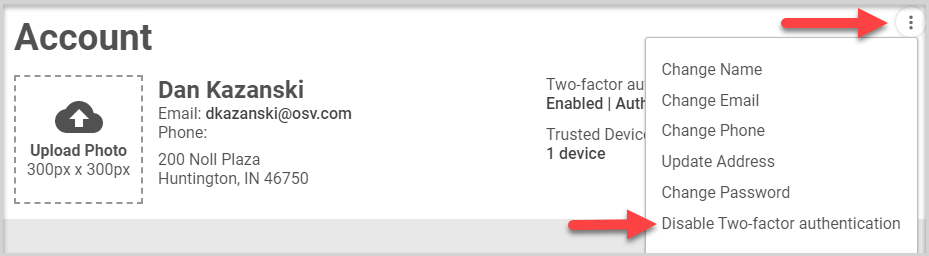
Note* Two-factor authentication, the method to receive a verification code, and Trusted Devices can be viewed on the profile page.

7. Click on the ellipsis (3 vertical dots) to view the dropdown menu.
8. Click on Disable Two-factor authentication.
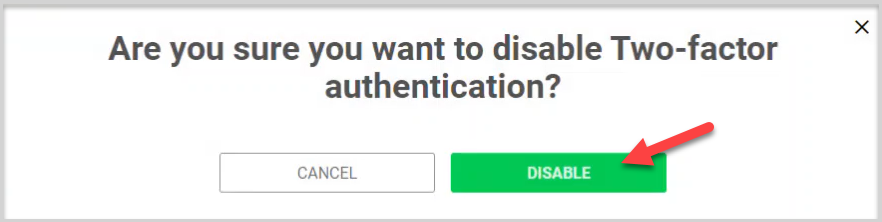
9. Click on Disable.
Note* Two-factor authentication is no longer enabled and there are no Trusted Devices.

Note* Visual steps are best viewed at full screen. Click Esc on your keyboard when you are finished viewing.