


Assign a Student to a Religious Education Class
This article provides steps to assign a student to a class.
An Administrator has the ability to assign a student to a Religious Education class. The system alerts when there are conflicts.
Complete the following steps to assign a student to a class:
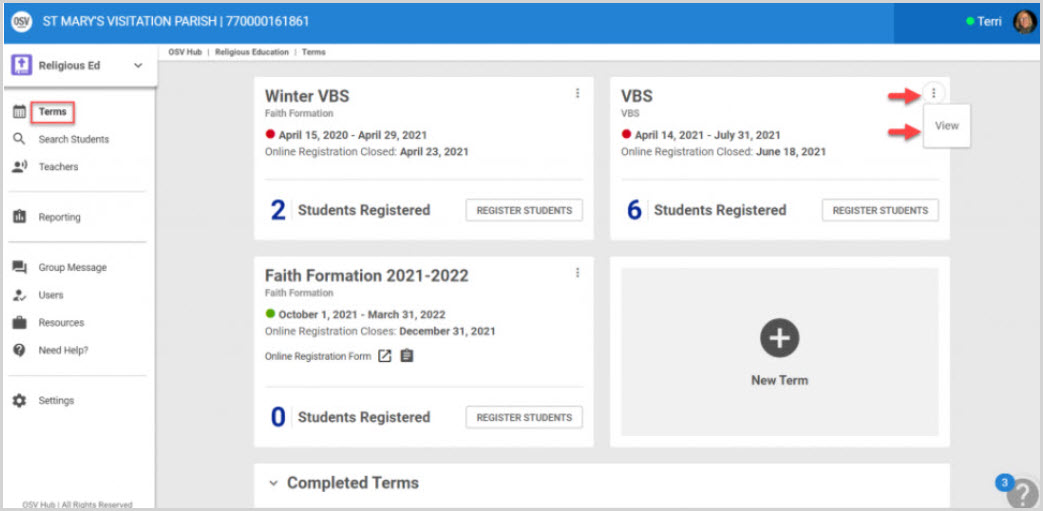
1. From Religious Education locate the desired Term.
2 Click on the ellipsis and select View.
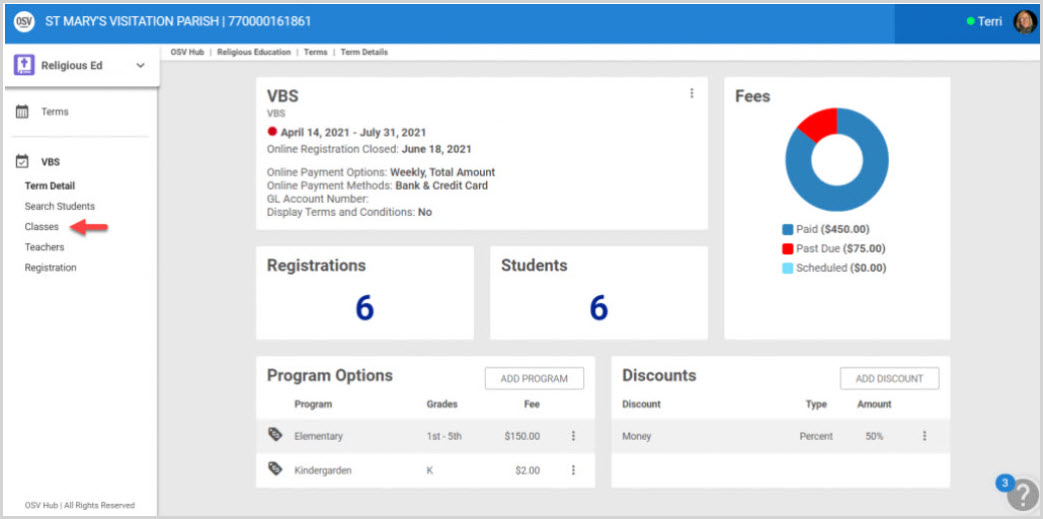
3. From the Term Detail screen, click on Classes in the main menu.
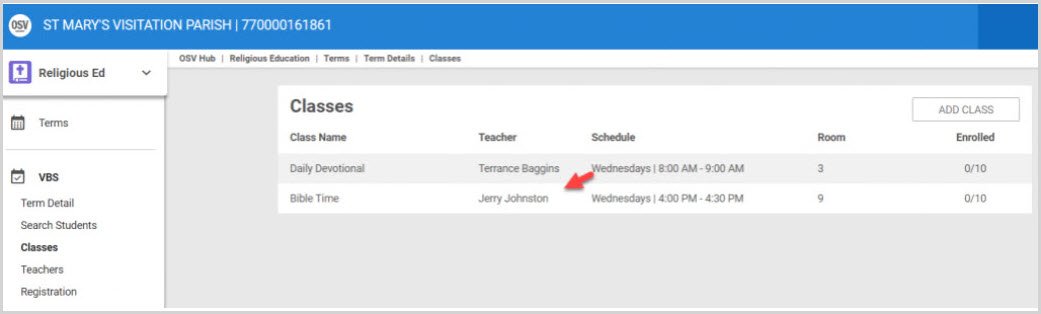
4. Select and click on the desired Class to view the Class Details.
3. From the Class Detail screen, click on the ellipsis and select Assign Students.

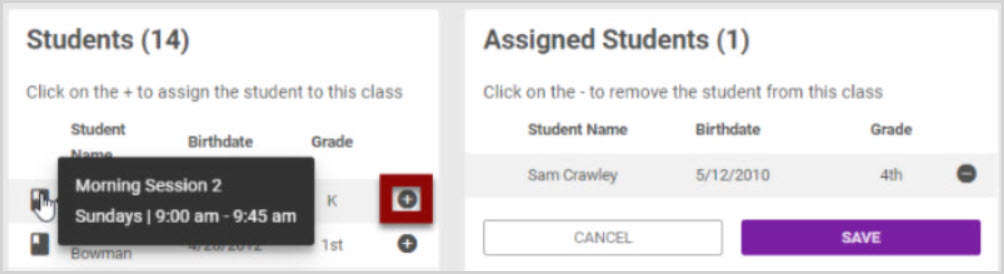
4. From the list of students registered for the term, click on the (+) plus sign to assign the student to the class.
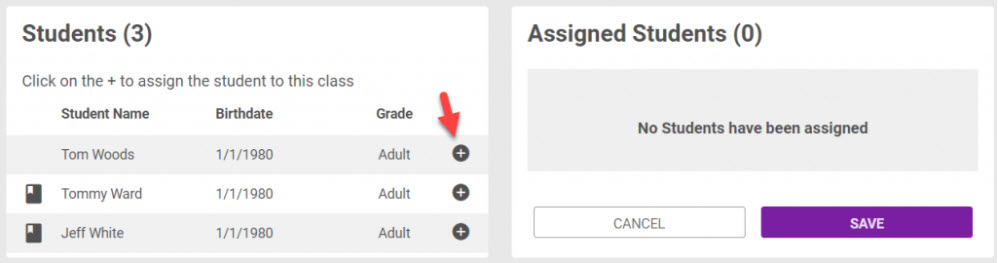
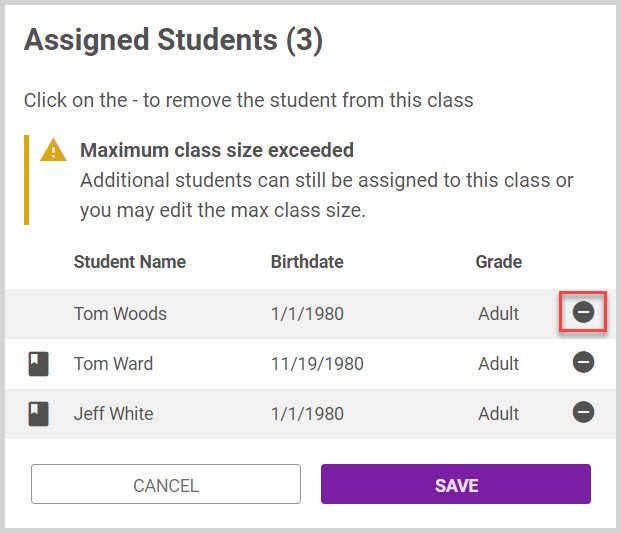
Note* An alert is received if the class size exceeds the assigned limit. If no limit is assigned there is no alert. Class size can be edited if necessary.
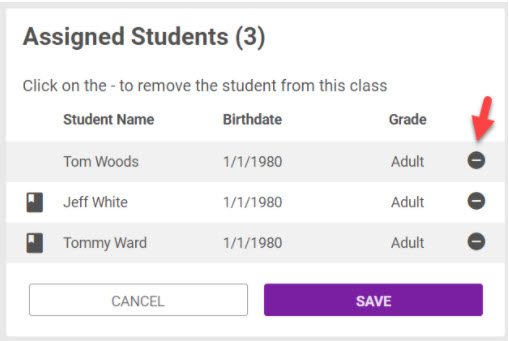
Click on the minus icon to remove a student if necessary.
If a student is assigned to another class at the same time, and this creates a conflict, a note appears next to the student’s name to alert the user. The name of the other class and its details are visible when hovering over the note.
5. Once all students have been assigned to the class, click Save to process.

Note* To delete an assigned student, click on the (-) minus sign and then save.
Note* Visual steps are best viewed at full screen. Click Esc on your keyboard when you are finished viewing.