


Add a Managed Account for Online Giving
This article provides steps for staff to set up a managed account, add a managed gift and a payment method for Online Giving for a donor who requests it.
Managed Accounts must be set up and (enabled) at the organization setting level to add a Managed Account when a donor would like the church to manage the account and possibly any correspondence. It is a requirement to set up a Managed Gift and a Payment Method when adding a Managed Account.
Complete these steps to Add a Managed Account:
1. From Giving go to the Accounts page.
2. On the Accounts card click on Add Gifts and Accounts.
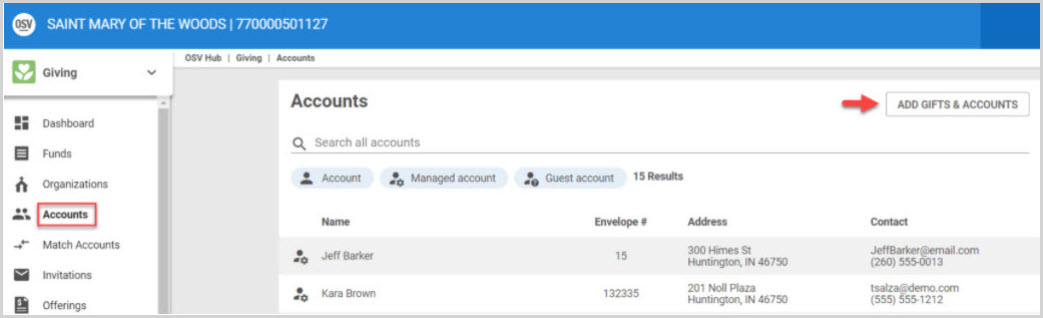
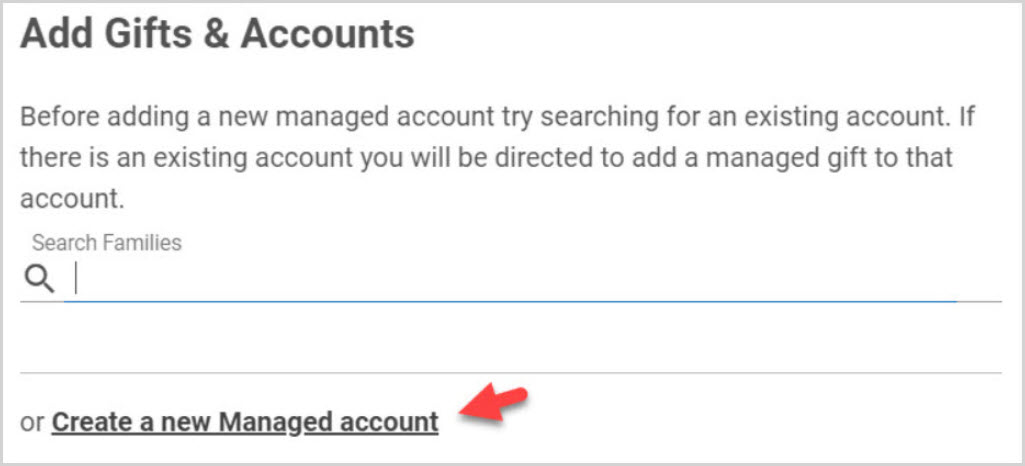
3. Search for an existing account first to avoid duplication.
4. Click on Create a new Managed Account if there is no existing account.
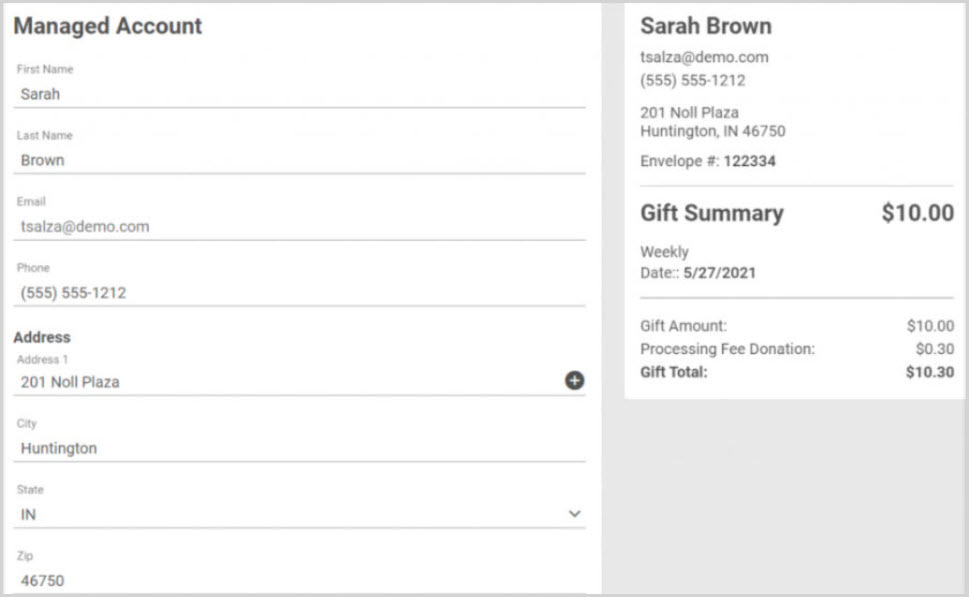
5. Enter the first and last name. The system warns the user if it recognizes the name as being used on an existing account to help avoid creating a duplicate account. (Click here for more information and to see the warning.)
6. The default email address pre-populates. It can be changed to a personal email address, but preferably not one already in use. An email address associated with another Managed Account cannot be used. The system provides warnings for both instances. (Click here for more information and to see the warnings.)
7. Enter the phone number.
8. Enter the address. A warning from the system is provided if the address is recognized from another account.
9. Click here for more information and to view the warnings.
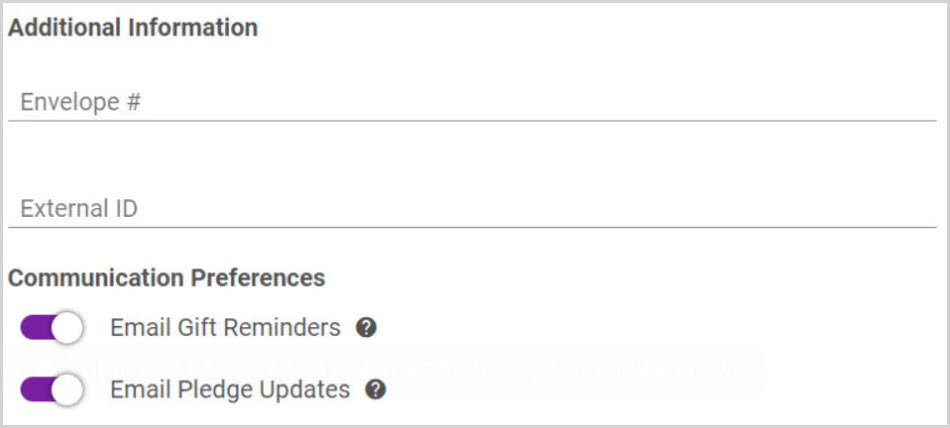
10. Enter the envelope number and the D; an identifier from another system. (The external ID input only shows on the form if it is enabled in settings.)
A warning from the system is provided if the envelope or the external ID are recognized from another account to avoid creating a duplicate account. (Click here for more information and to view the warnings.)
11. Set the communication preference. Turn the Email Gift Reminder toggle off if it is desired to unsubscribe from gift reminder emails and turn the Email Pledge Update toggle off to opt out of pledge update emails.
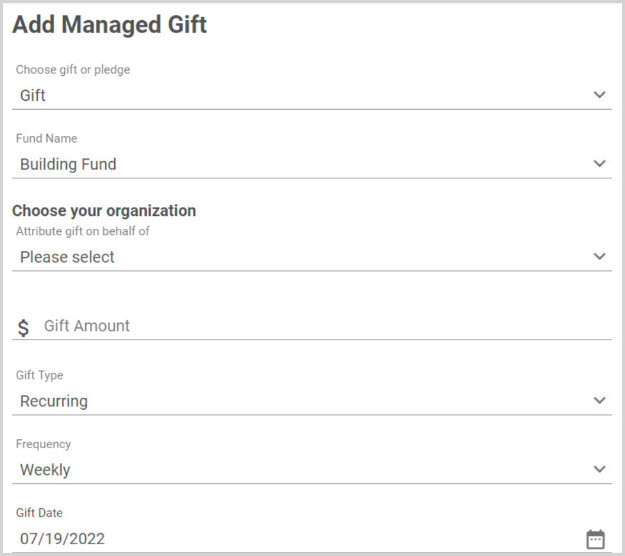
Gift Details
12. Choose gift or pledge, select the fund name, choose whether to attribute a gift on behalf of, enter the gift amount, gift type (One Time or Recurring), frequency (Weekly, Bi-Weekly, Monthly, Quarterly or Twice Yearly) and gift date.
Note* If Gift Notes are enabled for a Fund, a text box is viewable underneath Gift Date that allows the user to enter a note for the gift.
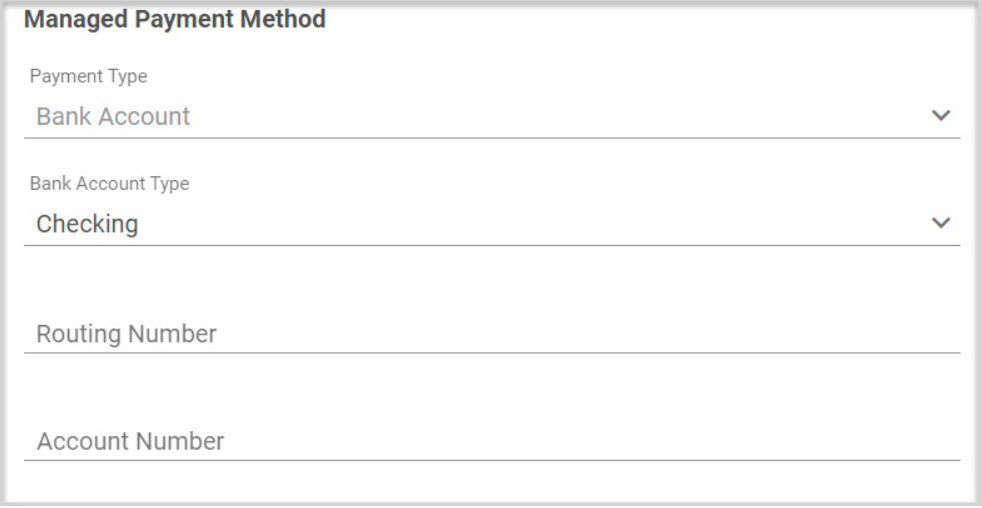
Payment Method
13. Select the payment type. It is dependent on the original fund payment method and will determine the provided selections for the payment method.
If Credit Card is selected, the name on a credit card will auto populate. Enter the card number, expiration month and year. Otherwise, select Checking or Savings and enter bank account information.
Check Donate up to an extra 5% to offset processing fees if viewable and desired. The option to "Donate an extra 5% to offset processing fees" is dependent on the Credit Card Offset settings. This option is not viewable unless enabled at the organization level. The user can choose to enable it per fund and select a different percentage, or a flat fee. This option only appears for credit card payment methods.

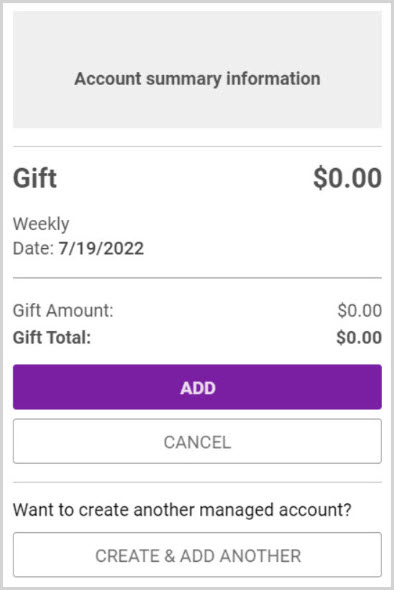
The account summary information is viewable on the screen and can be viewed while completing the form.
15. Click Add to process, or click on the Create and Add Another button if entering more than one managed account. A gift created with today as a start date processes immediately upon clicking the Add button. A gift with a start date in the future processes when scheduled.
Note* Visual steps are best viewed at full screen. Click Esc on your keyboard when you are finished viewing.