


Add an Image to an Existing Fund
This article explains how to add an image to a fund that has already been created.
Adding an image to a fund is called "uploading" an image. The minimum image size when creating a fund is 672 x 336 pixels. This article explains adding an image by browsing to an image already saved on your computer. You can also drag and drop an image to upload.
Further information is available on how to save an image to the computer before uploading it to the fund, and you can also learn how to change or delete an image from a fund.
Complete the following steps to add an image to an existing fund:
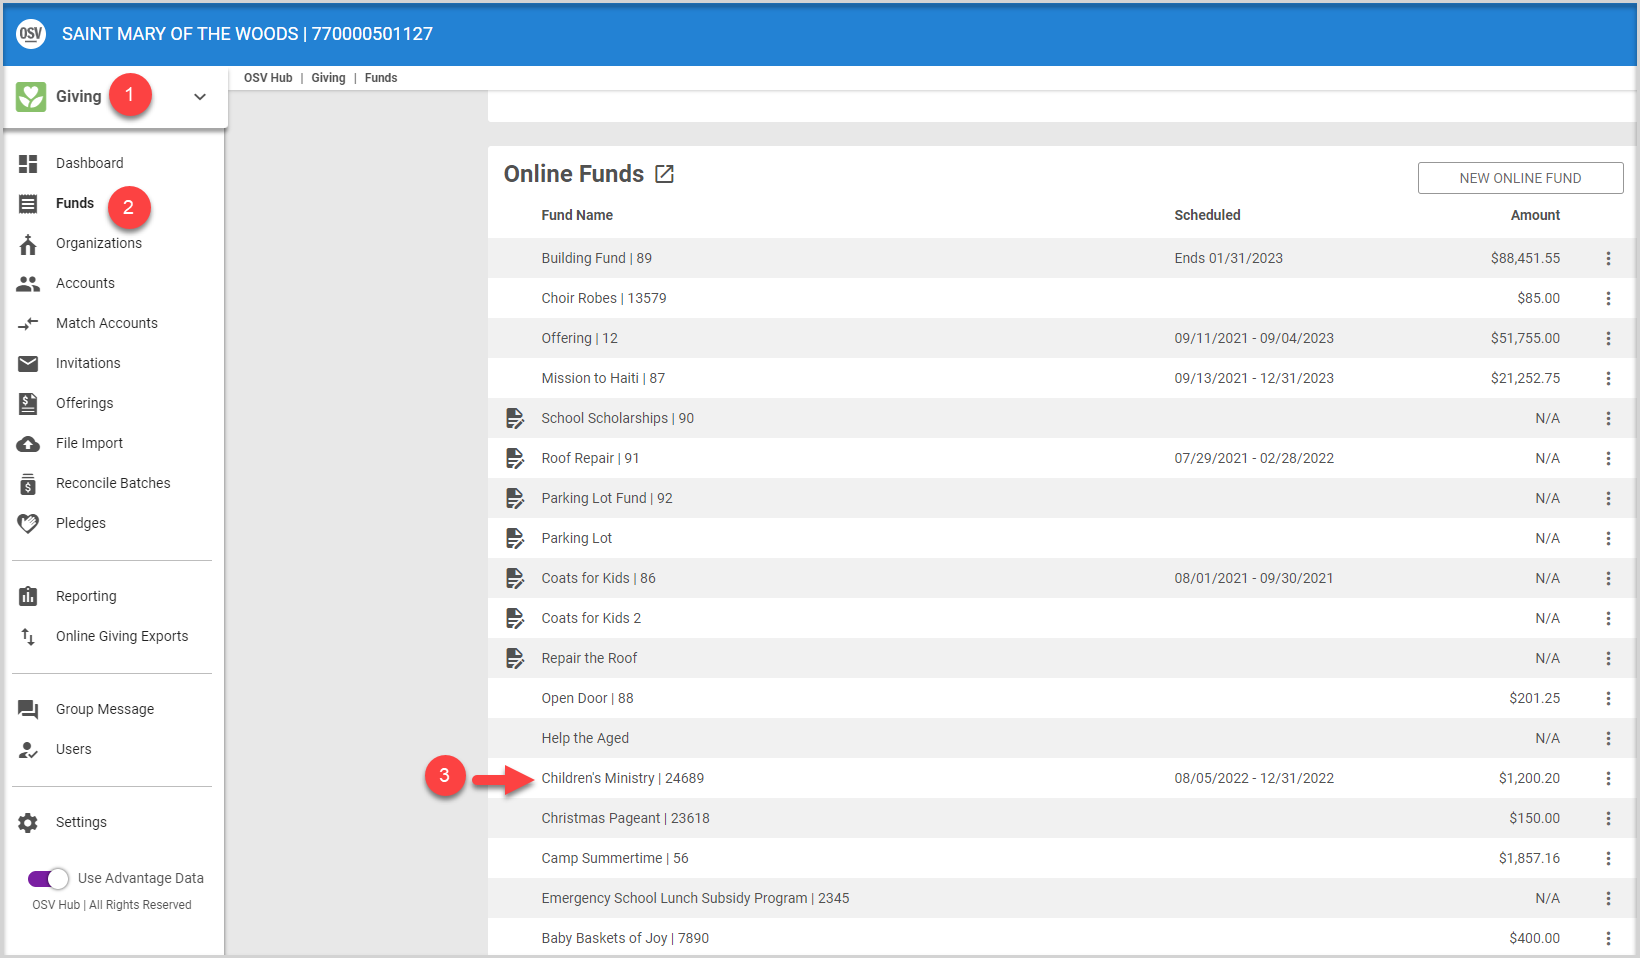
1. From Giving go to Funds.
2. Select the desired Fund.
3. Click on the Fund that needs the image to open the Fund Details page.
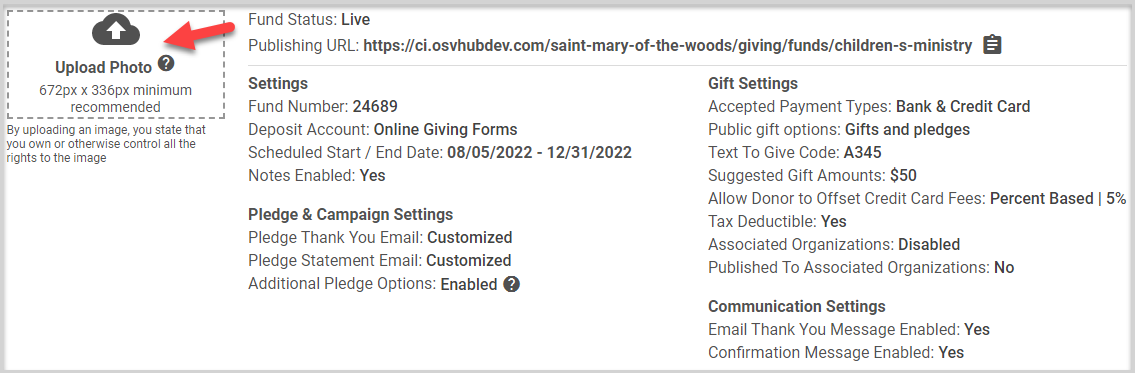
4. Click on Upload Photo. A window appears for uploading an image.
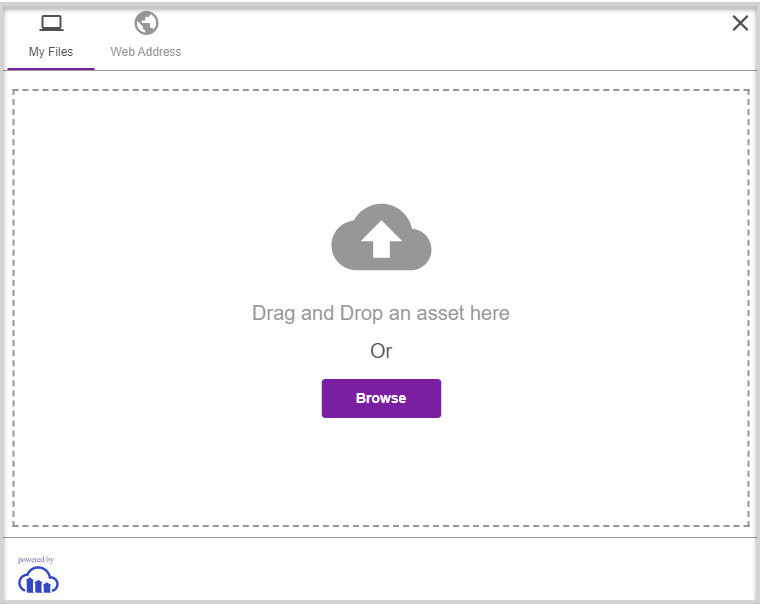
5. You can Drag and Drop an image into the Drag and Drop an asset here area, or click Browse and navigate to an image saved on your computer. Details on browsing to a saved image are given in the following steps.

Upload a Saved File
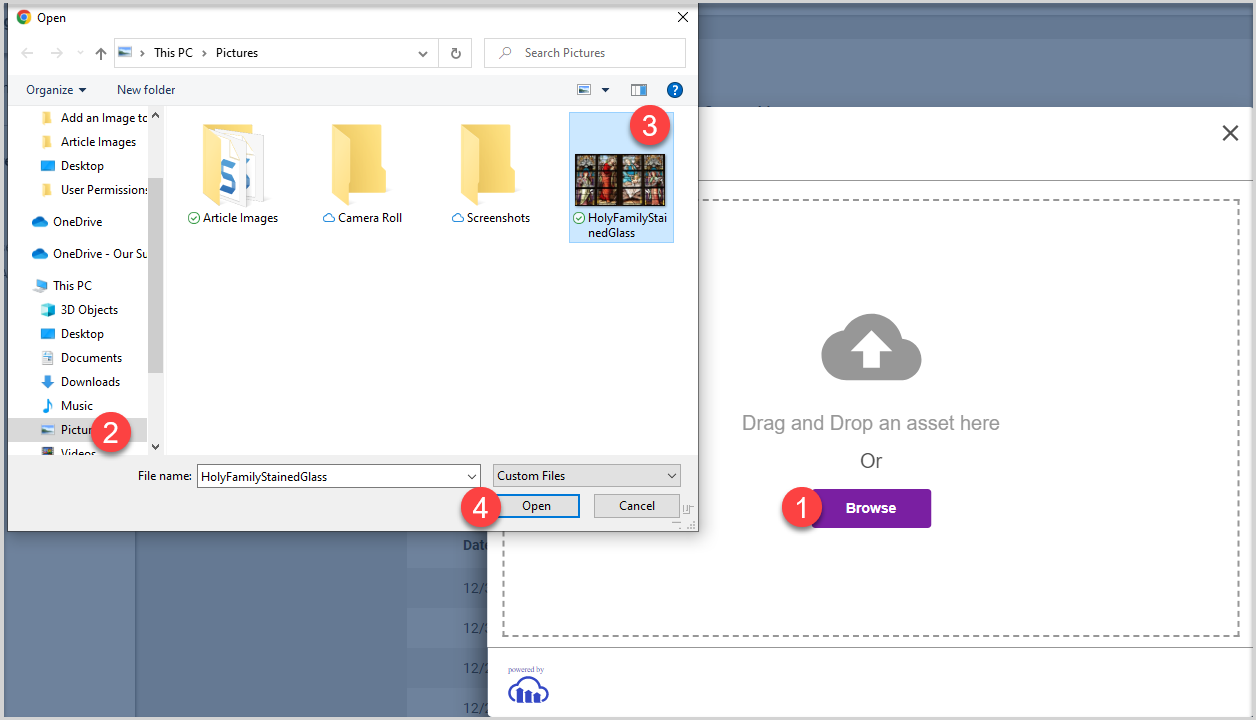
1. Click on Browse. A navigation window appears.
2. Navigate to where the file is saved on your computer.
3. Click the image you want to add to the fund.
4. Click Open. The image appears in the upload window.

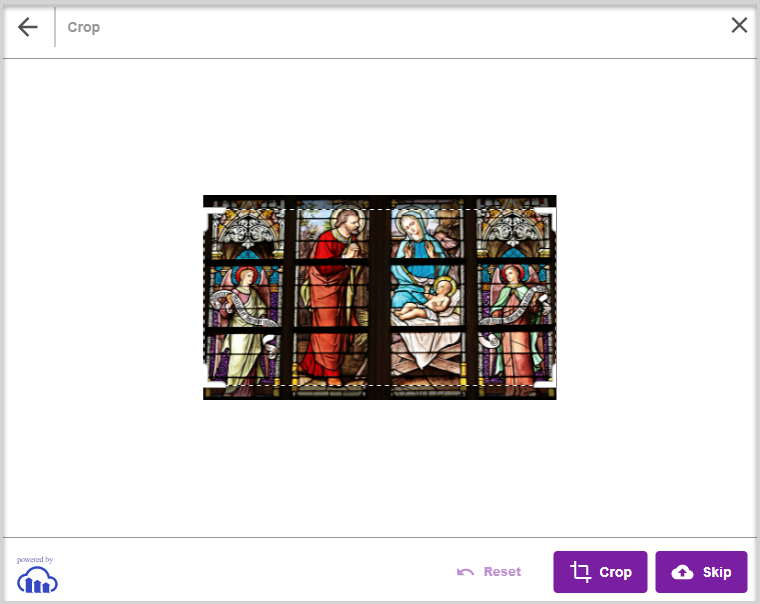
5. Adjust the frame on the image and click Crop or click Skip.
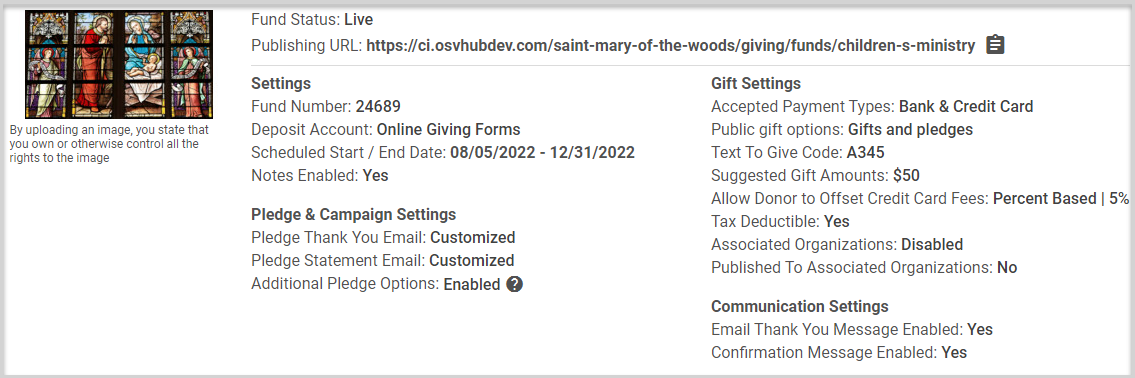
The finished image appears on the Fund Details page:
Check this out for more information on Uploading an Image when Creating a Fund.
Note* Visual steps are best viewed at full screen. Click Esc on your keyboard when you are finished viewing.