


Create a Mentor Relationship in Mission Pathways
This article provides steps to create a mentor relationship within the Mission Pathways profile page.
You can add a Mentor or Mentee relationship and edit the information at any time on the profile page under Mentor Relationships.
Complete the following steps to create a mentor relationship in the custom fields:
1. Log into Mission Pathways and click on Find People.
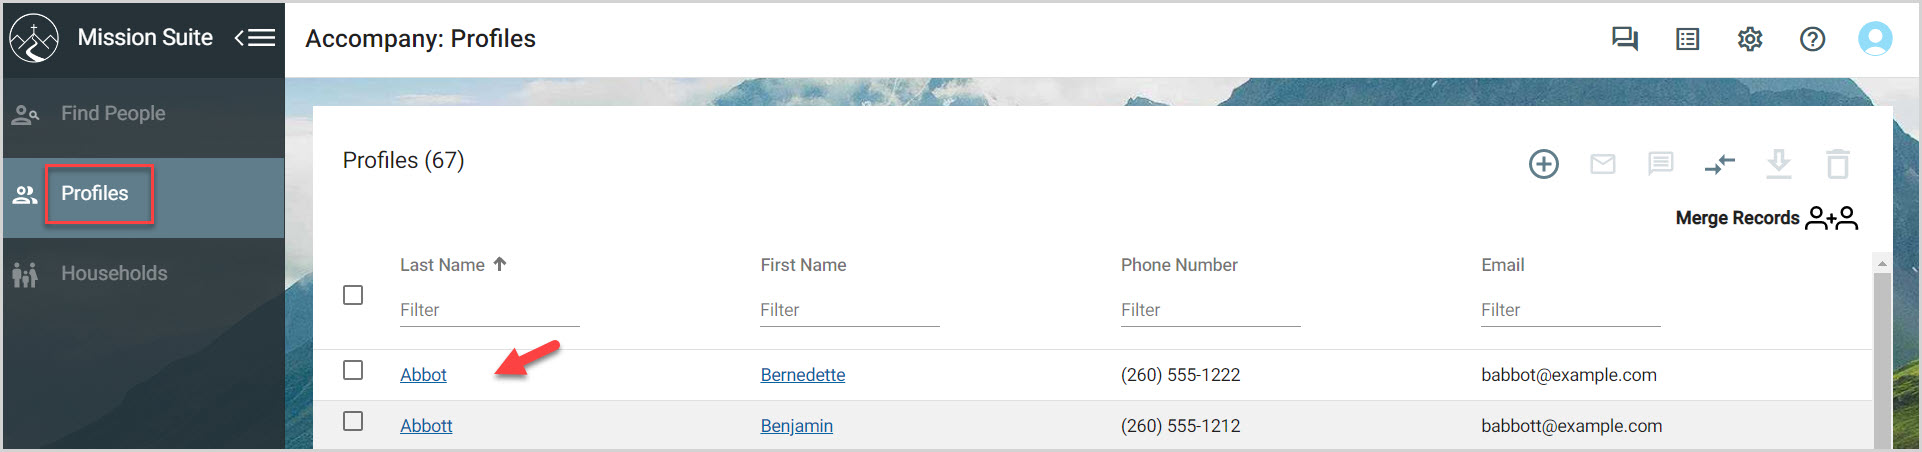
2. Click on Profiles.
3. Click on the desired profile to open and view.
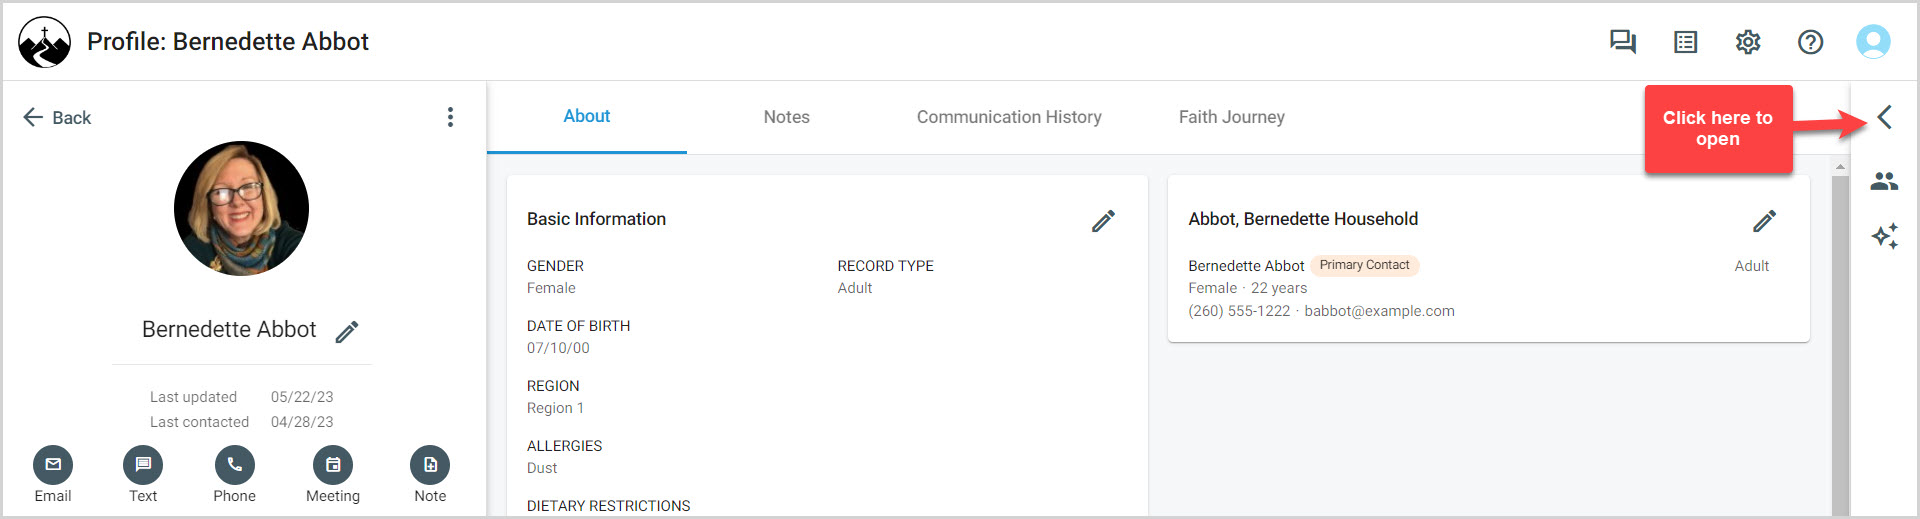
4. Click on the arrow to open the custom fields.
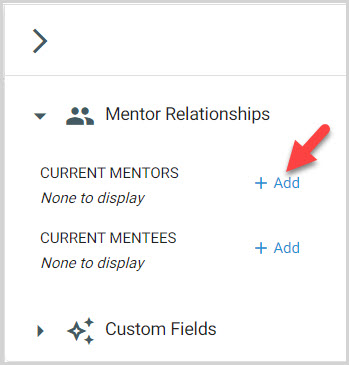
5. Click on the Mentor Relationships arrow to open.
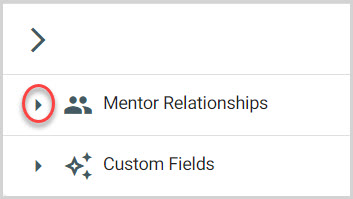
6. Click on the plus sign to add a mentor.
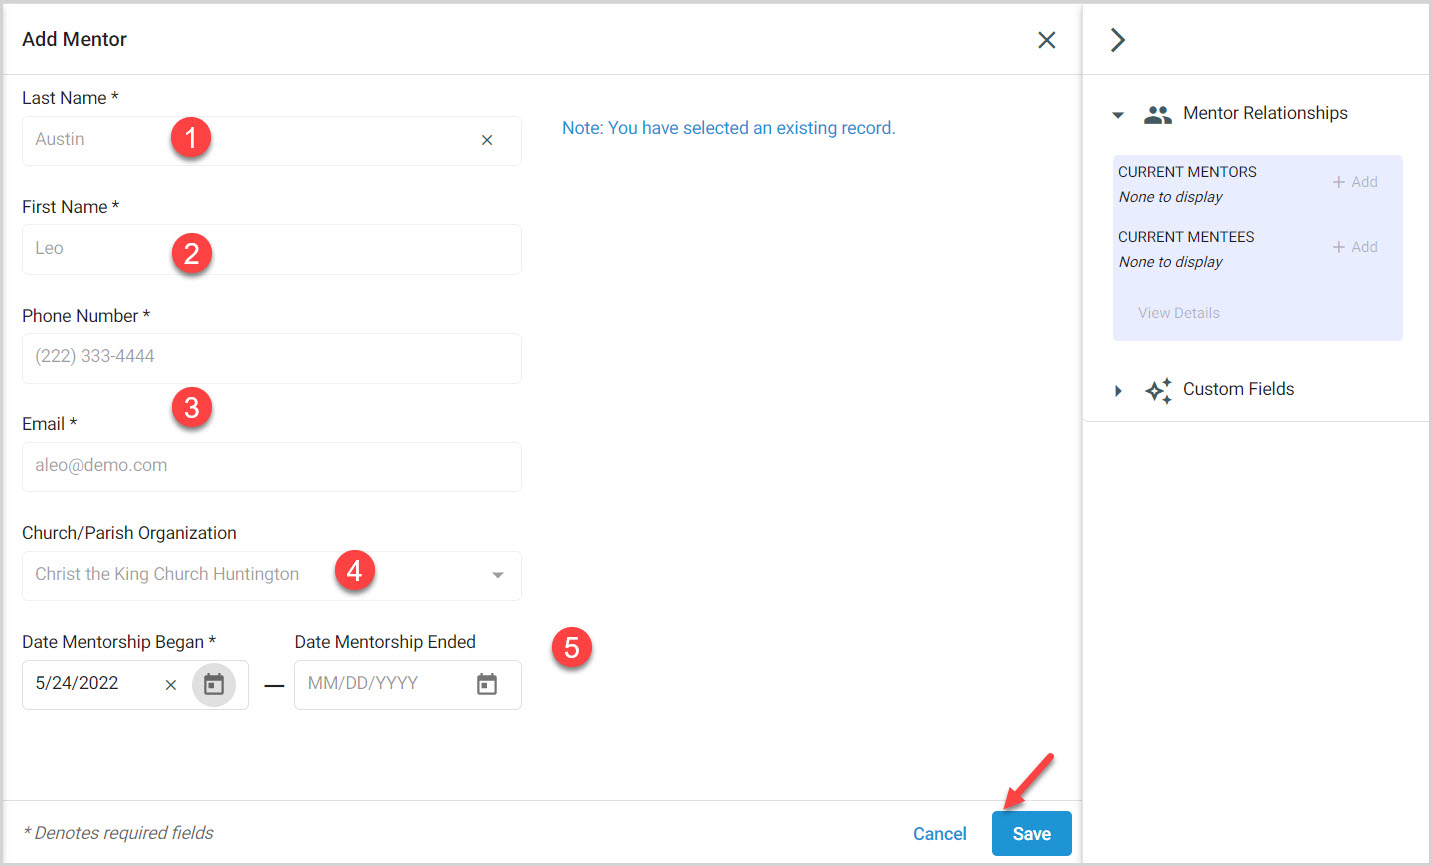
Enter the following information into the appropriate fields:
1. Last Name
2. First Name
3. Phone Number or Email Address (One or the other is required)
4. Church/Parish Organization (Not required)
5. The date the Mentorship began. (Required) Date the Mentorship ended if known. (Not required.)
7. Click on Save.
8. Click on Close.
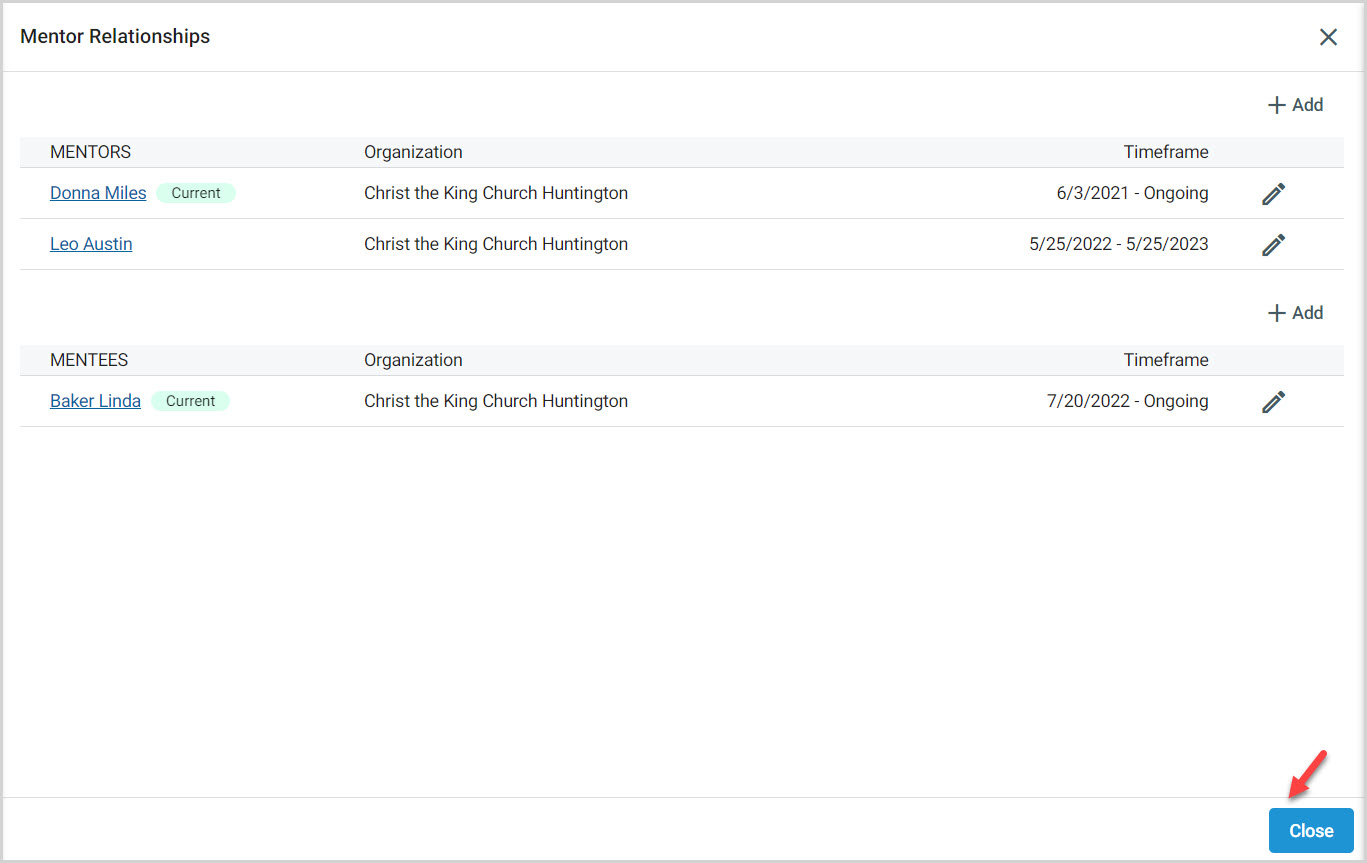
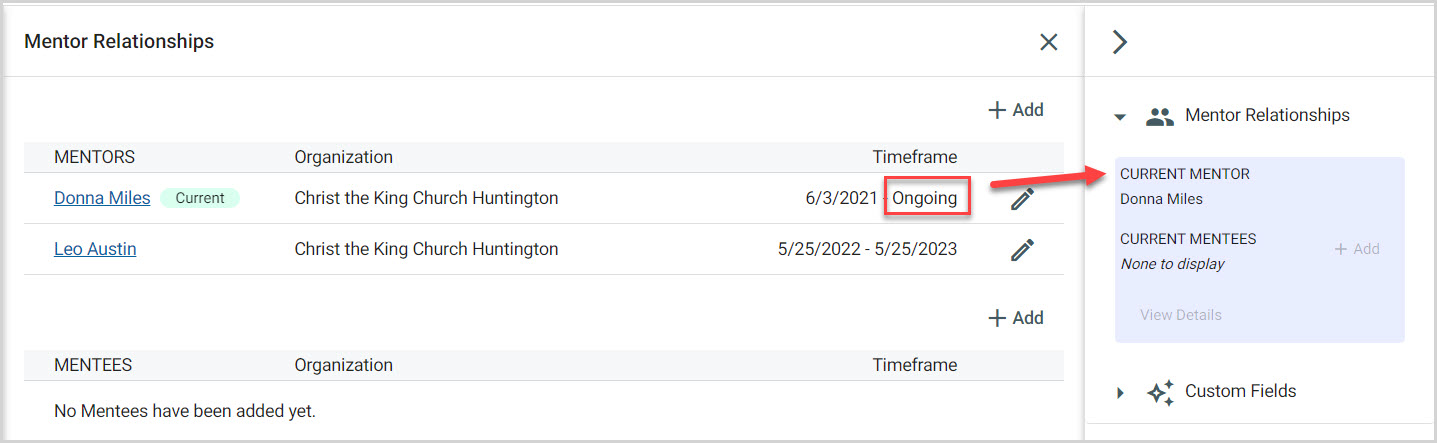
9. To view the list of past and present Mentors and Mentees again, click on View Details in Mentor Relationships.
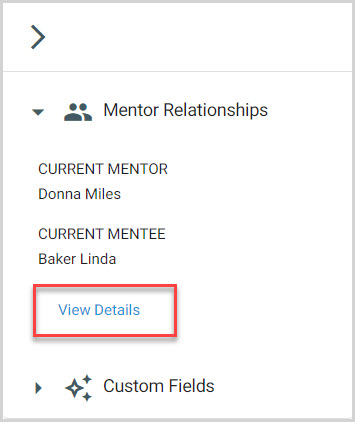
Note* Current Mentors and Mentees are always viewable in the blue box in Mentor Relationships. Conversations can be documented and reviewed in the notes section.
Note* The video is best viewed at full screen. Press Esc on your keyboard when you are finished viewing.