


Set Pledge Options for Managed Pledges
This article provides steps to set pledge options for managed pledges.
An administrator can set the pledge options when adding a managed pledge.
The option to include Additional Pledge Questions allows the organization to define a series of statements viewable for donors or parishioners to select on any particular pledge or a fund so the organization can gather information and track it. This feature is available to both Church Manager and Online Giving customers and includes the ability to set pledge options on regular and managed accounts.
Examples:
- I will remember the church in my will.
- I will be praying for this project.
- I want to donate my time and help on the project.
- I plan on attending in the new sanctuary.
Complete the steps to set pledge options for managed pledges:
1. From Giving go to Accounts.

2. Search for the desired account.
3. Click on the account to open and view the detail page.

4. Click on the ADD GIFT button.

5. Select Pledge from the drop-down menu.

6. Select the Fund Name.
Note* Options can be customized for each fund. The selected fund determines which pledge options are viewable.

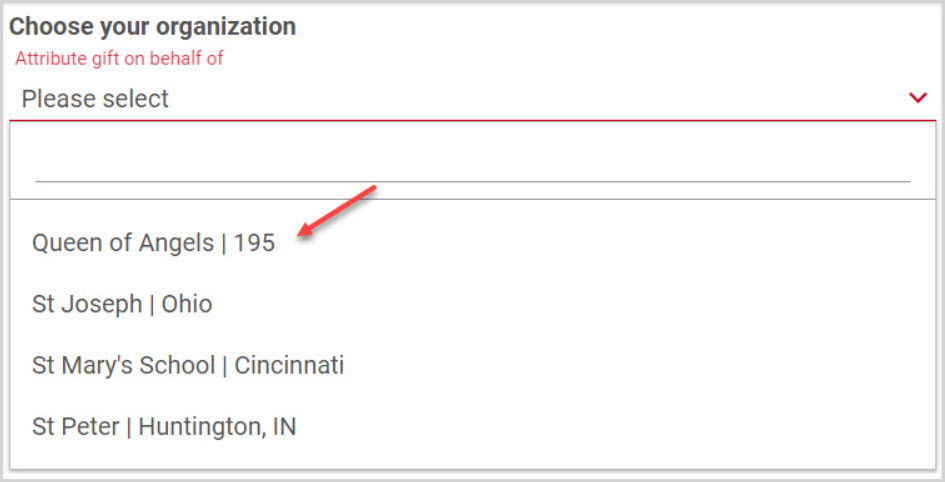
7. If desired, choose an organization on behalf of which to attribute a gift.
8. Enter the desired pledge amount.

9. Place a checkmark in the box to give a deposit towards the pledge.
10. Enter pledge information: an initial deposit if desired, dates, frequency, first and last installment, and any pertinent notes.

Set Pledge Options
11. Select any desired pledge options for the donor.

12. Select Payment Method.

13. Click on the ADD button.

Note* Pledge options can also be set when adding a managed pledge to a non-managed account.
For more information, please see About Additional Pledge Options.
Note* Visual steps are best viewed at full screen. Click Esc on your keyboard when you are finished viewing.