Update a Custom Field in Directory
This article provides steps to update a custom field in Directory.
Once you have Created a Custom Field for Directory, you can populate the information in your system by updating the custom field in Directory. Custom field information appears on the Additional Info card on the Family Detail page (for families) or the Member Detail page (for members). You can update the information as needed at any time.
If you need to edit the custom field instead of updating the information in the system, please see Edit a Directory Custom Field. You can also Delete a Directory Custom Field , provided it does not have information populated in the system.
Complete the following steps to update a custom field in Directory:
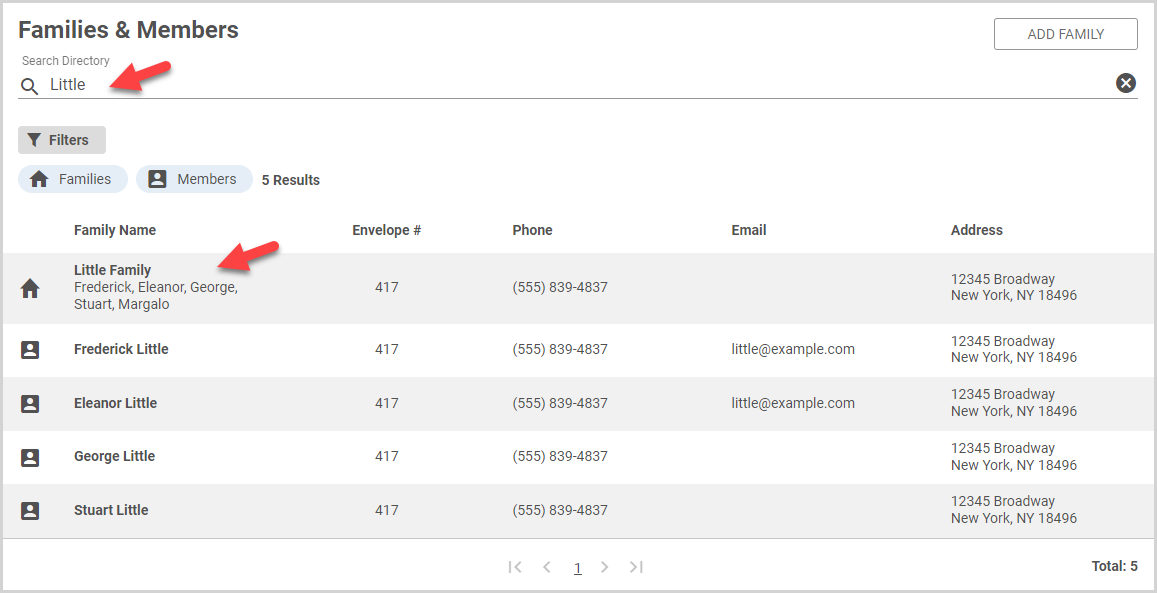
1. In Directory, search for and select the family or member.
2. Locate the Additional Info card on the Family Detail page or Member Detail page.

3. Click the ellipsis on the Additional Info card to view the drop-down menu.
4. In the drop-down menu, select the custom field you want to update. The custom field side sheet appears.

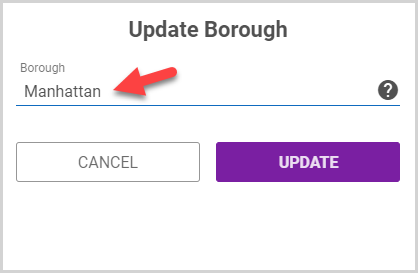
5. In the side sheet, enter and/or select the necessary information to update the custom field information.
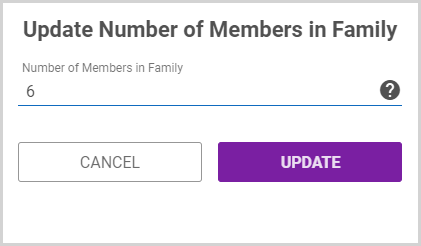
If you are entering information into a number custom field, only numerical values (including negative values and decimal places) are allowed.
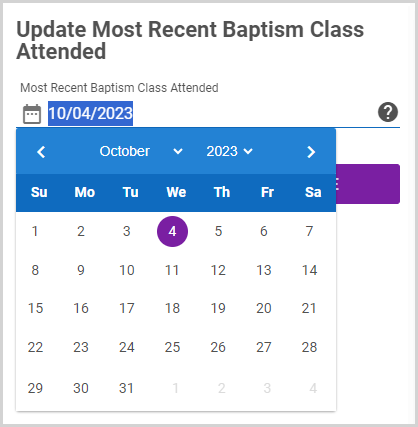
To enter a date on the into a date custom field, use the calendar control to select the date or enter the date using your keyboard.
To update a choice custom field, select the option or options from the list or drop-down menu.
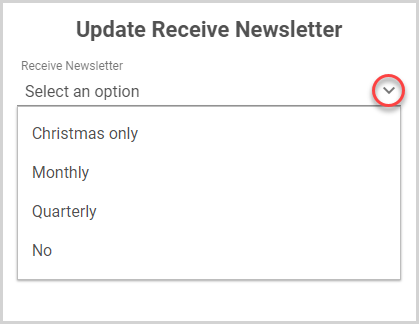
Note* You can only select one answer for single answer choice types, but you can select more than once choice for multiple answer choice types.
If help text has been entered, hover over the question mark tooltip to view the help text.
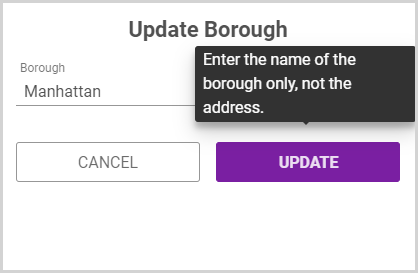
6. Click the Update button.
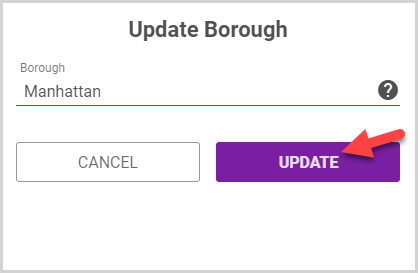
The updated custom field information appears in the Additional Info card.

Note* The video is best viewed at full screen. Press Esc on your keyboard when you are finished viewing.


