


Customize the Header Section
This article provides information on how to customize the Header section which includes your logo, business name, and social network links.
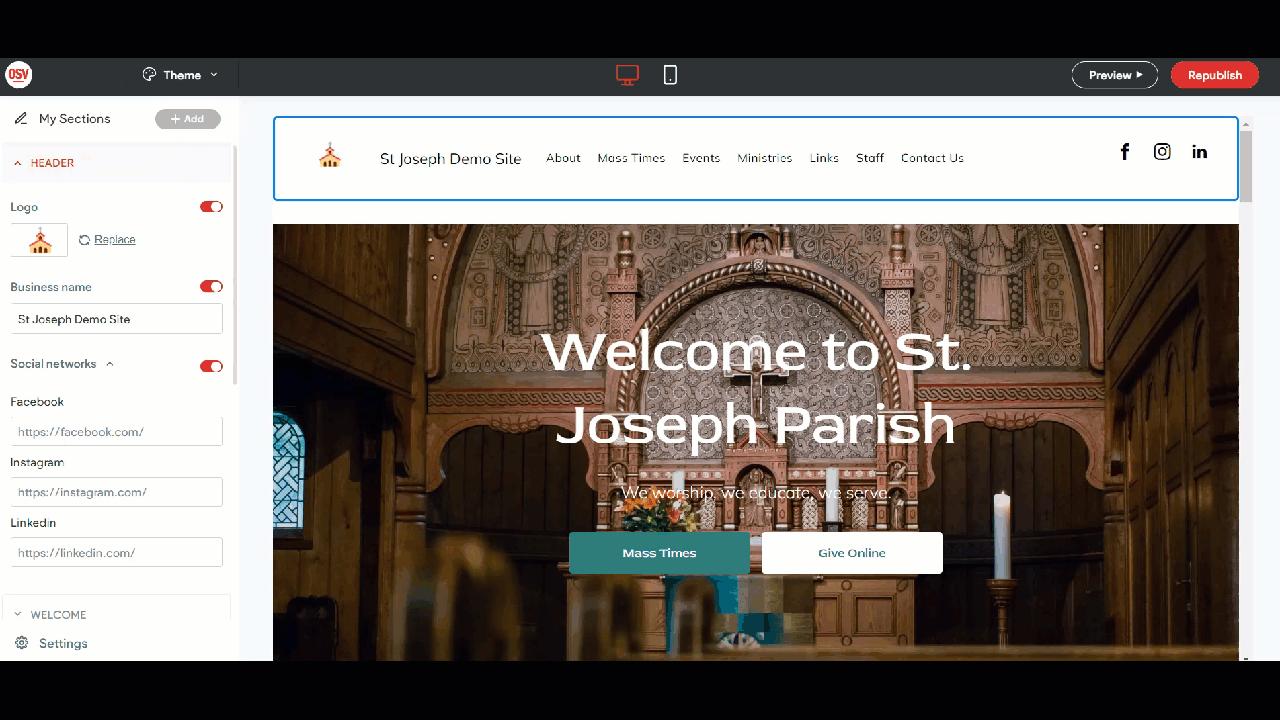
An administrator can customize the Header section of the Instant Website to include a logo, business name, and add social network links. The selections you make are reflected across the top of the site called the Header. The features of the Header can be added, edited and hidden at any time.
Complete these steps to customize the Header:
Open the Header Section
1. In the main menu click on the Header drop-down to view the selections for this section. The logo, business name, and social network links you add are viewable across the top of the site.
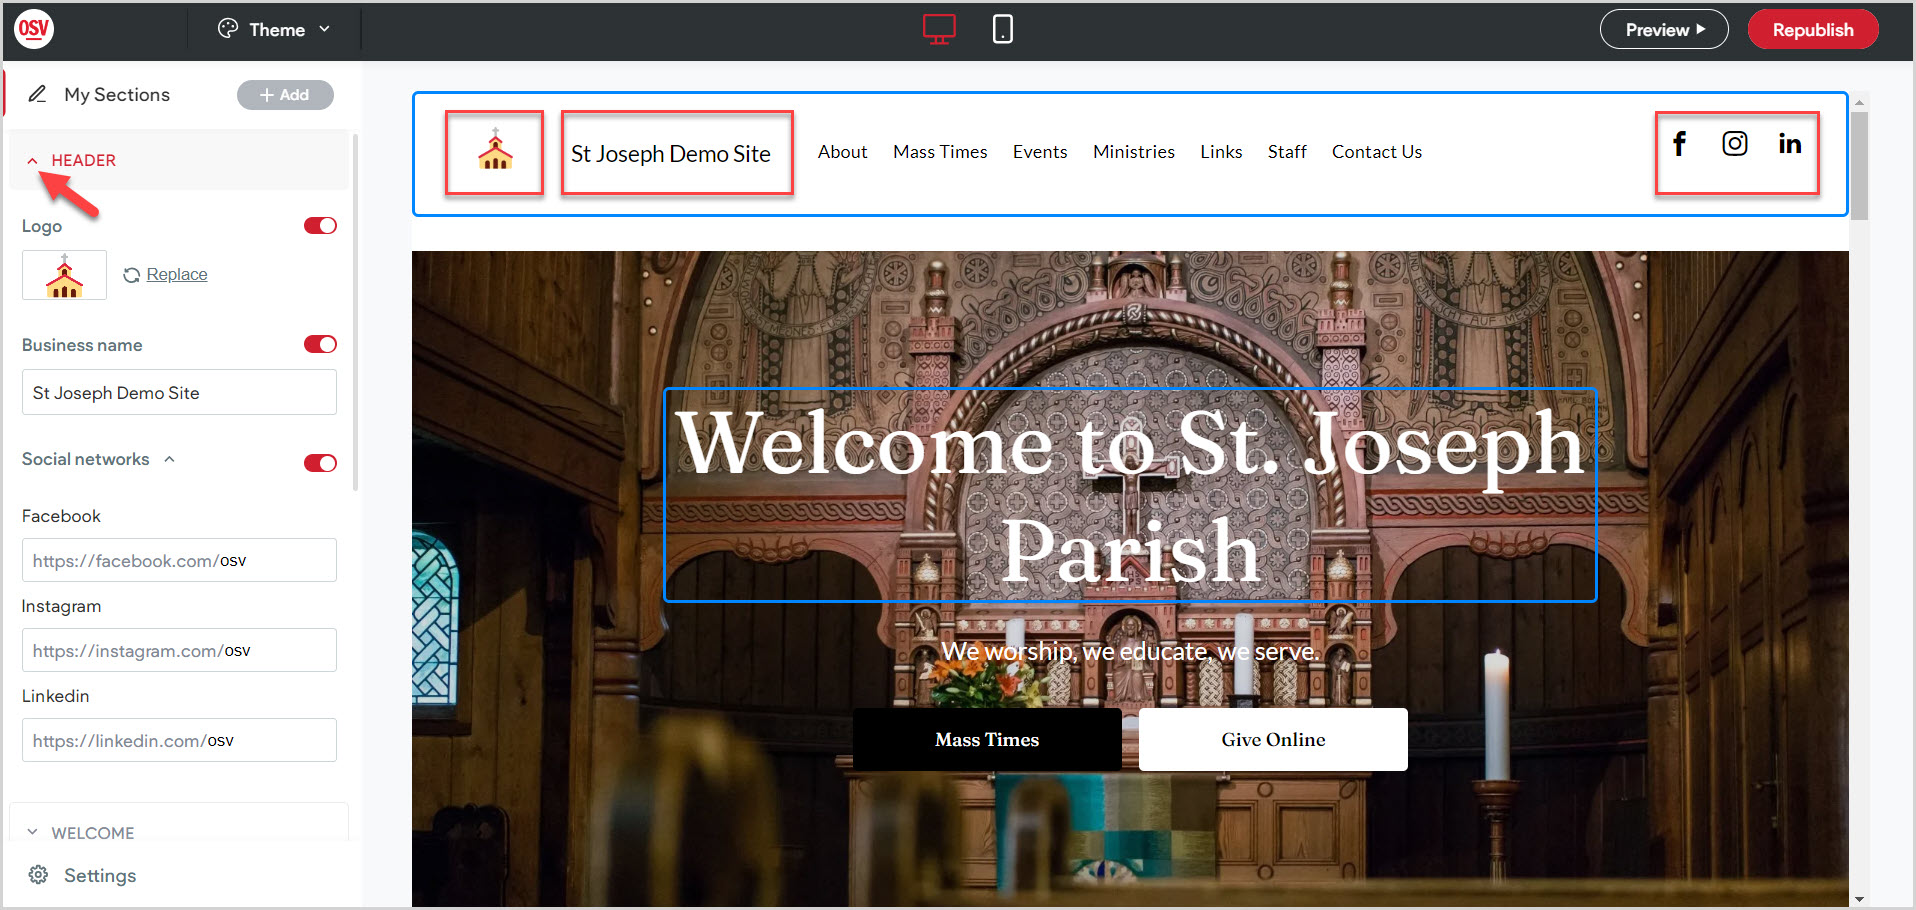
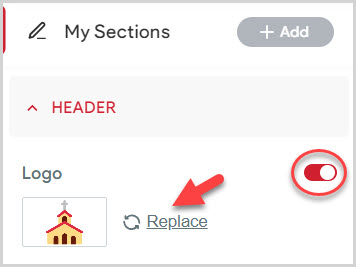
Add a Logo
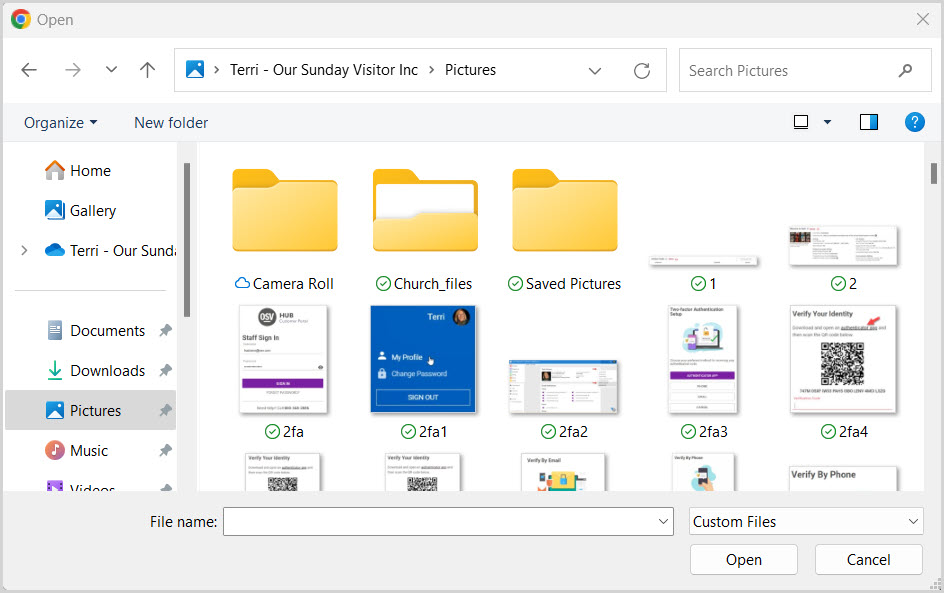
2. Click Replace to upload a logo from your computer. The logo can be replaced at any time. Turning the toggle switch to the off position hides the logo. Turning it to the on position allows it to be viewed on the site.
Note* It will be assumed that you own the rights to the graphic.
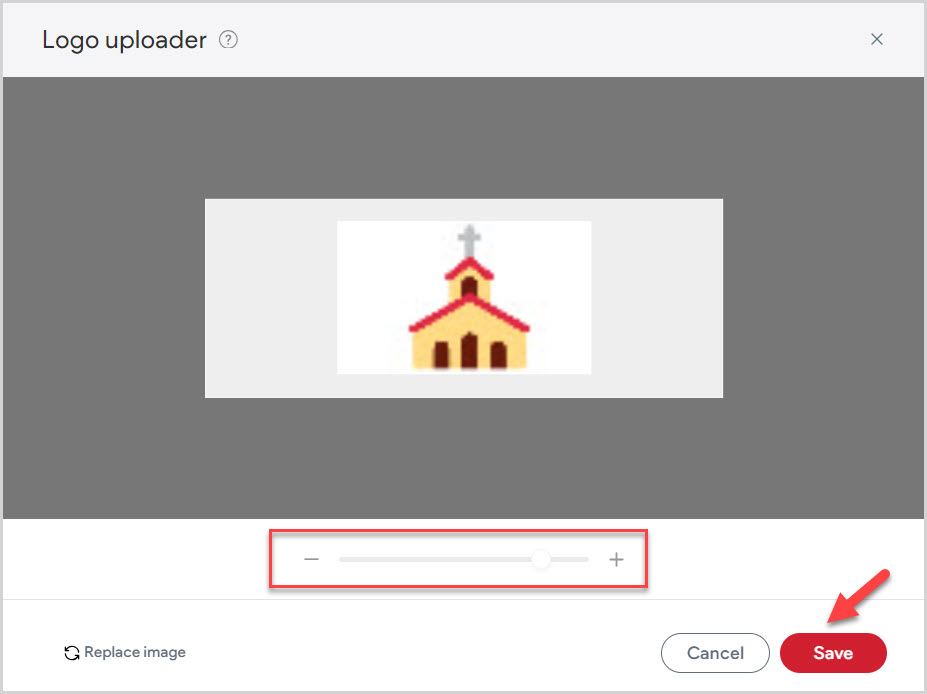
3. Click on the minus or plus sign to adjust the size of the logo as necessary.
4. Click on Save.
Enter a Business Name
5. Enter the business name. The business name can be added, deleted or edited at any time. Turning the toggle switch to the off position hides the business name. Turning it to the on position allows it to be viewed on the site.

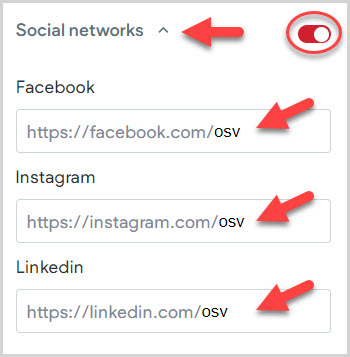
Add Social Network Icons
6. Enter the links to add desired Social Network icons. The icons can be deleted or edited at any time. Turning the toggle switch to the off position hides the social network icons. Turning it to the on position allows them to be viewed on the site.
7. Click Preview or Republish to save the information to the site.
Note* The video is best viewed at full screen. Press Esc on your keyboard when you are finished viewing.