


Designate a Fund as a Featured Fund or Remove a Fund as Featured
This article explains how to designate a fund as featured or remove a featured fund.
Only one fund can be featured at a time. A fund can be designated as a featured fund or removed as a featured fund at any time.
Creating a featured fund on an online giving site for a church can serve several purposes, each aimed at meeting specific needs and fostering a sense of community among the congregation. As needs change the featured designation can be removed so another fund can be designated as featured.
Complete the following steps to designate a fund as featured or remove a fund as featured:
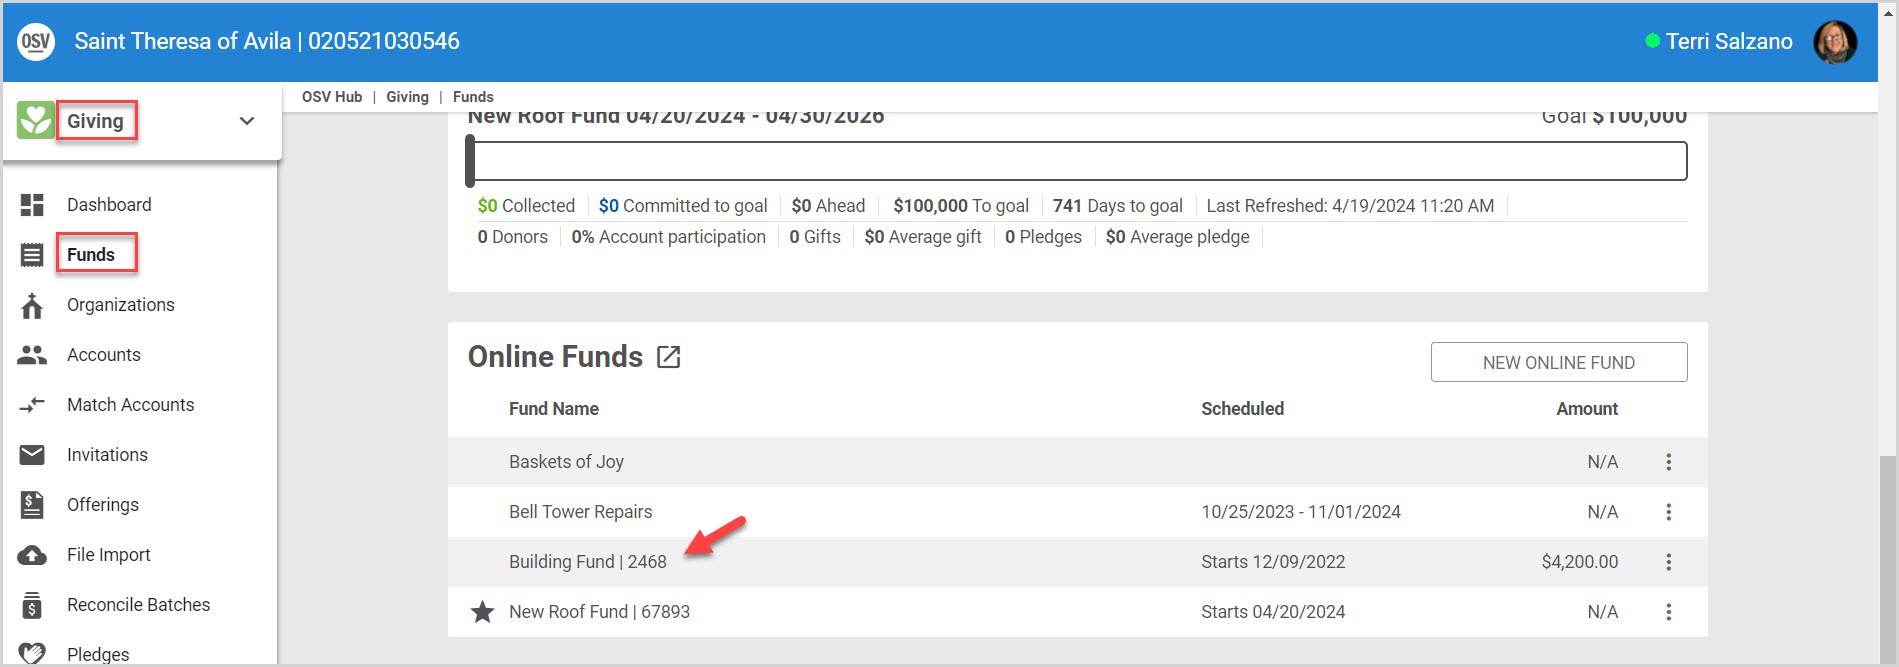
1. From Giving go to the Funds in the main menu.
2. Click on the desired fund to get to the Fund Detail page.
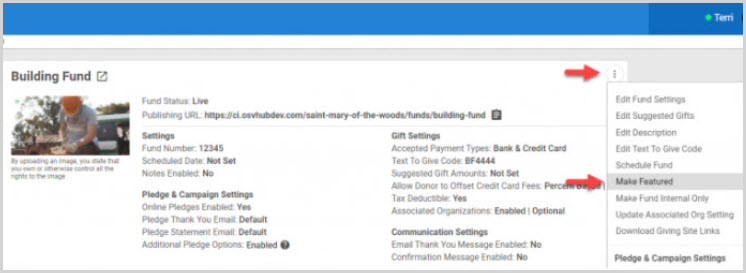
3. Click on the ellipsis to view the drop-down menu.
4a. Select Make Featured.
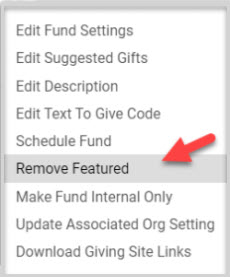
4b. Or, select Remove Featured to remove the featured status of a fund. (You will only be given this option if the fund is currently a featured fund.)
5. Select YES to confirm featuring the fund.

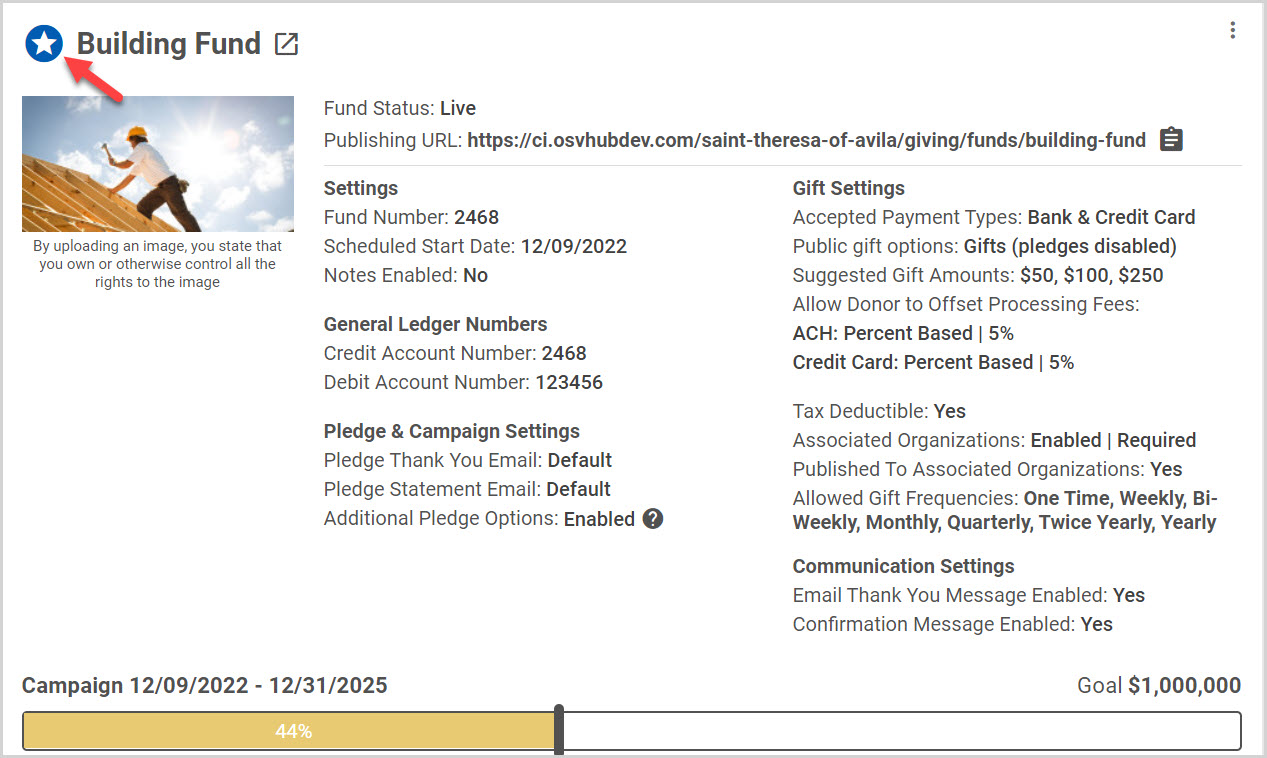
Note* The fund is now designated as featured with a star on the fund detail page.
And, the fund is also designated as featured with a star on the fund list page.

Click here for more information about Funds.
Note* Visual steps are best viewed at full screen. Click Esc on your keyboard when you are finished viewing.