


How Parents Register Using a Religious Education Term Link
This article provides steps for parents or guardians to complete a Religious Education registration online.
Once you have Created a New Term in Religious Education, you can begin to Register Students through the religious education module. Parents or guardians can also conveniently register their own children online. Share the registration link with parents or guardians to get them started. The directions below detail the process a parent or guardian uses to register their child(ren). The system records each online registration in an unapproved state, so you can review the registrations and Approve the Registration or, if needed, Reject the Registration.
Note* The payment / discount page is only available to parents if you are an Online Giving customer. If you do not have Online Giving you can still record payments and apply discounts through the Religious Education Module.
Parents or guardians use the following steps to complete a Religious Education registration online:
1. Click the provided link for the Term, launching the public registration form.
Note* If you are not already signed in, or have not yet created an account, you can do so by clicking Sign In / Create Account. To pay for the registration online, you must sign in or create an account. You are not required to sign in to complete a registration and pay in person.
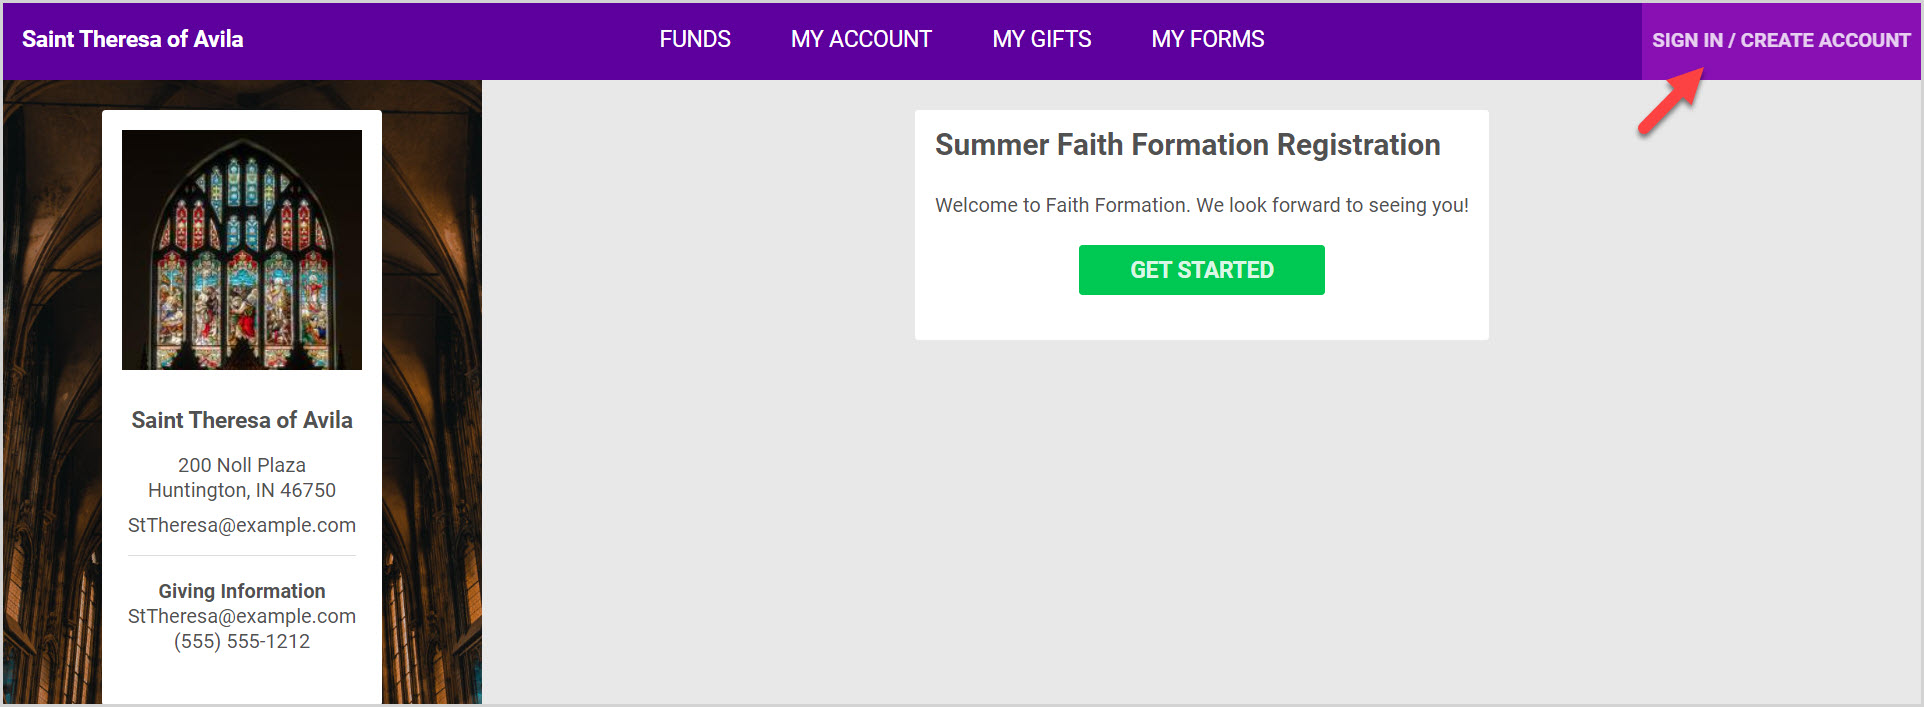
Note* If a custom welcome message has been set for the term, it is displayed here. Example: Welcome to Faith Formation. We look forward to seeing you.
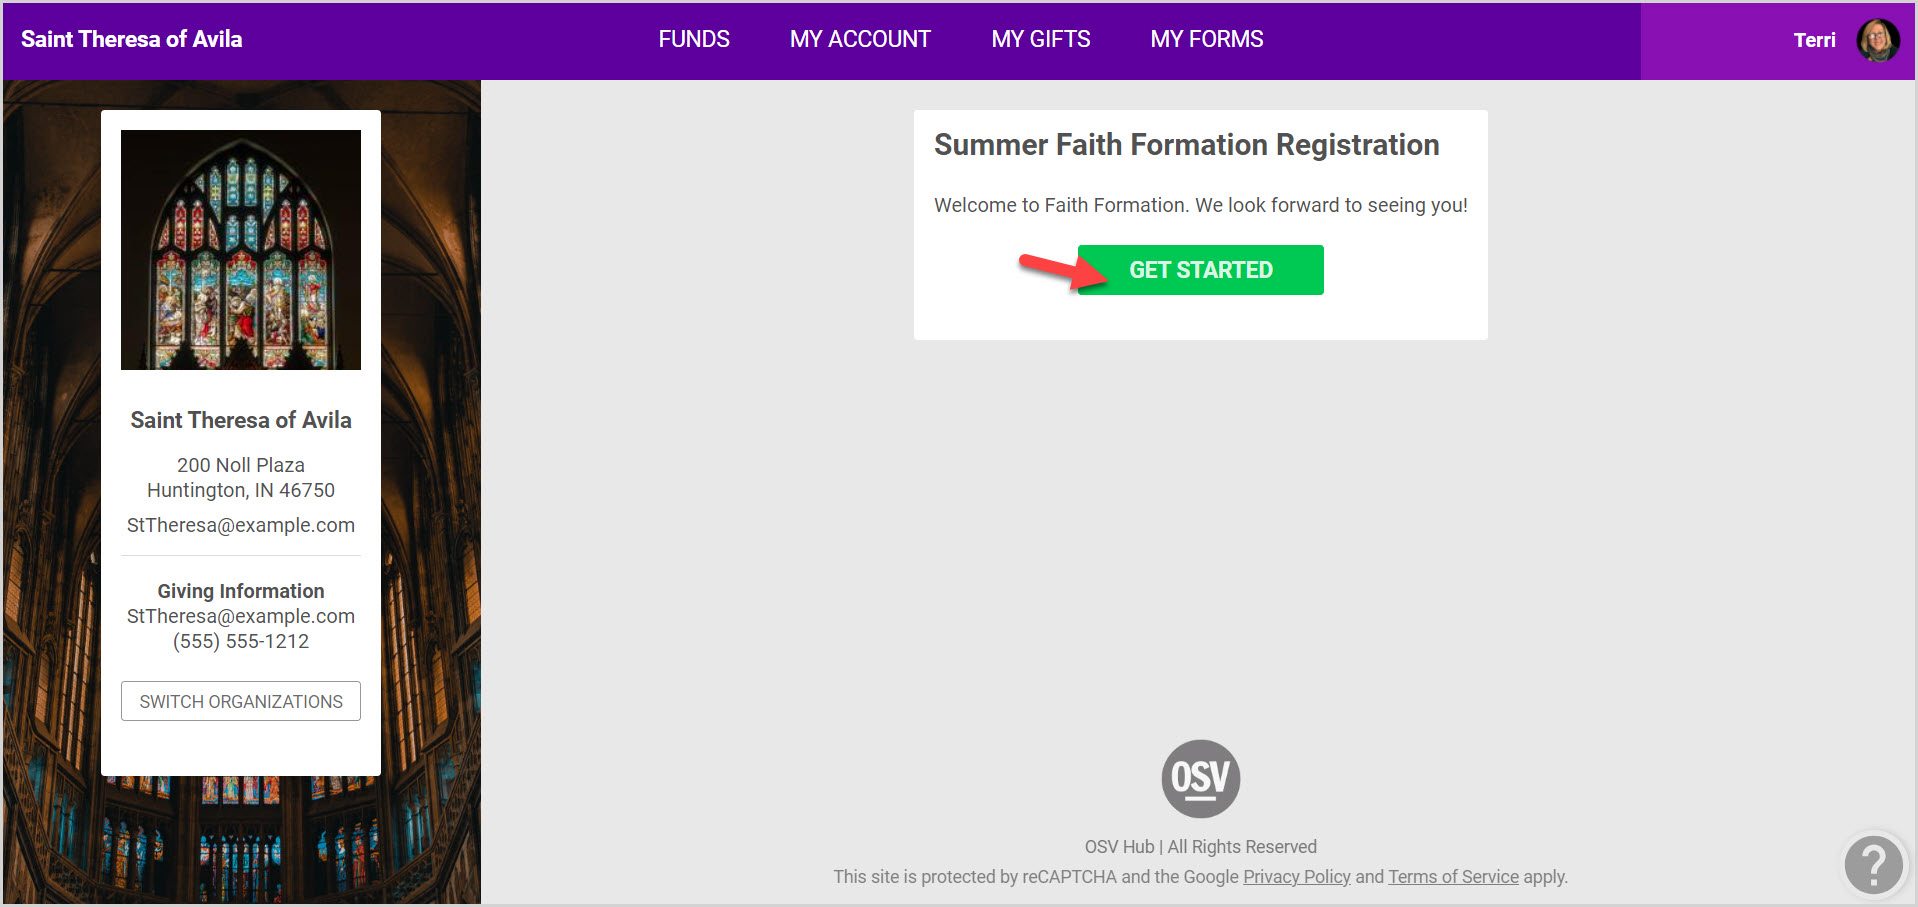
2. Click the Get Started button to begin the registration. If no welcome message is set, the registration automatically begins at the parent / guardian information page.
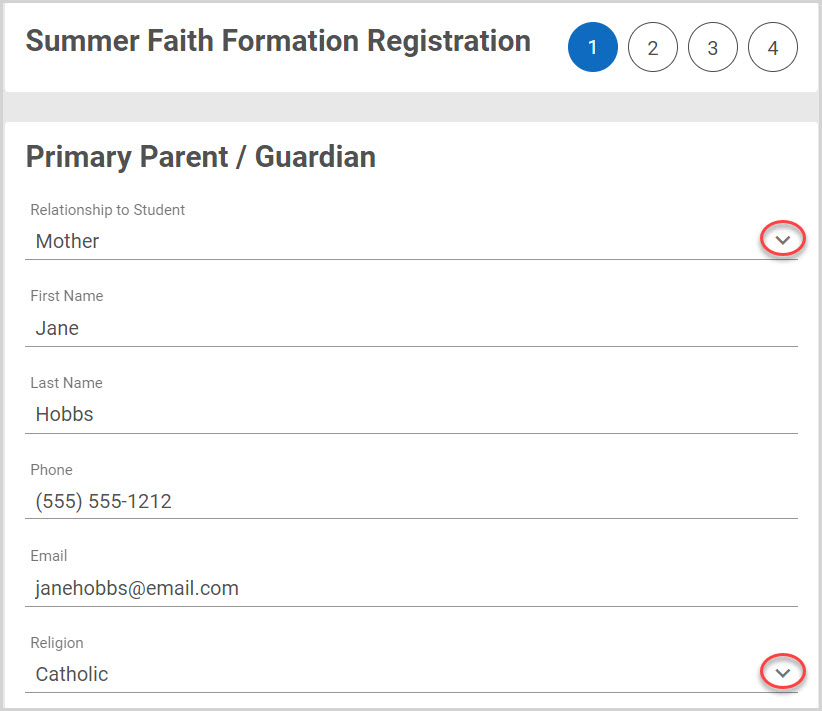
3. Enter the Primary Parent / Guardian information: Relationship to the student, First and Last Name, Phone Number, Email, and Religion.
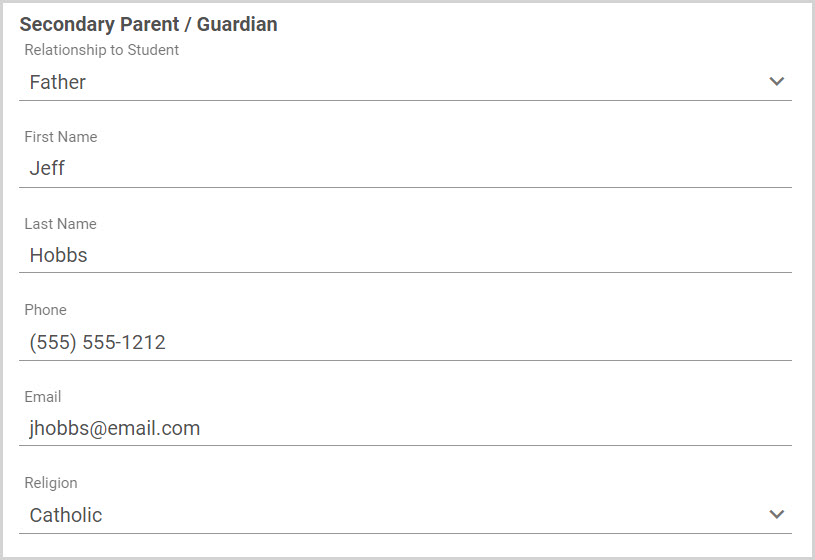
4. Enter the Secondary Parent/ Guardian information: Relationship to the student, First and Last Name, Phone Number, Email, Religion.
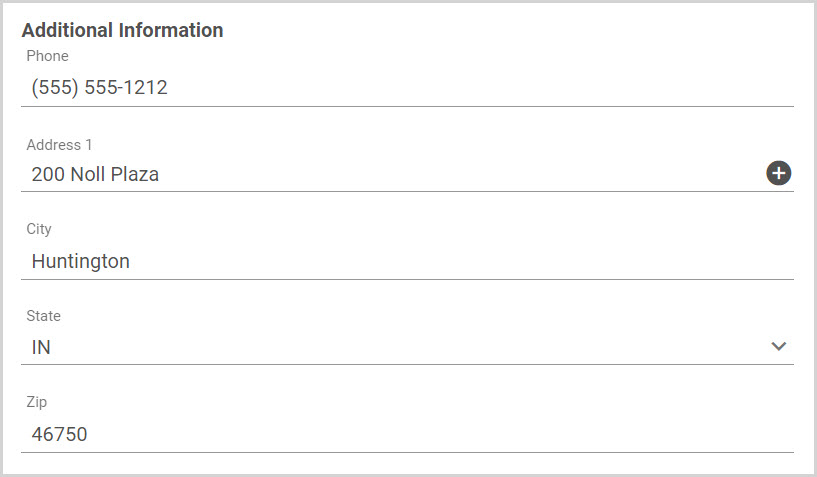
5. Enter the Additional Information: Family Phone Number and Address.
6. Enter Alternate Contact information. The Alternate Contact is an emergency contact used in the event the parents / guardians cannot be reached.
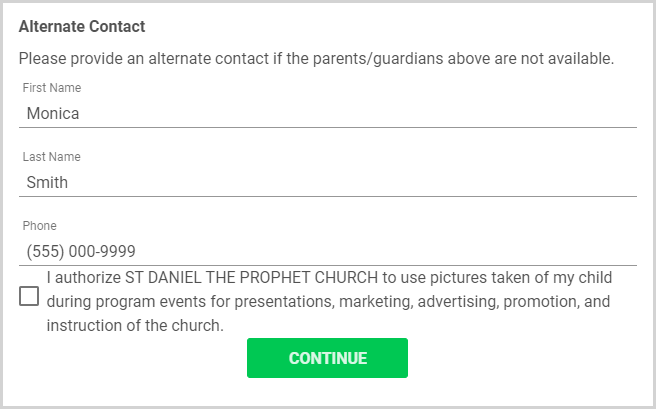
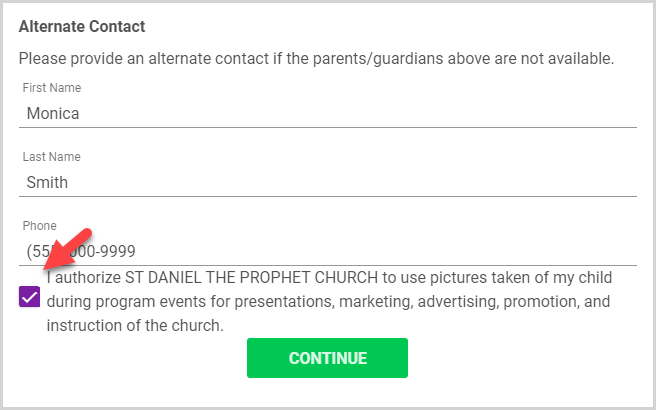
7. Select the checkbox to accept the terms and conditions.
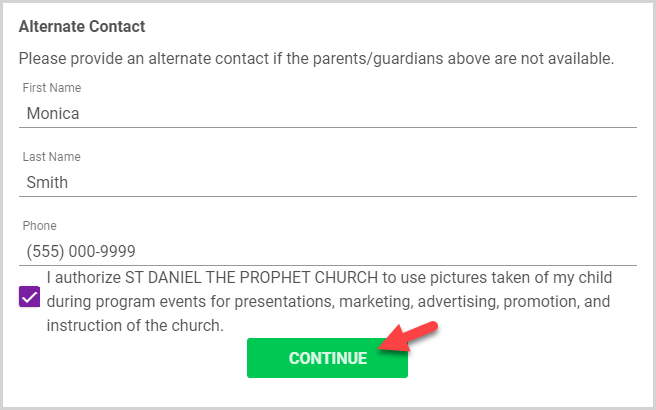
8. Click the Continue button.
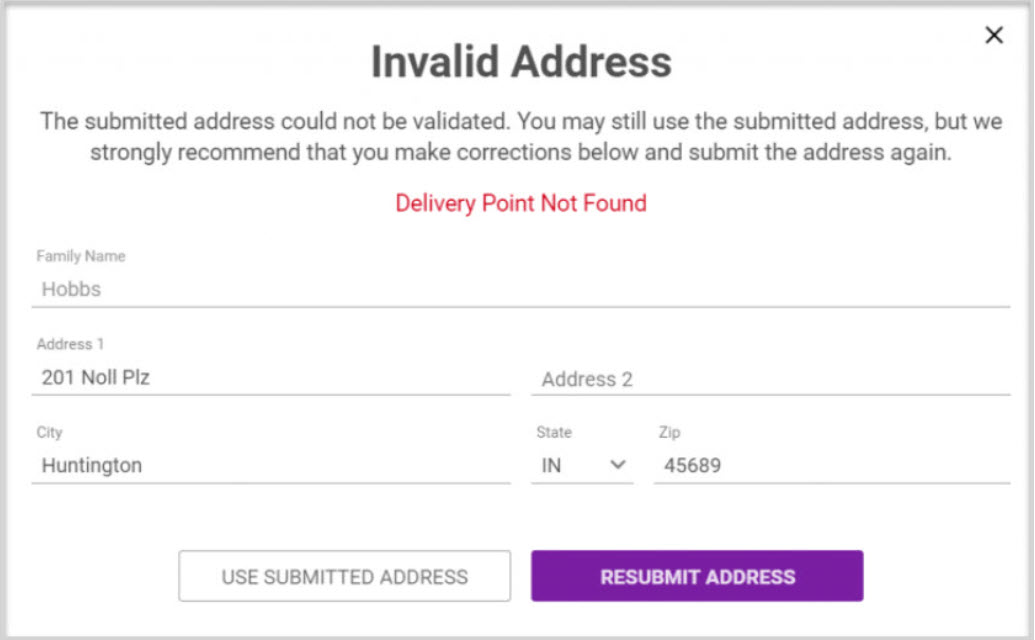
Note* Addresses entered on the registration are checked against USPS information. If the system cannot find your address, the Invalid Address card appears. You have the option to use the submitted address as entered or update and resubmit the address.
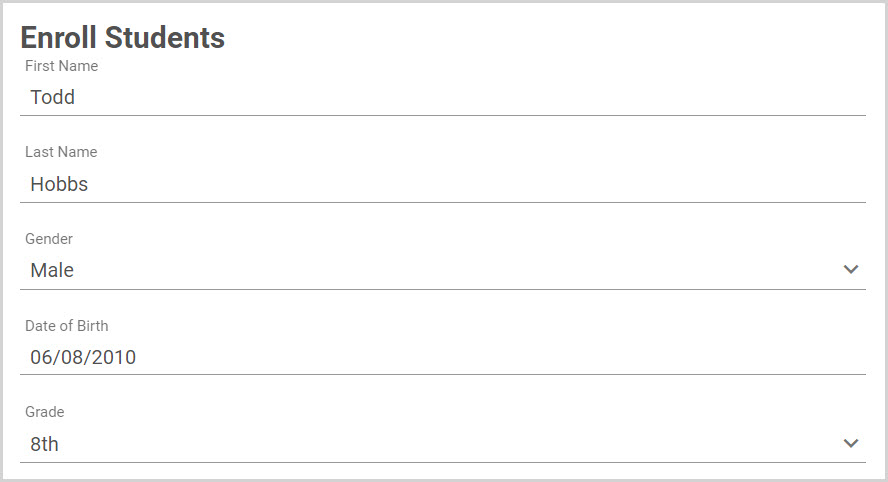
9. Enter the Student information: First and Last Name, Gender, Date of Birth and Grade.
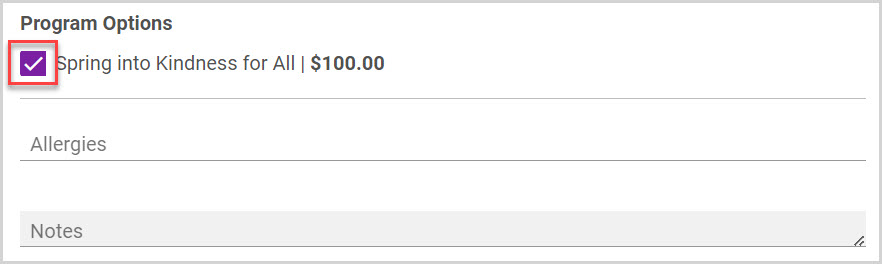
10. Select the applicable Program Options.
11. If applicable, enter Allergies and/or additional Notes that instructors or staff need to be aware of.
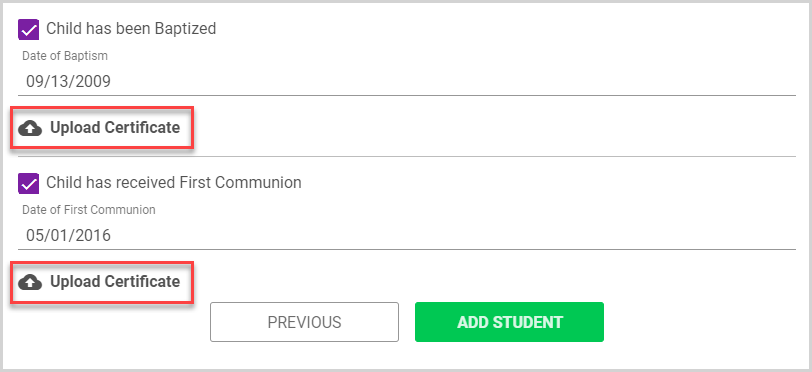
12. If applicable, select the checkboxes to indicate the Child has been Baptized and the Child has received First Communion.
13. Enter Dates for reception of the sacraments as appropriate.
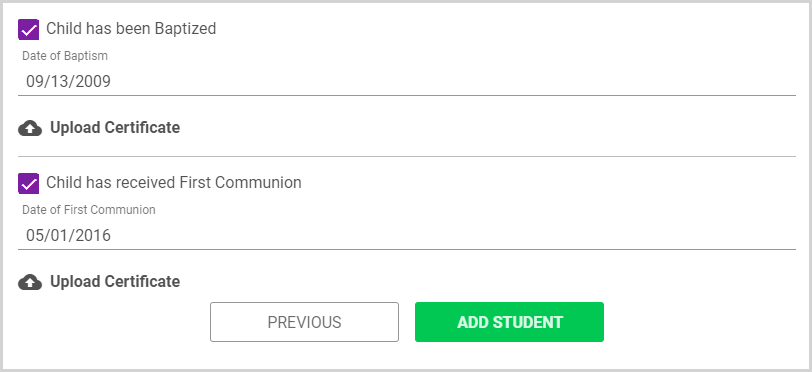
14. Upload any required Sacramental Certificates. For more information, please see Upload Sacrament Certificates for a Registration.
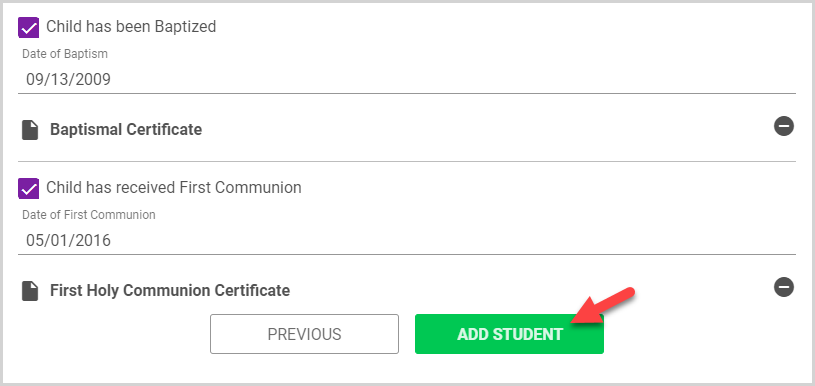
15. Click Add Student to add a child to the registration.
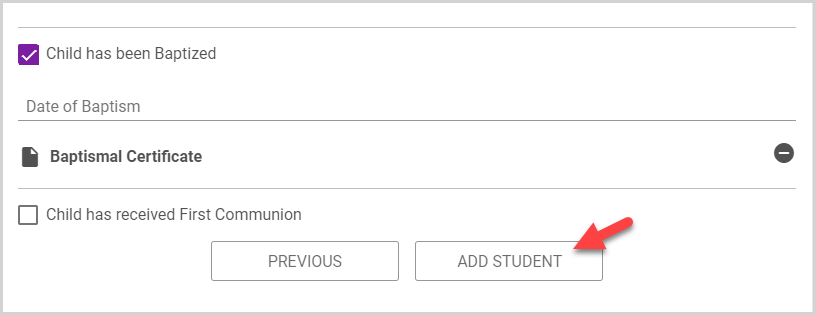
16. To register additional children, enter the appropriate information for your next child, and then click Add Student.
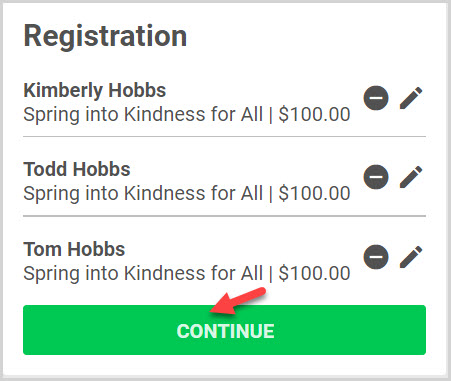
Note* We have added 3 students all together. To update a student's registration information, click the edit pencil icon next to the student's name. If you need to remove a student from the registration, click the minus icon.
17. Click Continue to advance to the payment page.
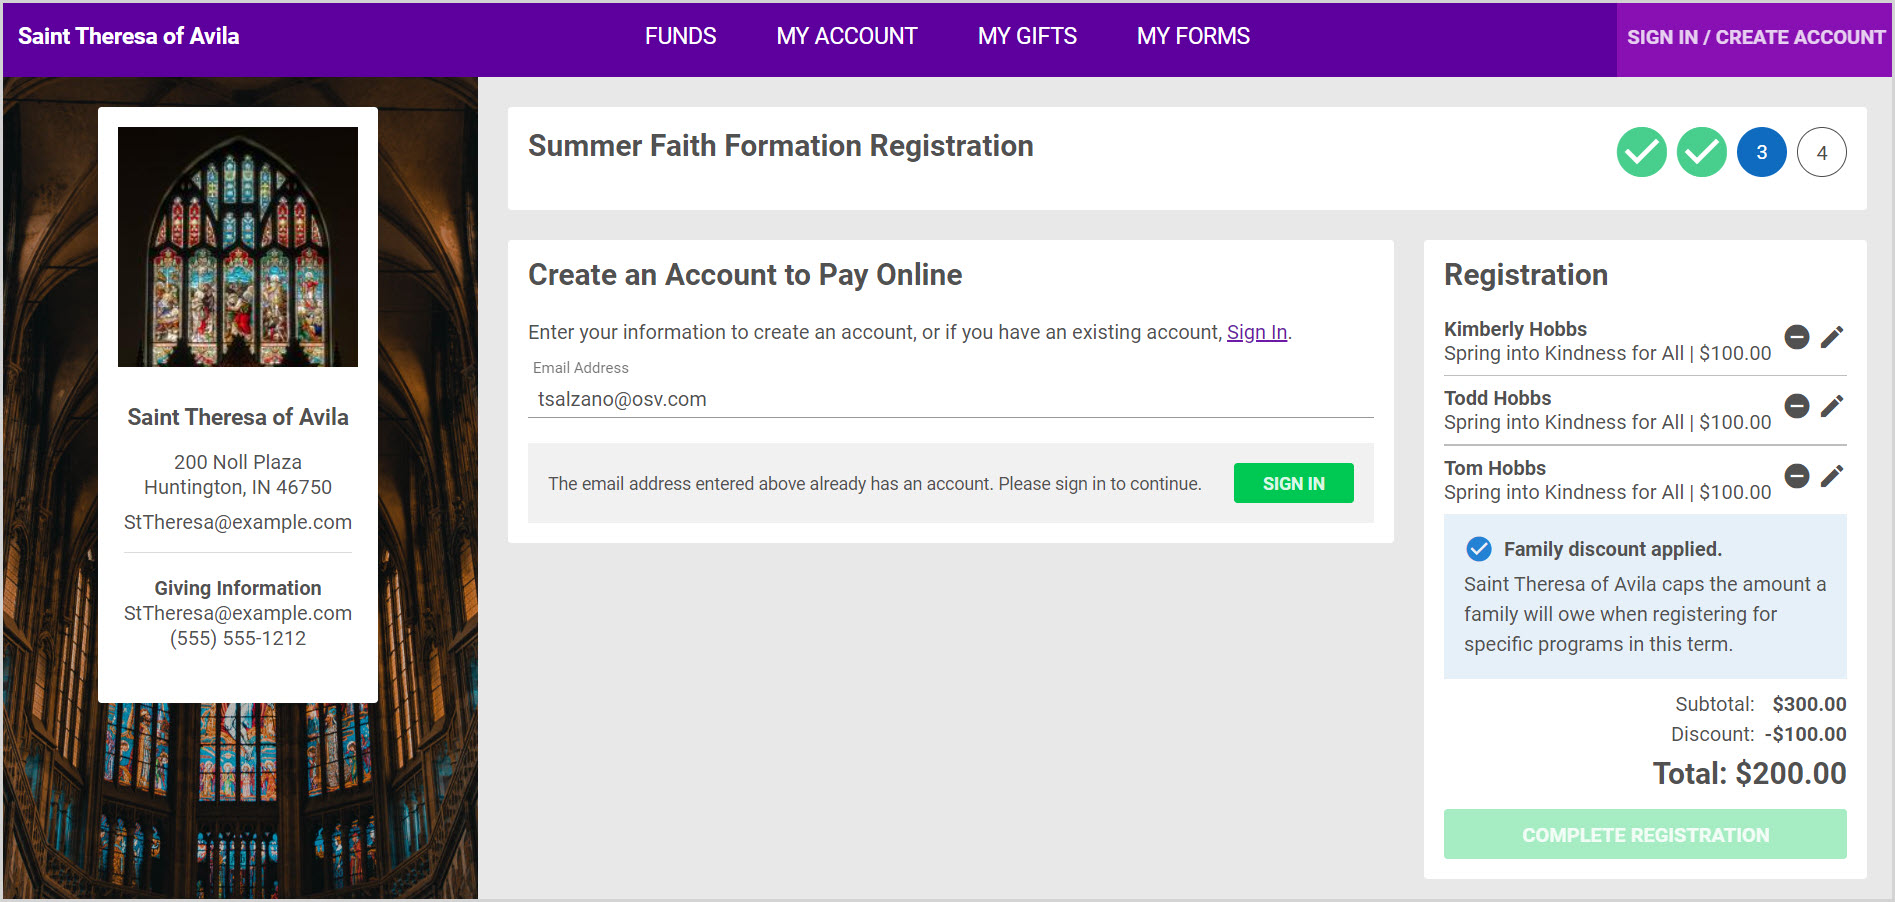
Note* The payment page is only available if the parish uses OSV Online Giving. If the parish does not use Online Giving, your offline payments and discounts can still be recorded/applied by parish staff members through the Religious Education module after your registration is complete.
18. If you wish to pay online but do not have an account, enter your information to Create an Account. If you have an account but are not signed in, click Sign In.
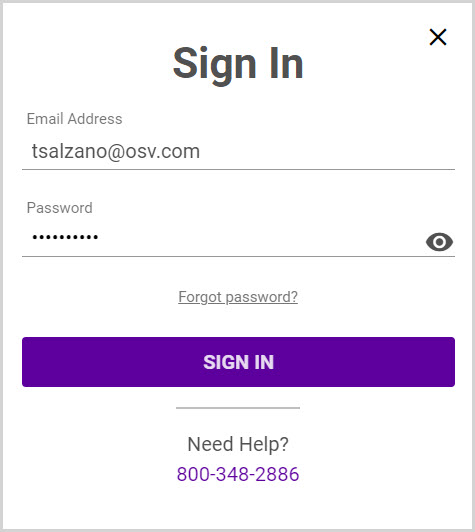
Enter your existing email address and password and click on sign in.
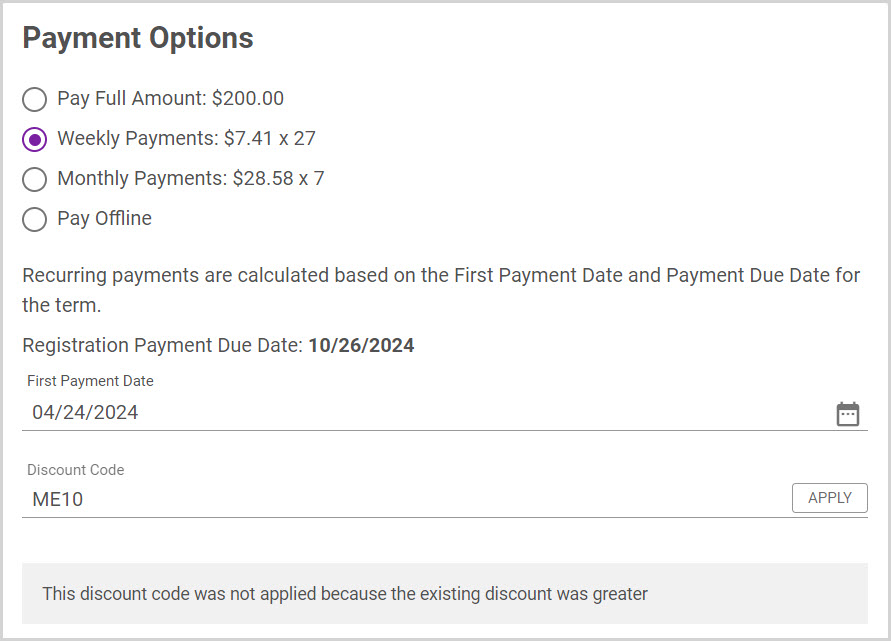
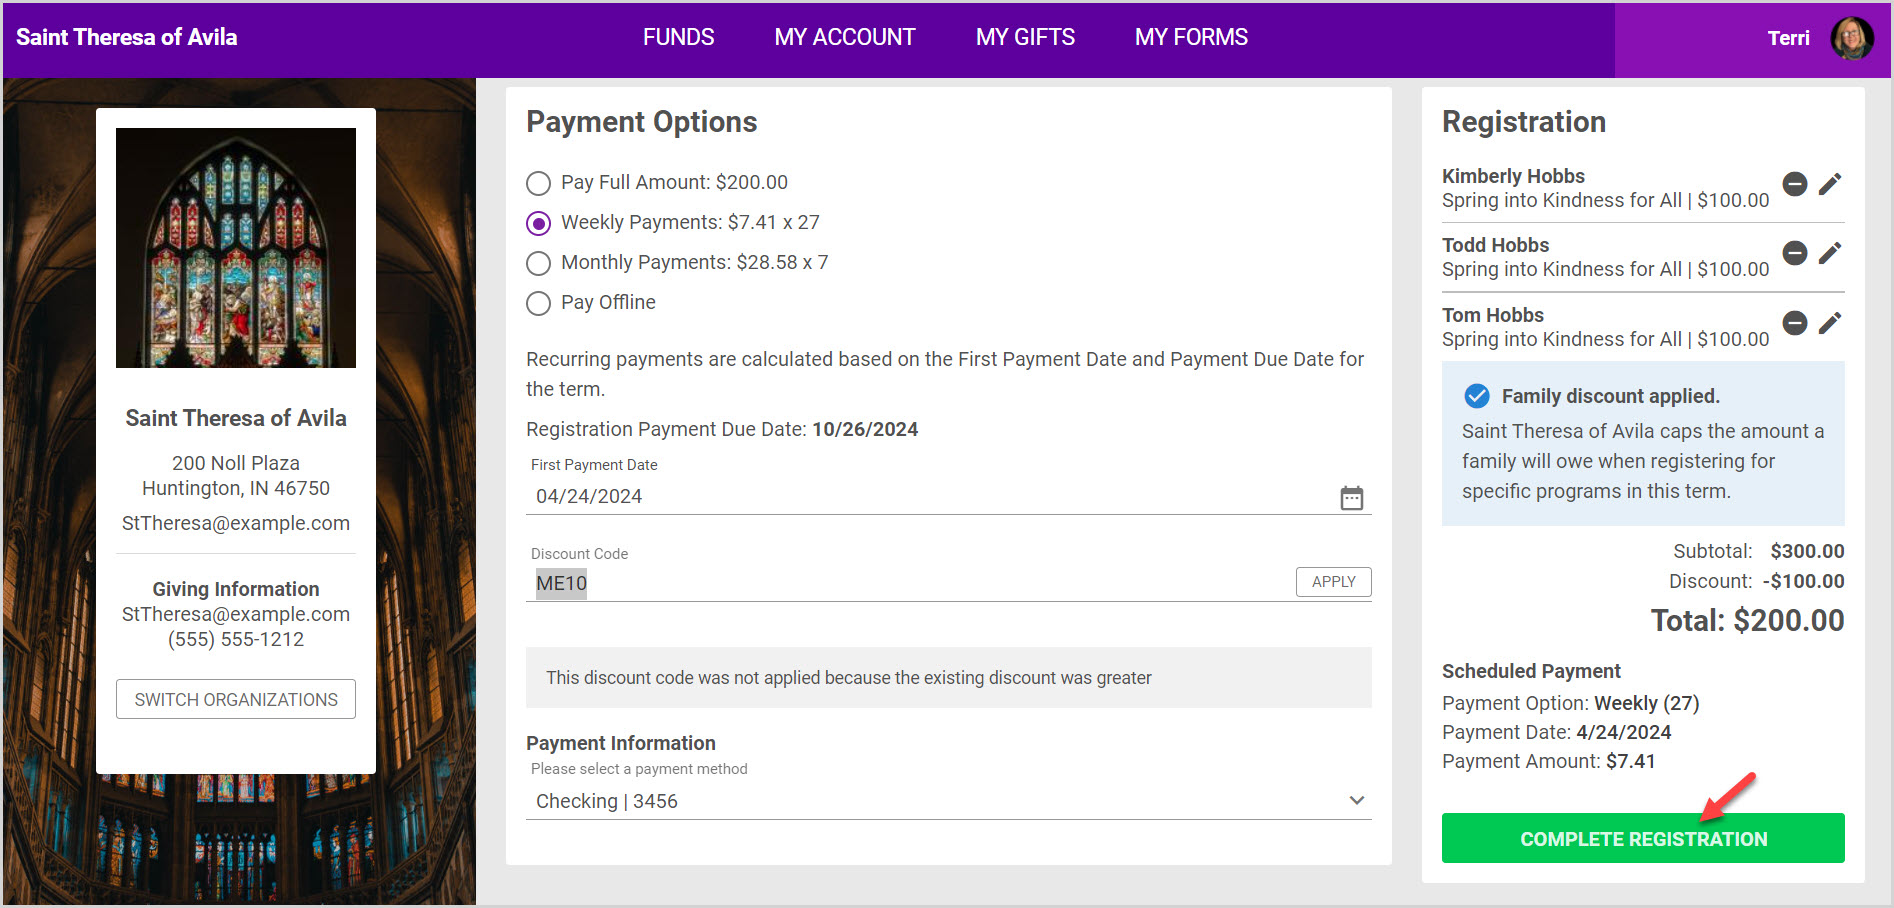
19. Select your desired Payment Option from among those provided by the parish.
Note* If you choose to pay online, the Payment Date defaults to the current date. If you wish, you can set a different payment date using the calendar.
20. Enter a Discount Code, if you have one, and click Apply. The system will calculate the greater discount if there is another existing discount, such as a Family Maximum discount.
21. If you do not have a saved payment method, enter your Payment Method information.
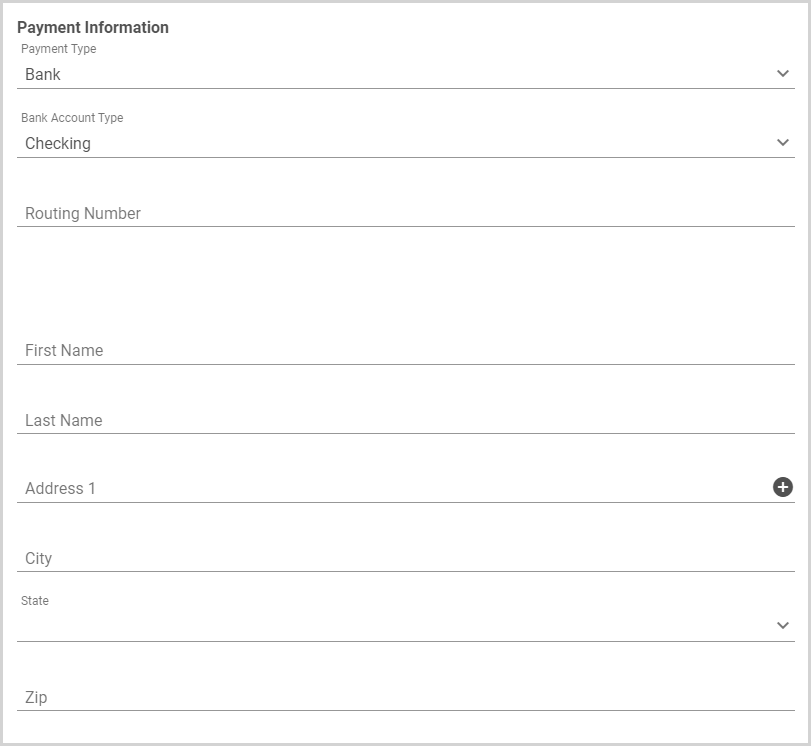
If you have a saved payment method, you can select your saved payment method.

22. Click Complete Registration.
Note* Because only one discount can be used, the system calculated the Family Maximum discount because it was the greater discount.
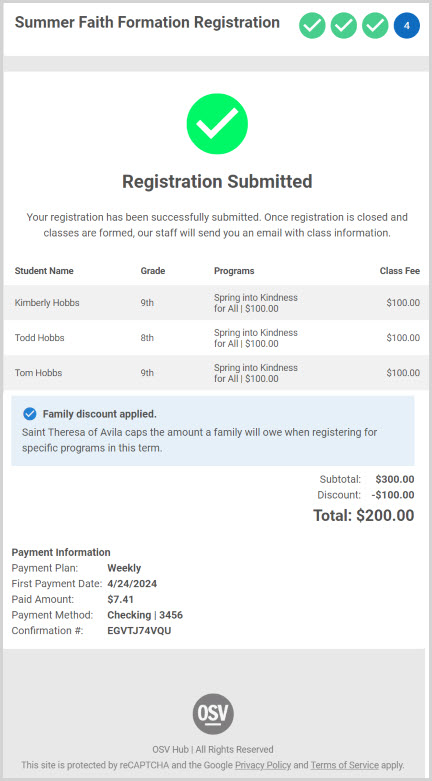
23. You can print Registration Confirmation page to keep for future reference.
Example: For Weekly Payment Plan
Note* The video is best viewed at full screen. Press Esc on your keyboard when you are finished viewing.