


Customize the Links Sections
This article provides information on how to customize the Links section.
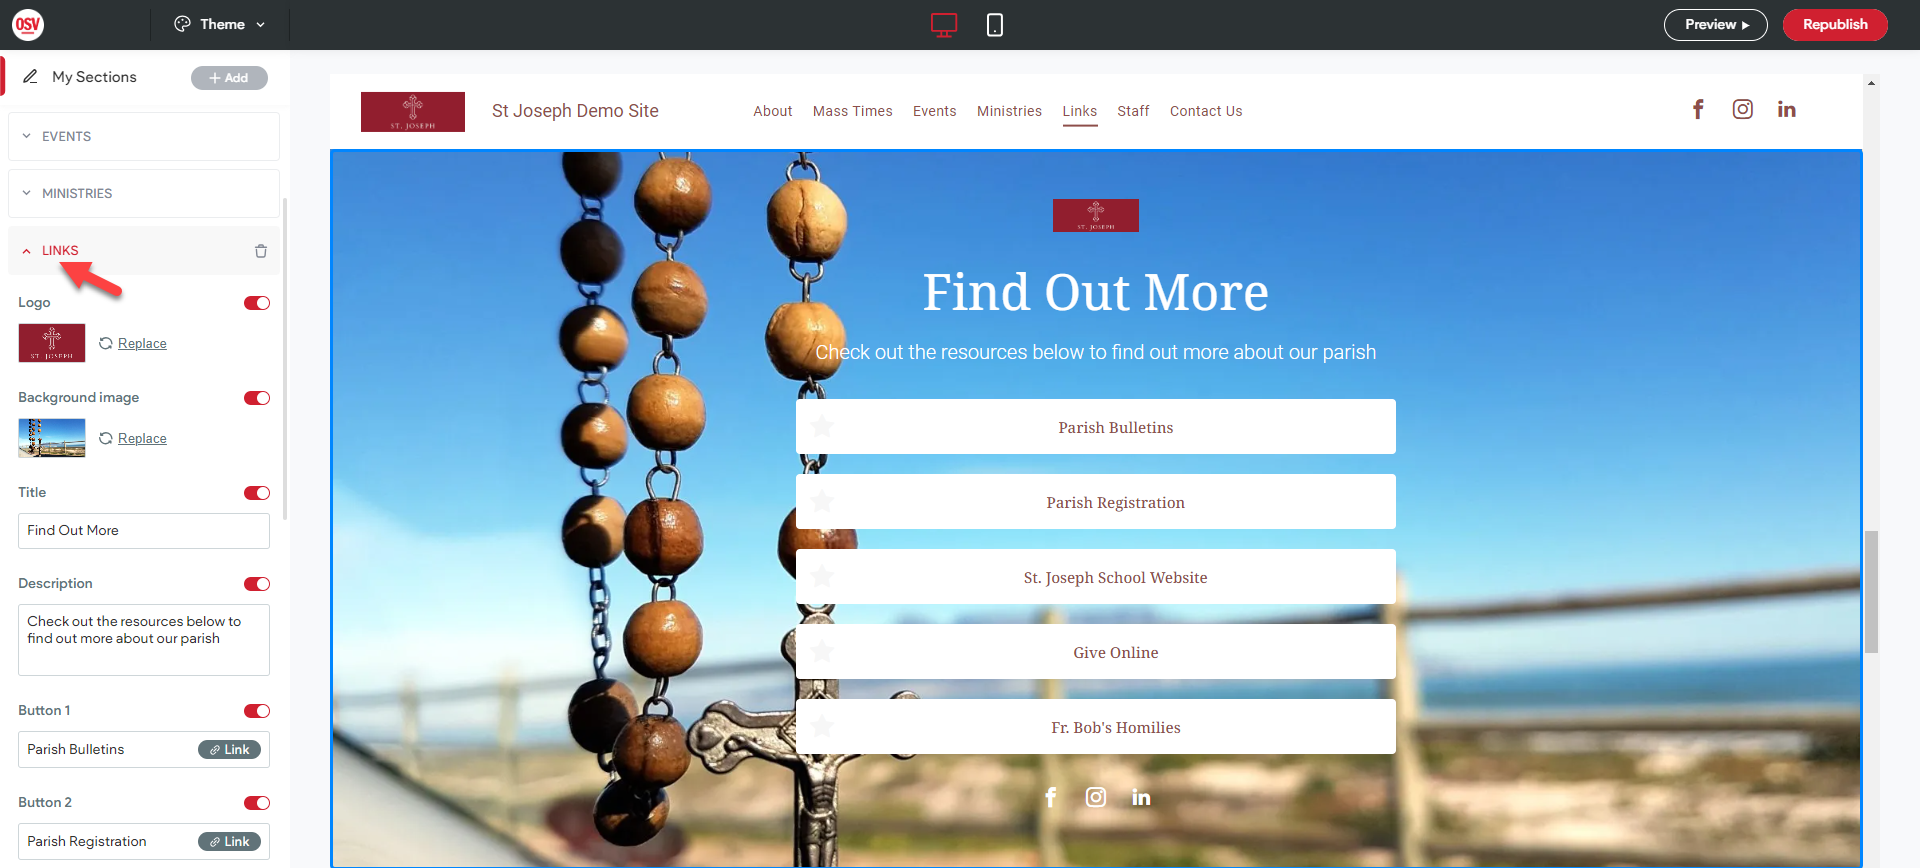
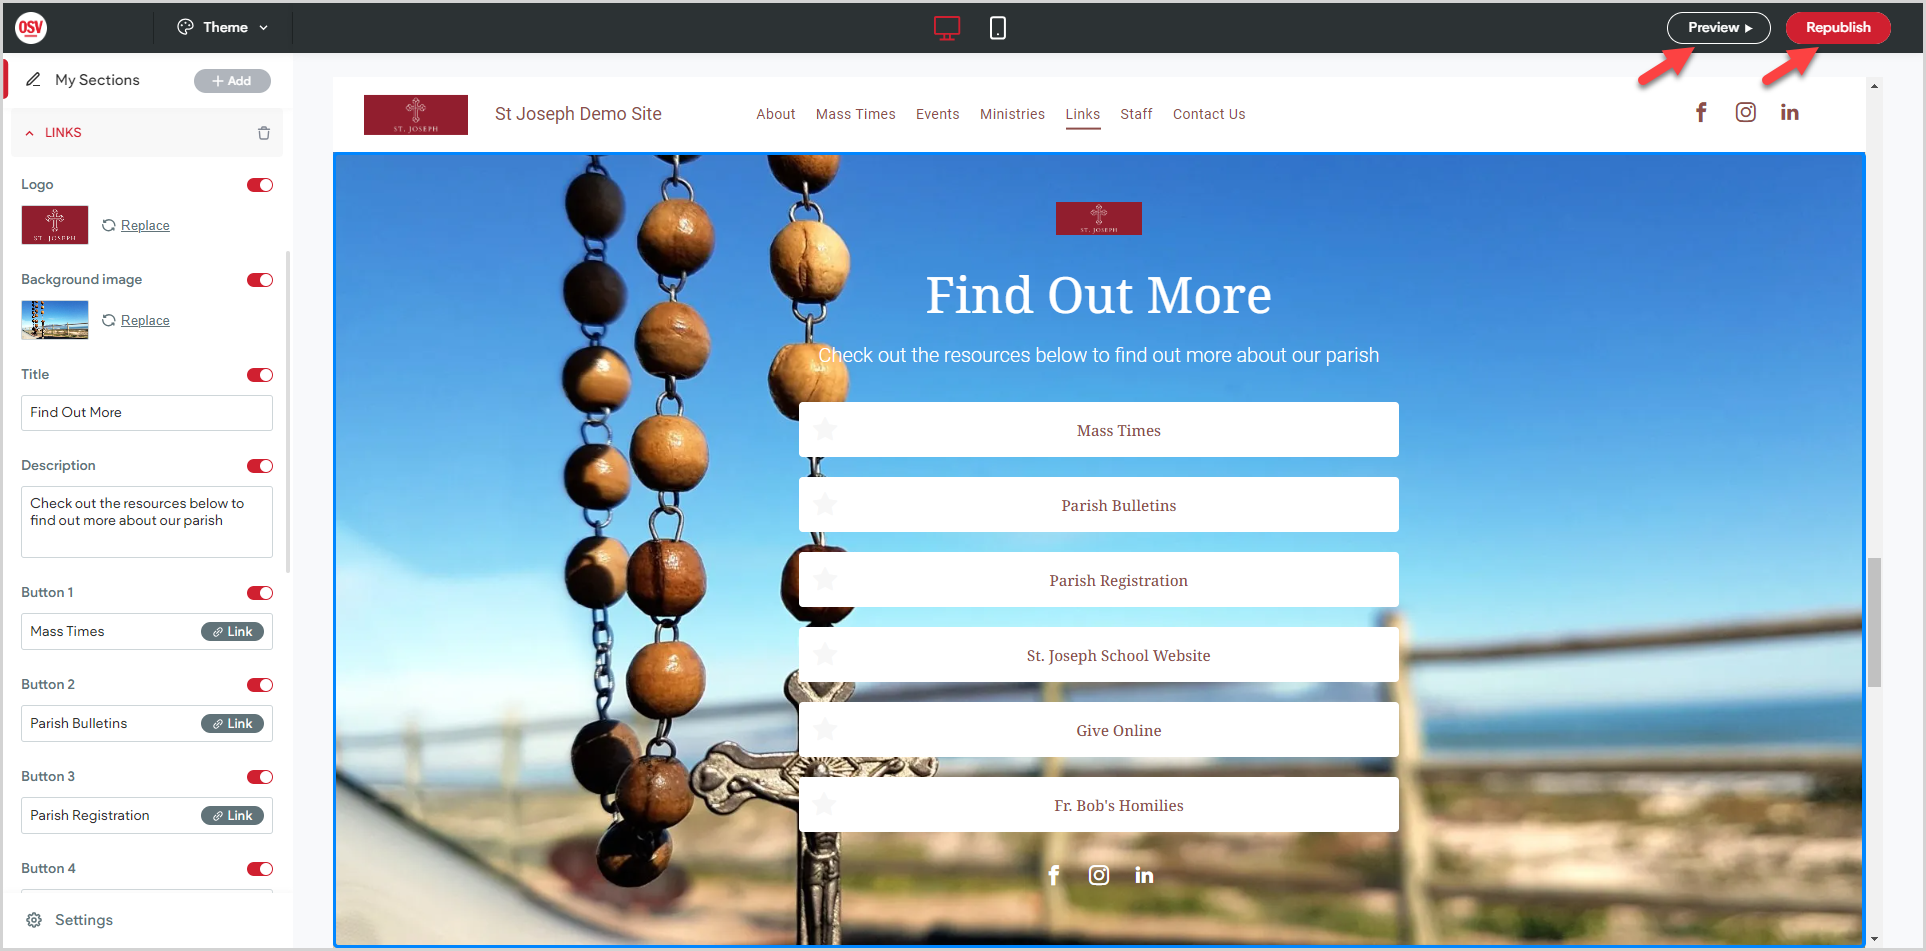
The Links sections provides you an opportunity to connect visitors with external websites and other sections within your Instant Website. For example, you may wish to add links to the website that hosts your parish bulletins, the school website, or recorded homilies / sermons. You can customize the section with your logo, a background image, title, description, as well as up to six link buttons and your social network icons.
Complete the following steps to customize the Links section:
Open the Links Section
To open the the Links section, click Links in the main menu.
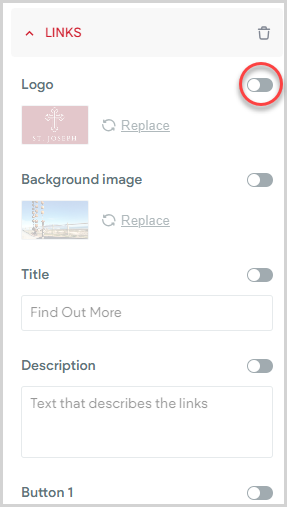
Add Logo
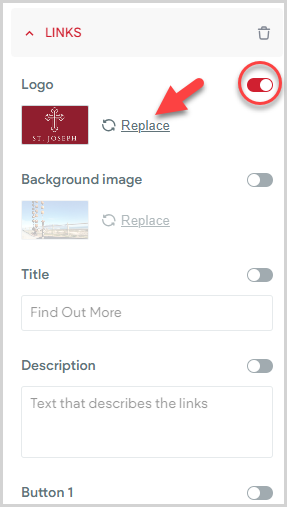
1. Click the toggle to display the logo in the Links section.
2. To update the logo, click Replace.
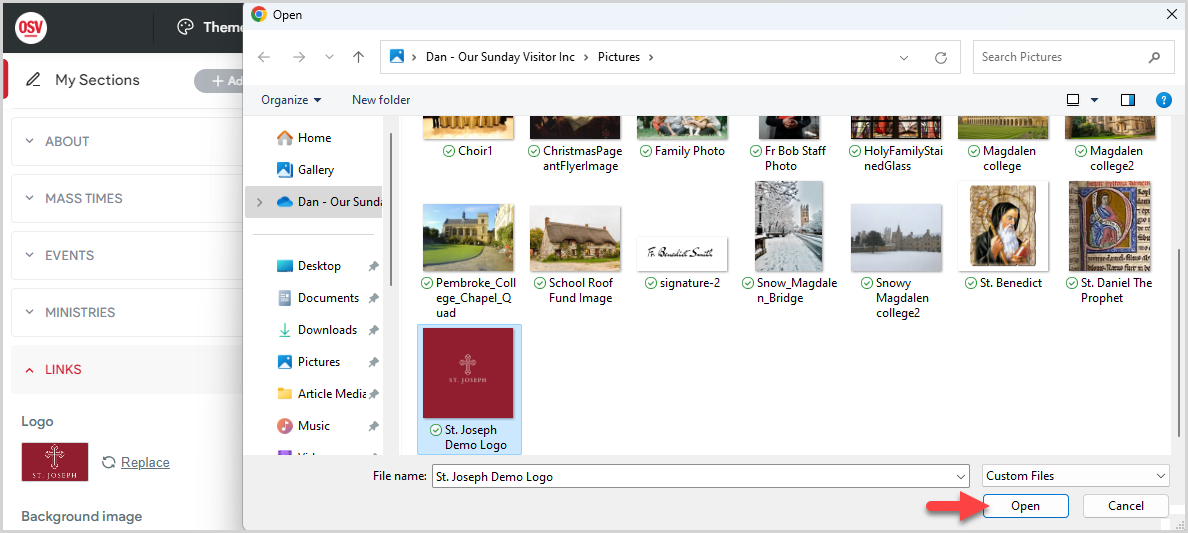
3. Navigate to and select your saved logo.
4. Click the Open button.
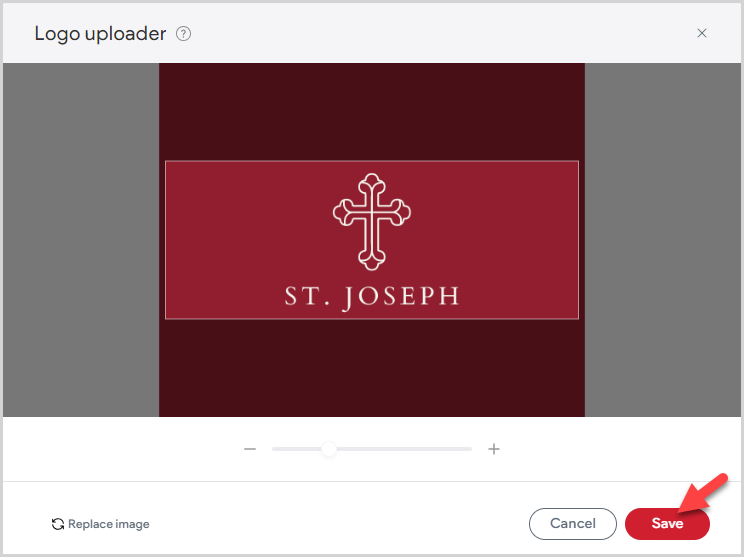
5. In Logo Uploader window, adjust the position and zoom of the image.
6. Click the Save button to upload the logo.
Note* Updating the logo in the Links section updates the logo image in the Header section to match.
To hide the logo, click the toggle.
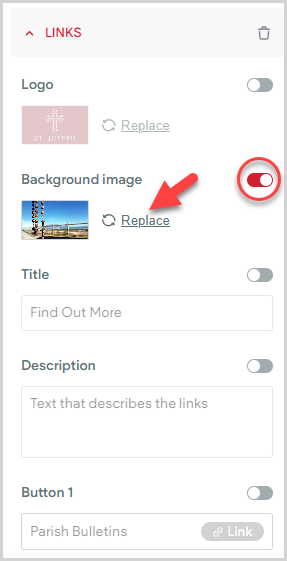
Add Background Image
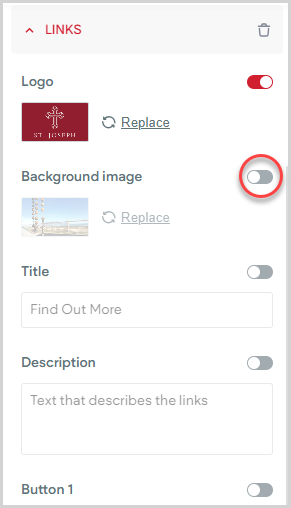
1. Click the toggle to display the background image in the Links section.
2. To update the image, click Replace.
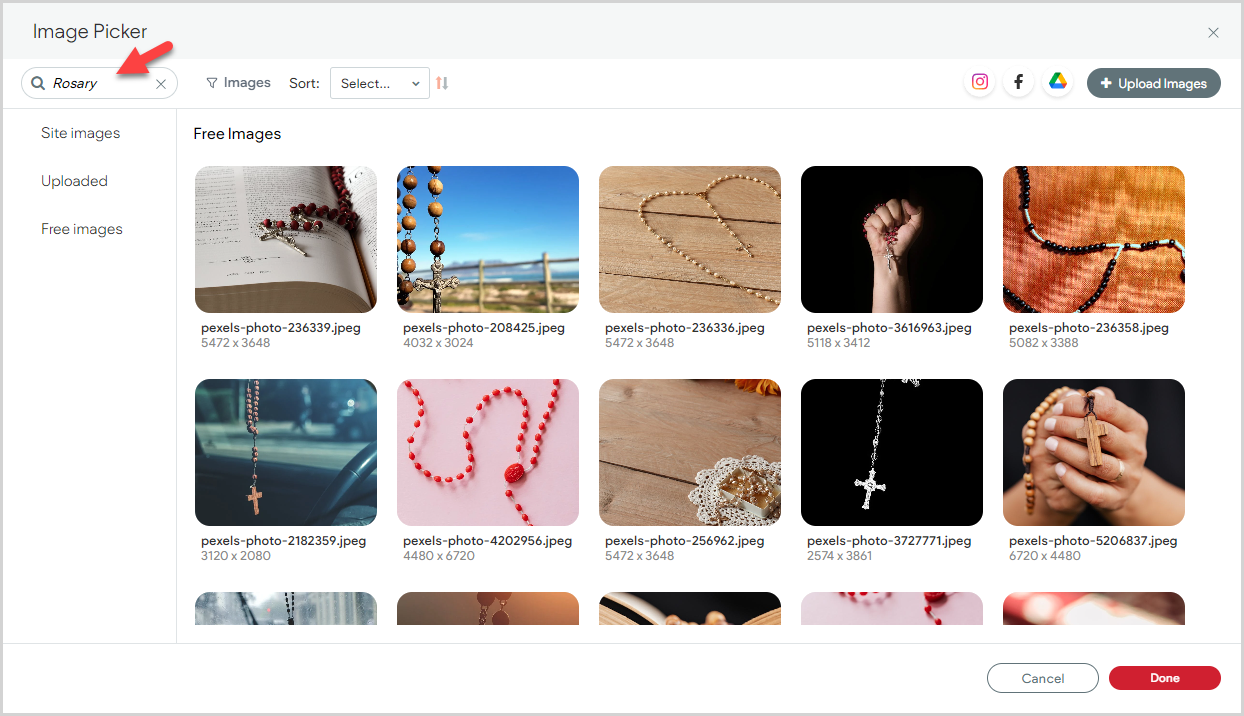
3. To navigate to your image in the Image Picker, select the image category: Site Images, Uploaded, or Free Images. For more information on uploading your own images, please see Upload an Image to the Image Picker.

Note* You can use the Search function to help you search in all categories of the image picker for an image. To search for an Image You Have Uploaded, enter the filename in the search bar. To search the Free Images for an image to use, enter a related search term. For example, enter Rosary in the search field to find rosary related images.
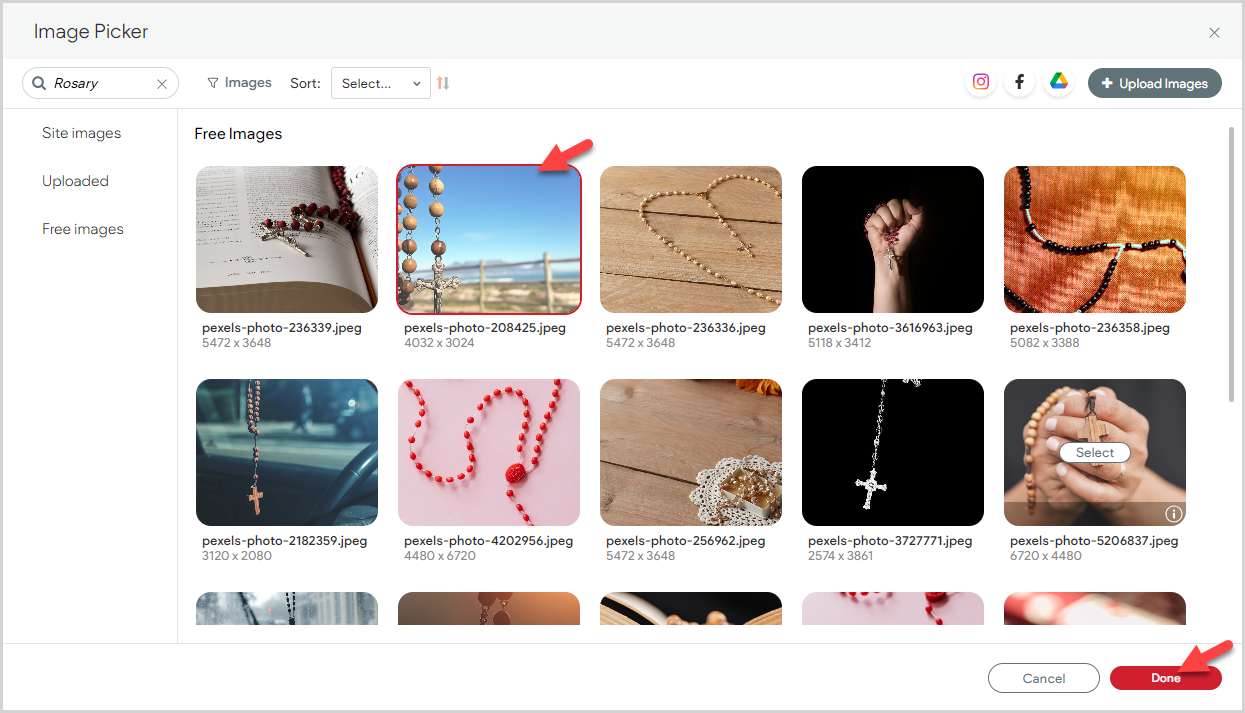
4. Select the image in the Image Picker.
5. Click the Done button.
To hide the background image, click the toggle.
Add Title
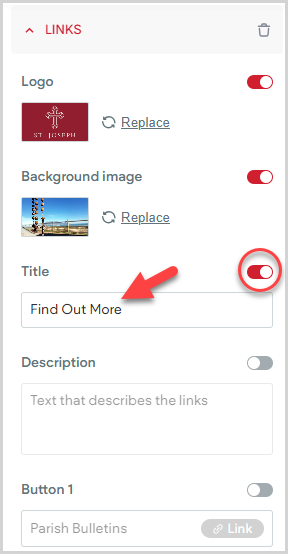
1. Click the toggle to display the title in the Links section.
2. Enter your desired section Title.
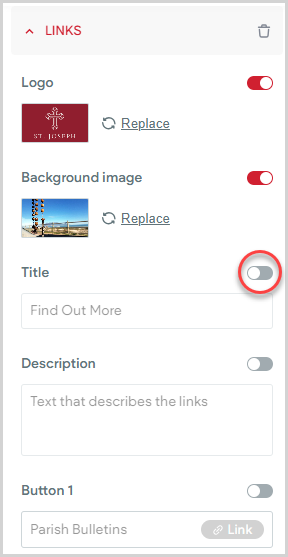
To hide the title, click the toggle.
Add Description
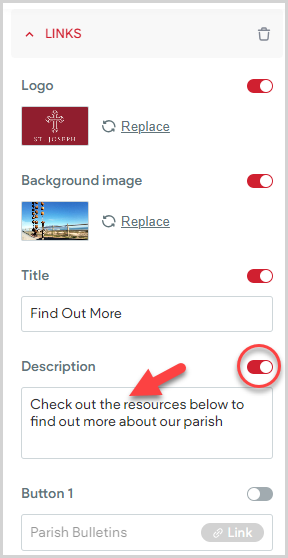
1. Click the toggle to display the description in the Links section.
2. Enter the Links section Description.
To hide the description, click the toggle.

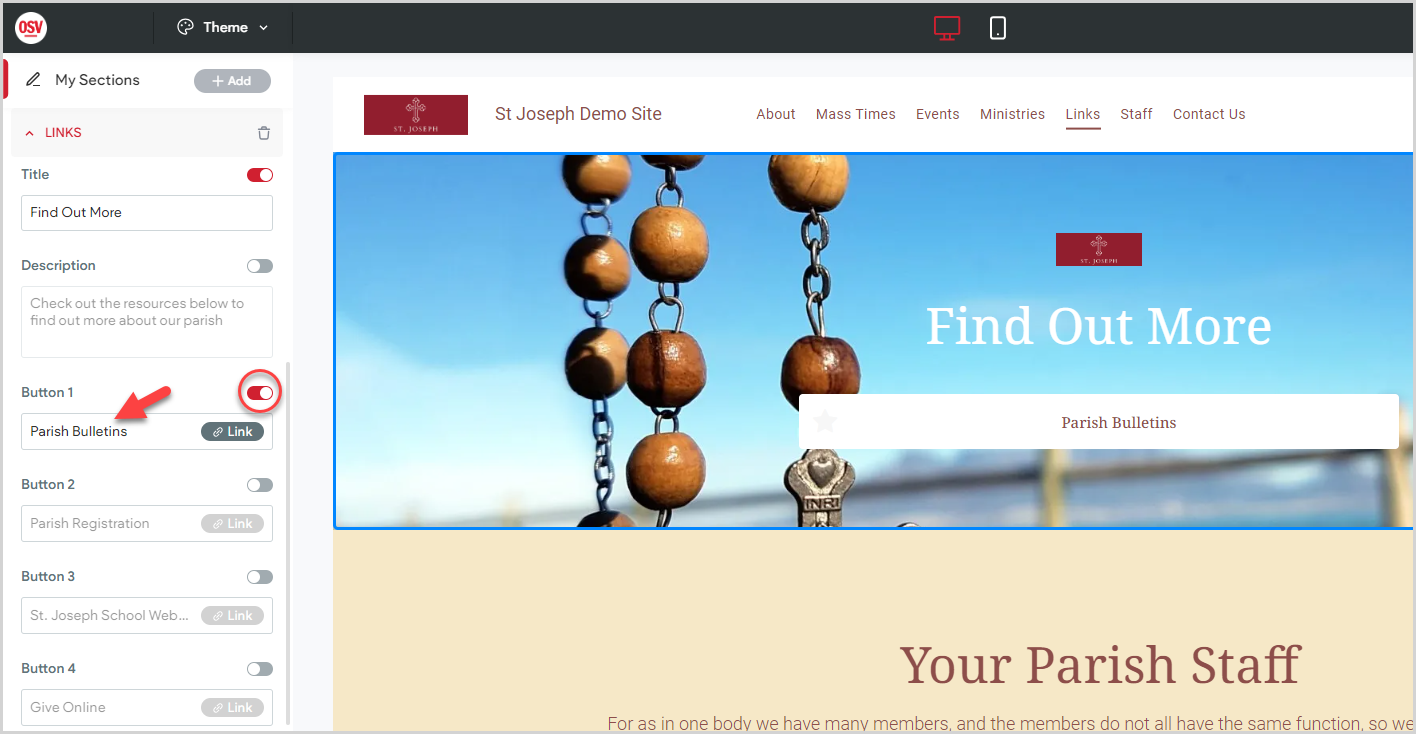
Add Link Buttons
You can add up to six Link Buttons in the Links section. Each button can be formatted to link to either an external website address or to another section of your Instant Website.
1. Click the toggle to display the link button.
2. Enter your desired button text.
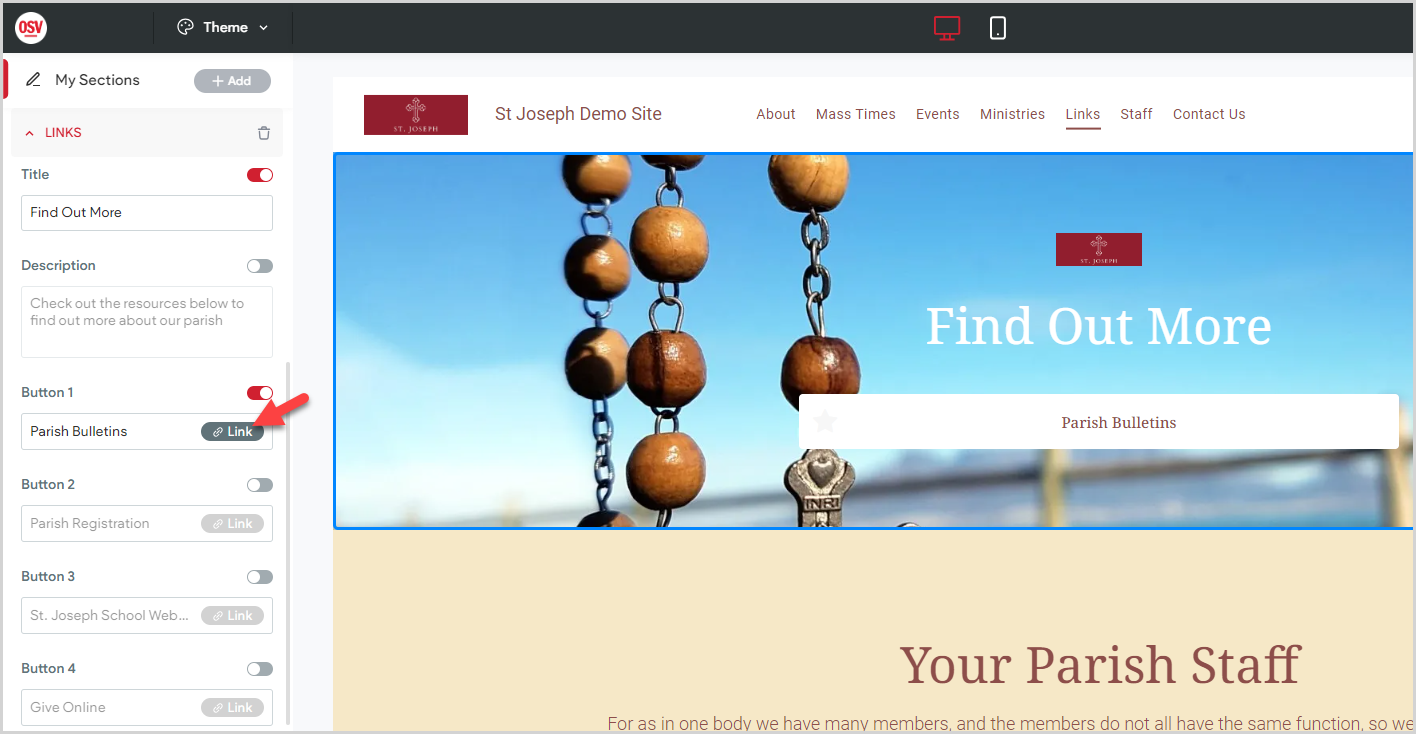
3. Click the Link button to set the link.
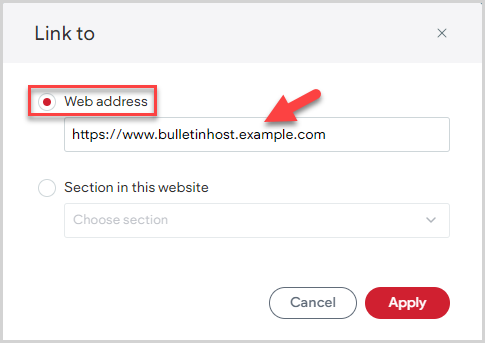
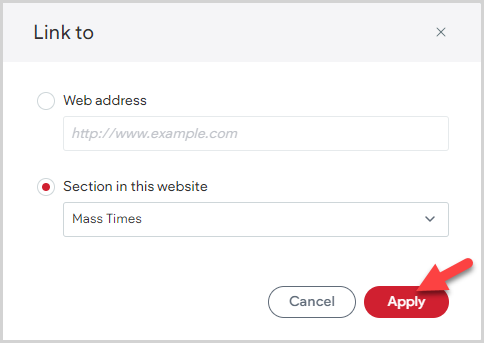
Link to External Website
4a. To link to an external website, select Web Address.
5a. Enter the website address to which you want to link.
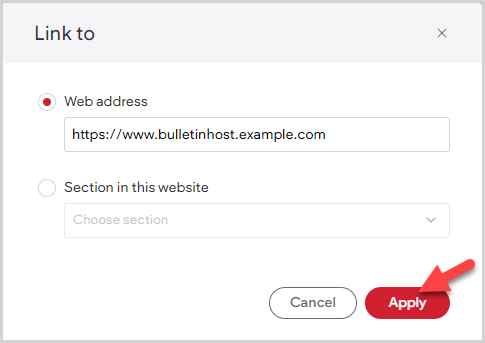
6a. Click the Apply button
Link to Instant Website Section
4b. To link to another section of your Instant Website, select Section in this Website.
5b. Select the Instant Website section to which you want to link in the drop-down menu.

6b. Click the Apply button.
Add Social Network Icons
1. Click the toggle to display the social network icons.
2. Enter your organization's Facebook, Instagram, and/or Linkedin addresses.
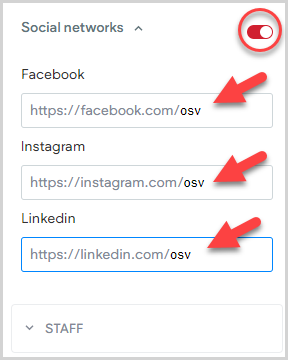
Note* The Instant Website only displays icons for which you have entered the link address, making sure you do not have empty links on your page. Updating the social network links in the Links section automatically updates the social network links in the Footer, Header, and Contact Us sections to match.
Preview and Publish Updates
Preview and Republish your updates make them visible on the live website.
Note* The video is best viewed at full screen. Press Esc on your keyboard when you are finished viewing.